Flowers are nice, but for a last-minute win, nothing beats a gift of a 1871 Club Premium Membership, GIFT a Membership Today
F&S | Featured Story
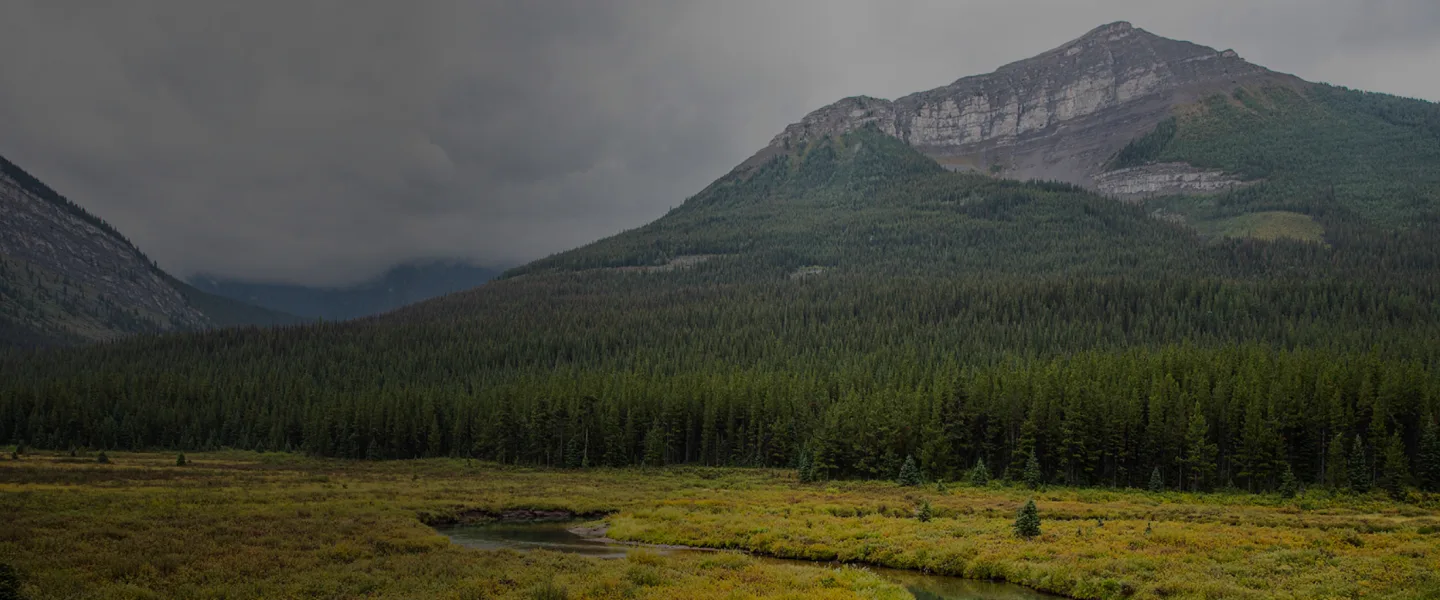
HOofing It to Trout HEaven
Yeah, way down yonder on the Chattahoochee. Never knew how much that muddy water meant to me.
By Kade gewanterApr 20, 2024


Latest Field & Stream Articles

Public Lands & Waters
Congress Sneaks Massive Public Land Sell-Off Into Midnight Budget Amendment
May 08, 2025


