_We may earn revenue from the products available on this page and participate in affiliate programs. Learn more ›
_
If you ask the average bowhunter, and even some pros, how to sight in a compound bow
, they’ll describe a very straightforward, maybe hour-long process of shooting and adjusting sight pins until your pretty much on at 20, 30, 40, 50, and so on, out to as far a you plan to practice. And they are not wrong, per se. This is, after all, how most people sight in a compound bow. But if you want ultimate accuracy all through your summer practice session and into the fall hunting seasons, the sighting-in process should be much more deliberate and precise, and take place over the course of days, and even weeks.
But before we talk about how to sight in a compound bow for the best accuracy, I have to say up front, just in case, that there is no point in starting this process unless you’ve already paper tuned your bow and ensured that your arrows are flying true. So, if you haven’t done that, then your fist step is the follow the instructions in this story on paper tuning your bow
, and then come back here to learn how to sight in for ultimate accuracy.
How to Sight in a Compound Bow—Initially
Okay, now your bow is all set up, paper tuned, and shooting well. That’s great. But it doesn’t mean you can just sight in quickly and move on to walk-back tuning
. Yes, you need to do an initial sight in, but that’s only the beginning. So, just for starters, follow this simple step-by-step for the initial sight-in:
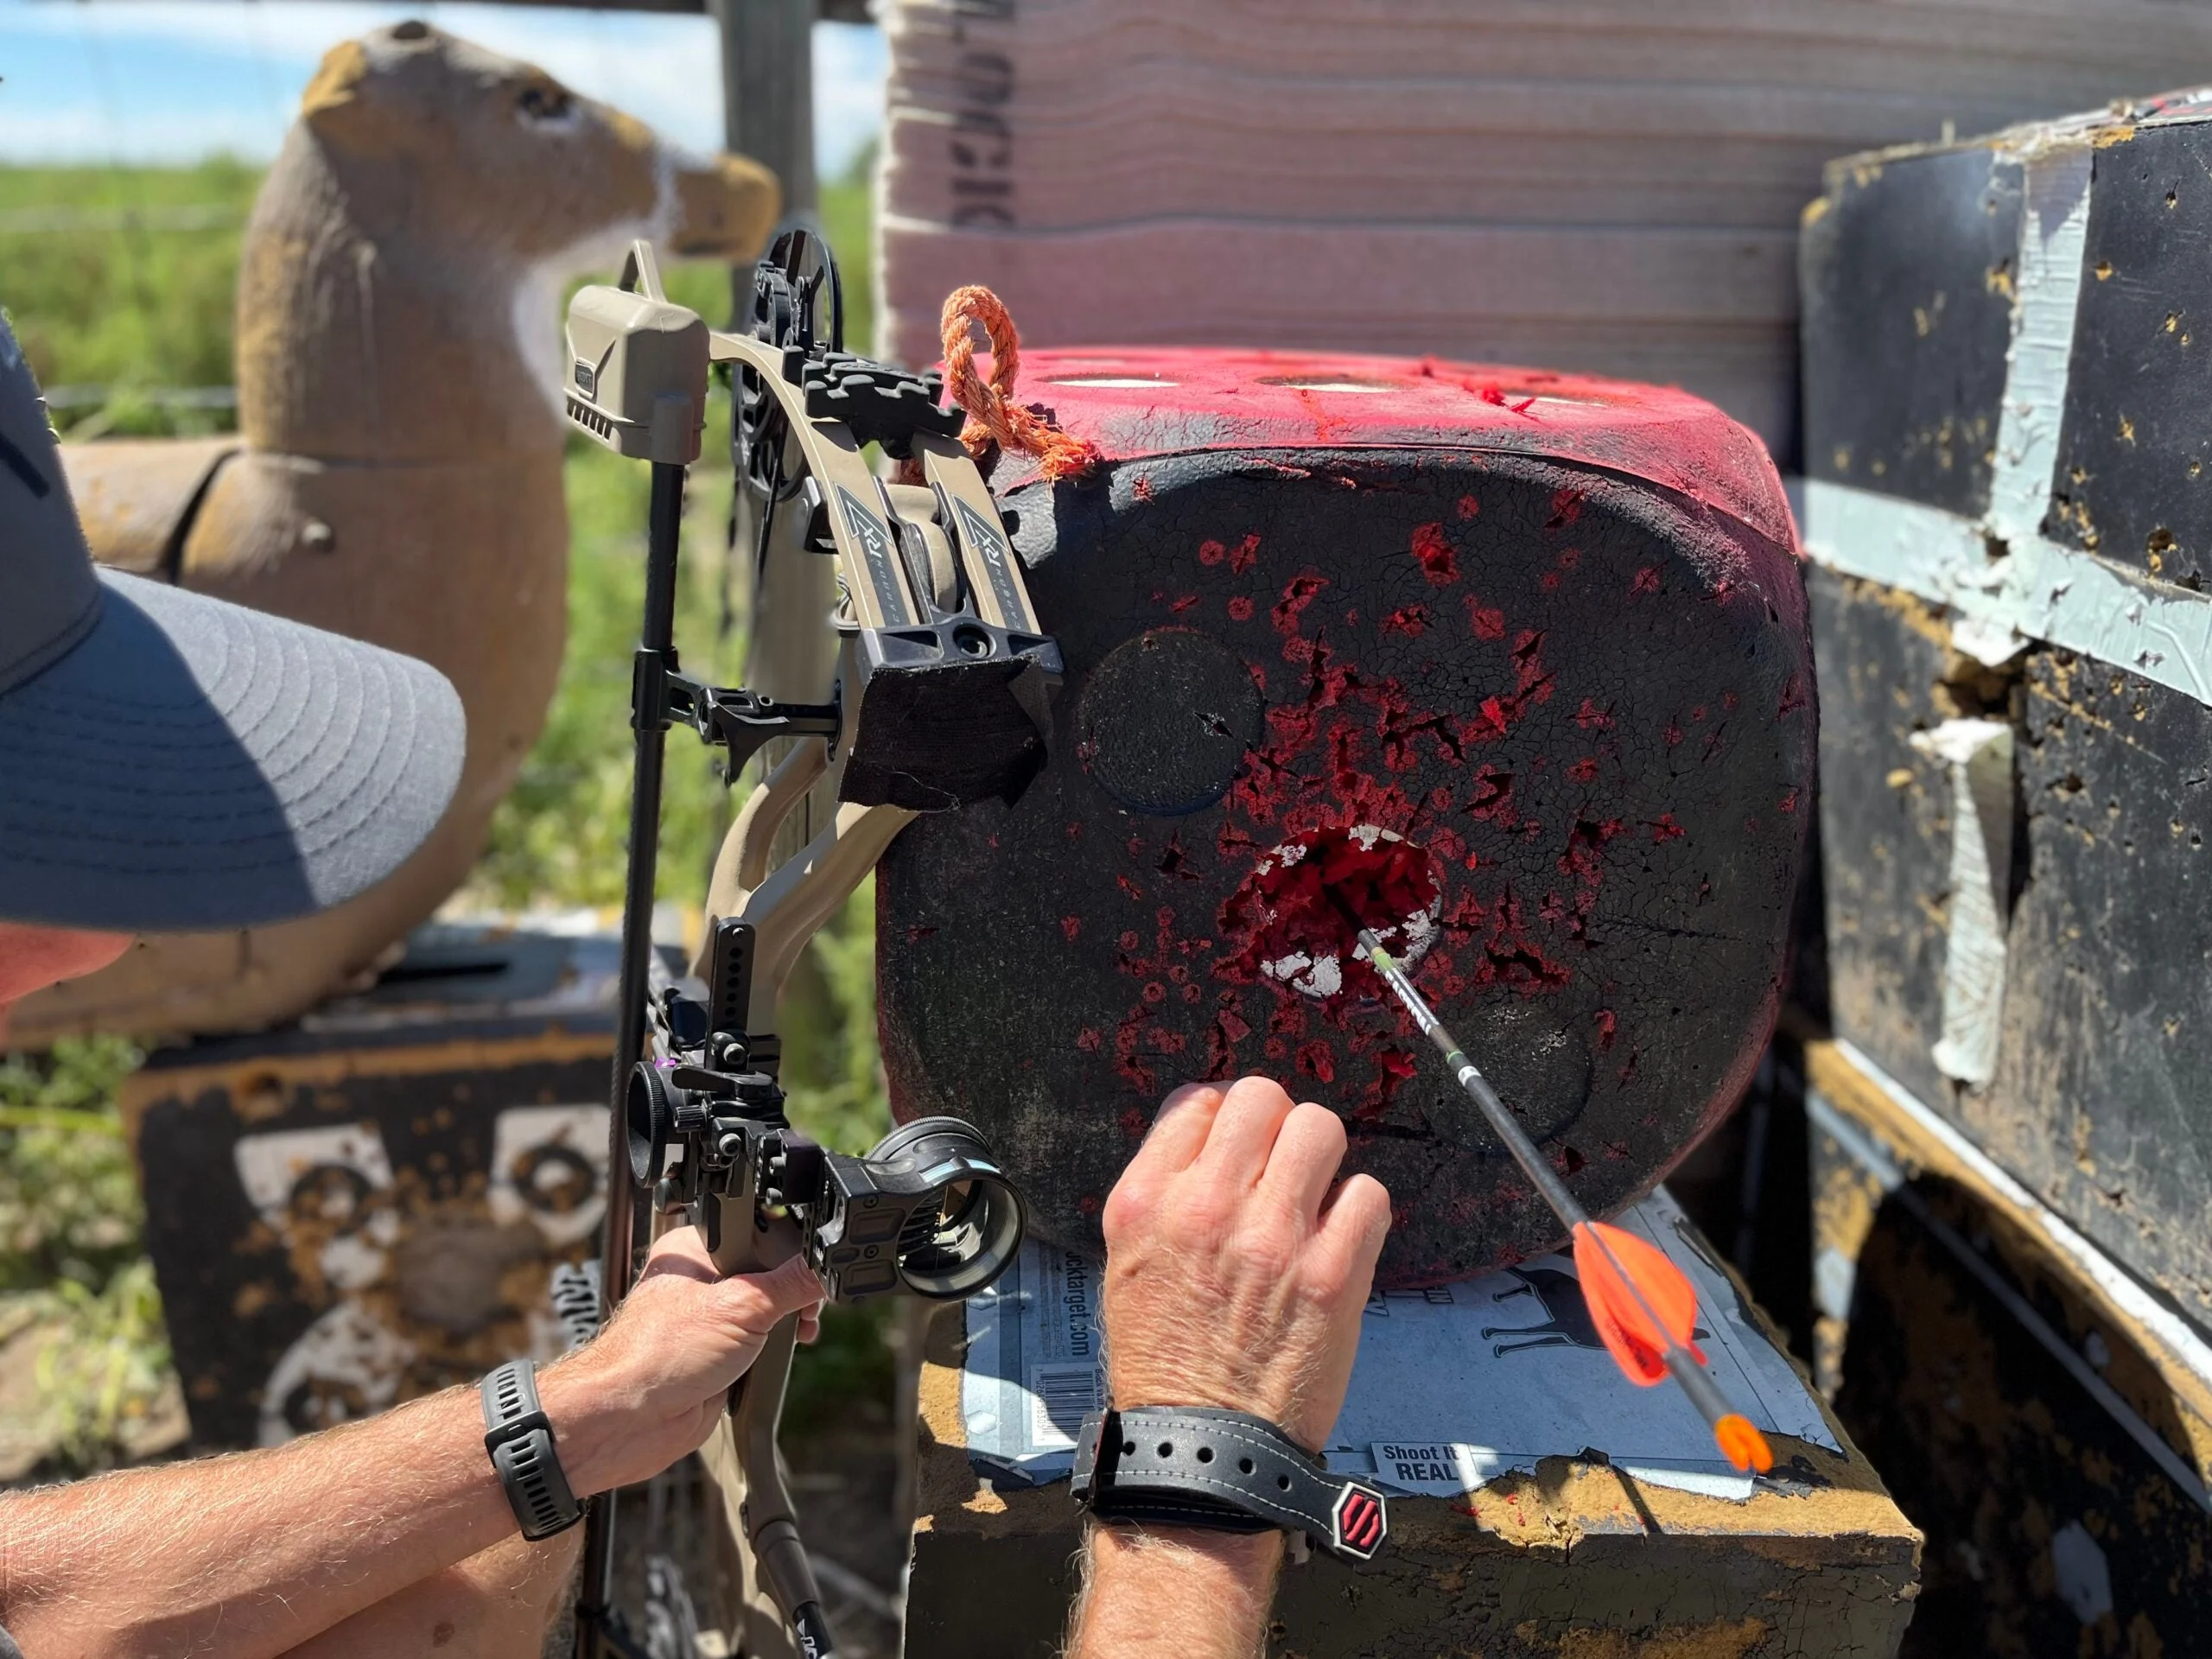
Step 1. Start very close so you don’t risk missing the entire target and losing arrows. Stand 5 yards from the target, aim right at the middle with your top pin, and shoot. If the arrow doesn’t hit roughly in the middle, you should start not by adjusting pins, but by moving the entire sight housing and gang of pins up, down, left, or right. Remember to follow the arrow—if the arrow hits right, you move the sights right, etc.
Step 2. Now step back to 20 yards, aim at a fairly small dot on the target using the top pin, and take several shots. Again, at this stage move the entire housing up, down, left, or right until you are dead on at 20. If you’re using a single-pin slider, use the blank tape provide and mare your 20-yard spot.
Step 3. Now step back to 30 yards and do the same using your second pin. (With a single pin slider you can step back to 30 and mark the spot on the tape once it’s dialed in, though some archers prefer sight in at 60 yards next, and then fill in the other distances from there. Either works for now.) Make micro-adjustments of the housing for left and right, as needed, and slide or adjust the pin up or down, as needed.
Step 4. Repeat in 10-yard increments until you’re initially sighted in out as far as you want to shoot. With a slider, you’ll eventually swap the blank tape you marked up with a final tape. But not yet. You’ve got more work to do first.
Okay, once that’s done, you just need to start shooting—a bunch. Way too many archers skip this step. If you’re like most bowhunters and have only shot a little or not at all over the summer, you need to take some time to get your shooting form back. I’ve coached many shooters over the years, and I’ve left shooting sessions with guys and gals stacking arrows at 60 yards who returned a week later only to sail three shafts over the same target at the same distance.
The common theme was each shooter had not shot their bow a single time since our last session, and something in their grip, anchor, eye-to-peep alignment, etc., changed. If you haven’t shot in a while and you don’t take the time to get familiar with your bow and develop a sound shooting system, you will have a long, frustrating road ahead in trying to get your bow perfectly sighted in. So, the next step in how to sight in a compound bow for the absolute best accuracy is to get shooting. Here’s the drill.
Nail Down Your Shot Routine
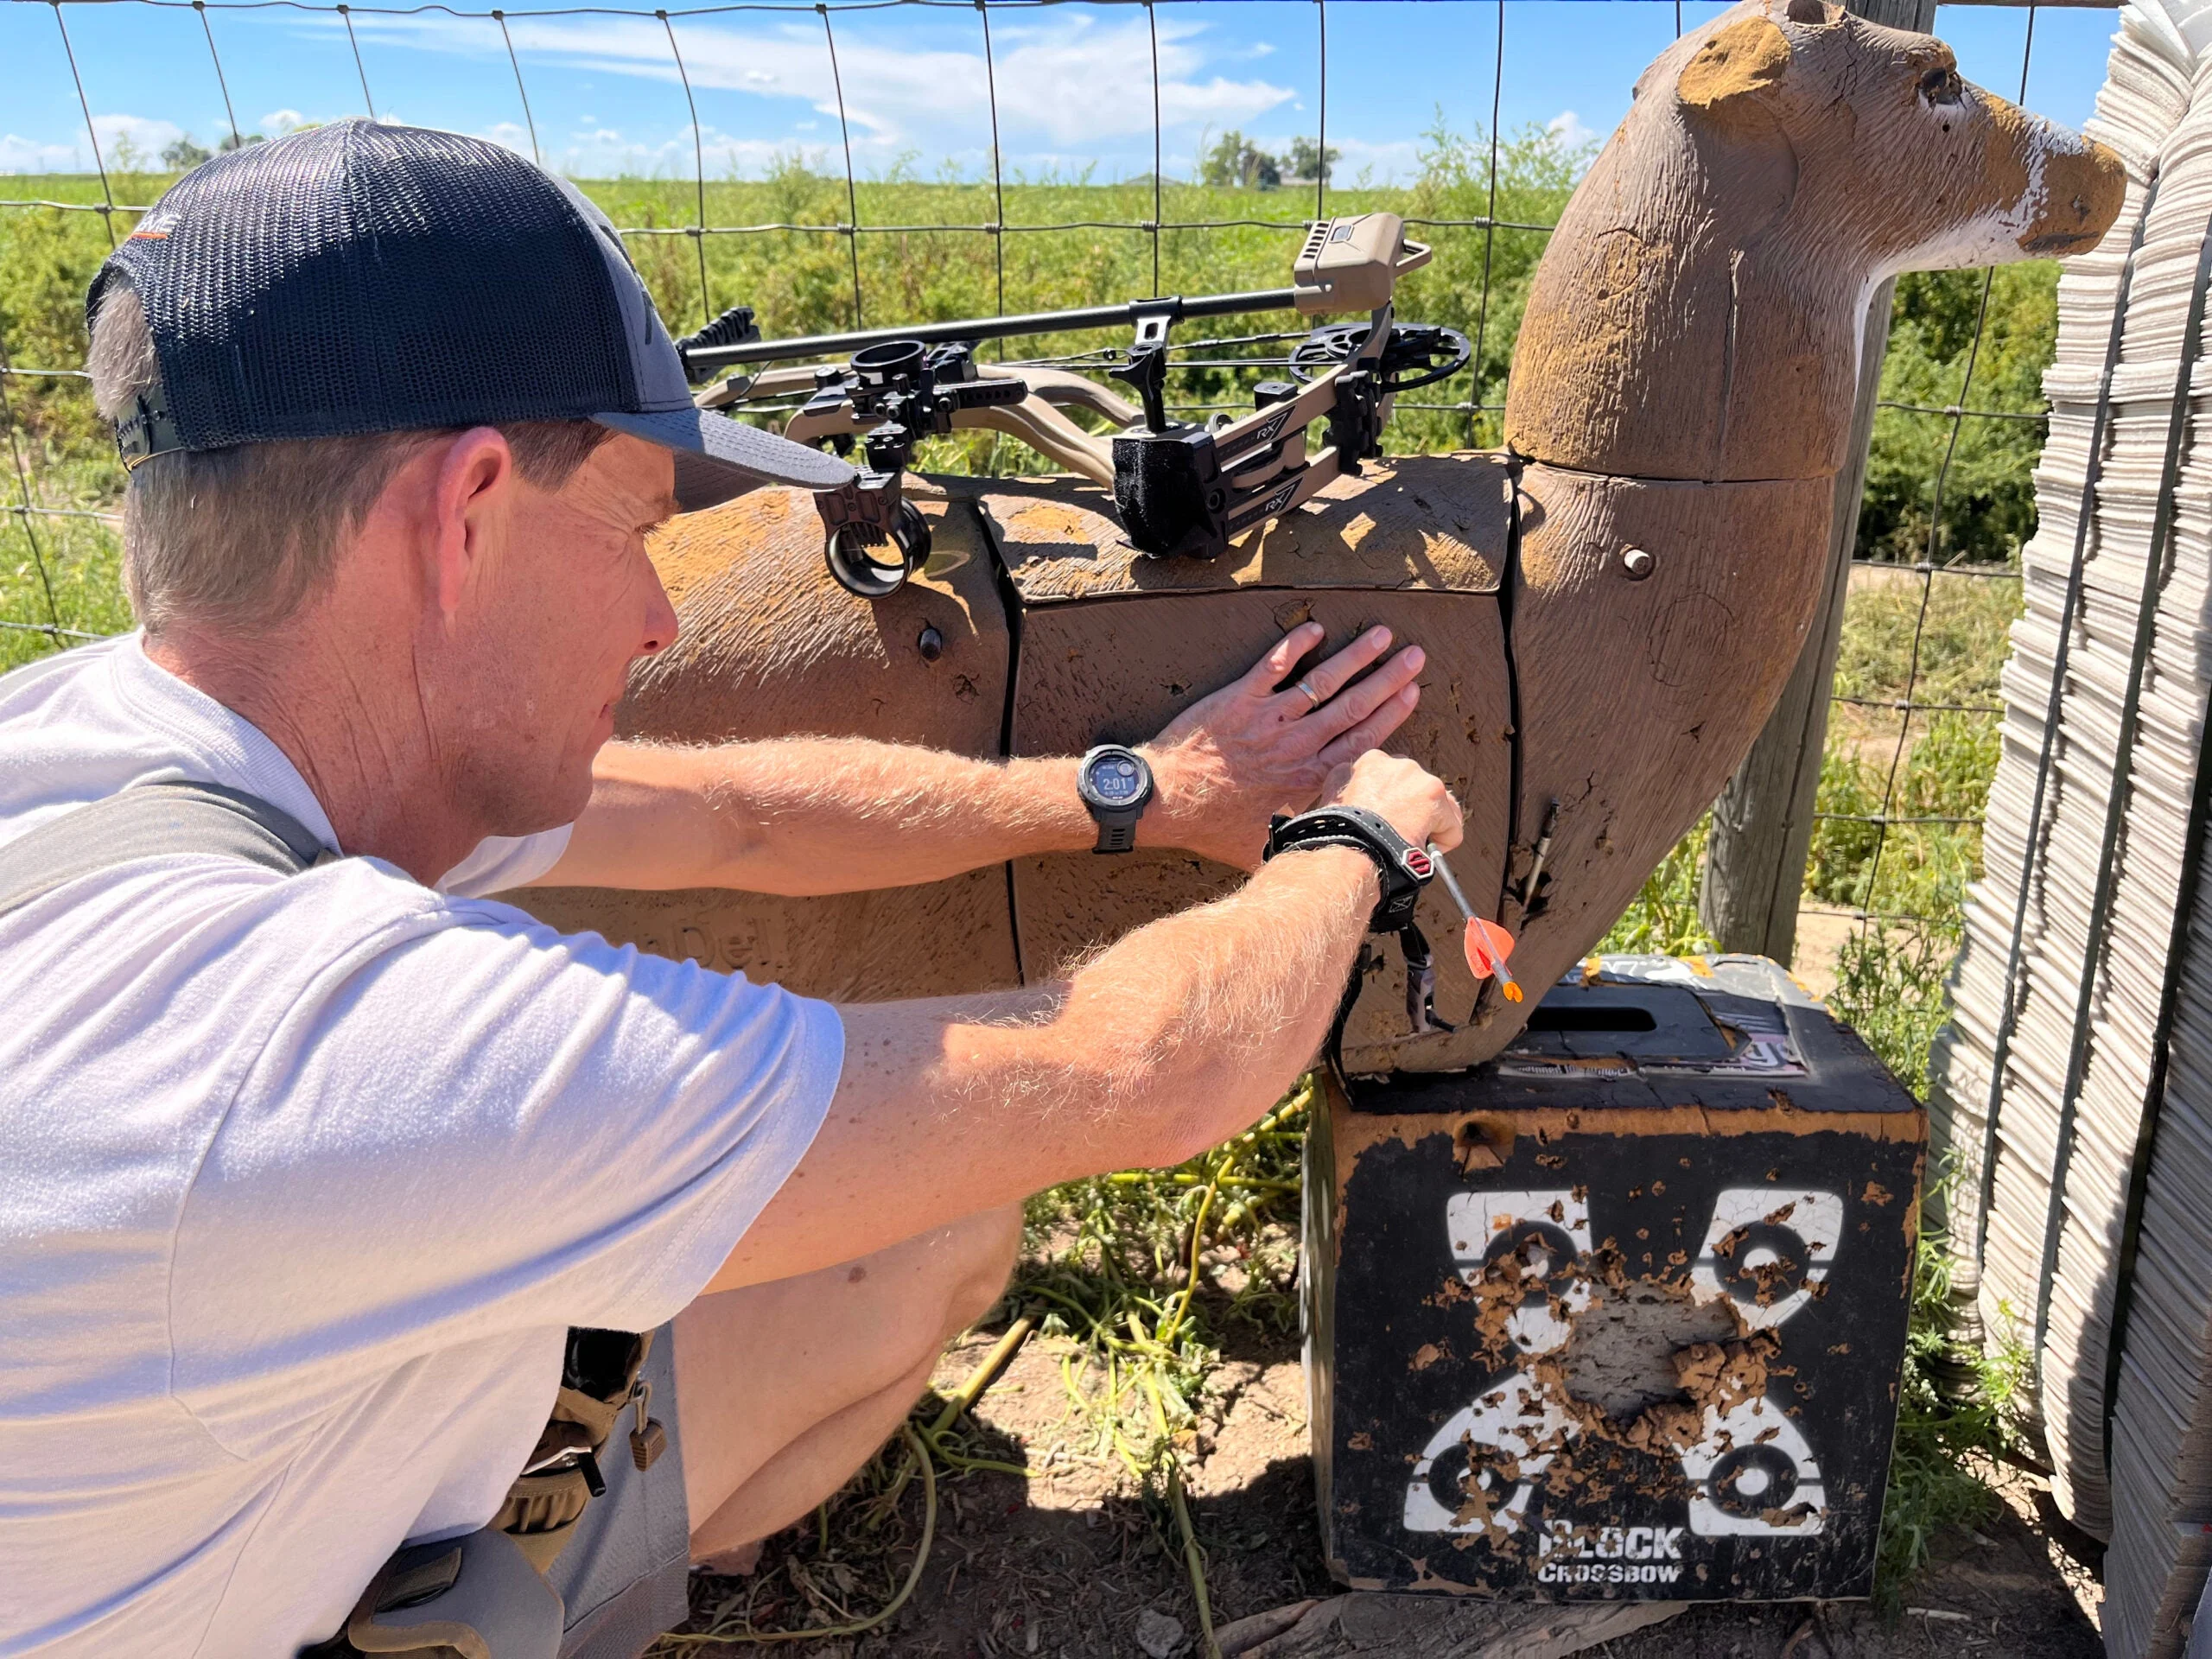
Start at 20 yards. You’ll need a bag or block target
with one or more dots no more than 3 inches in diameter, as well as a 3-D target
. Your initial goal here is to develop a repeatable shot routine that works for you every time. This routine starts with getting into a proper grip and ends when the release is triggered. During the process, I highly recommend talking to yourself. For instance, when shooting an index release, every single time I grab my bow, I whisper the word “grip,” and then as I draw and crawl into my two-part anchor, I utter the words, “tip of the nose on the tip of string; index-finger knuckle above the jawline.” I say something slightly different when shooting different style releases, but the bottom line here is to say something that reminds you of your correct anchor points.
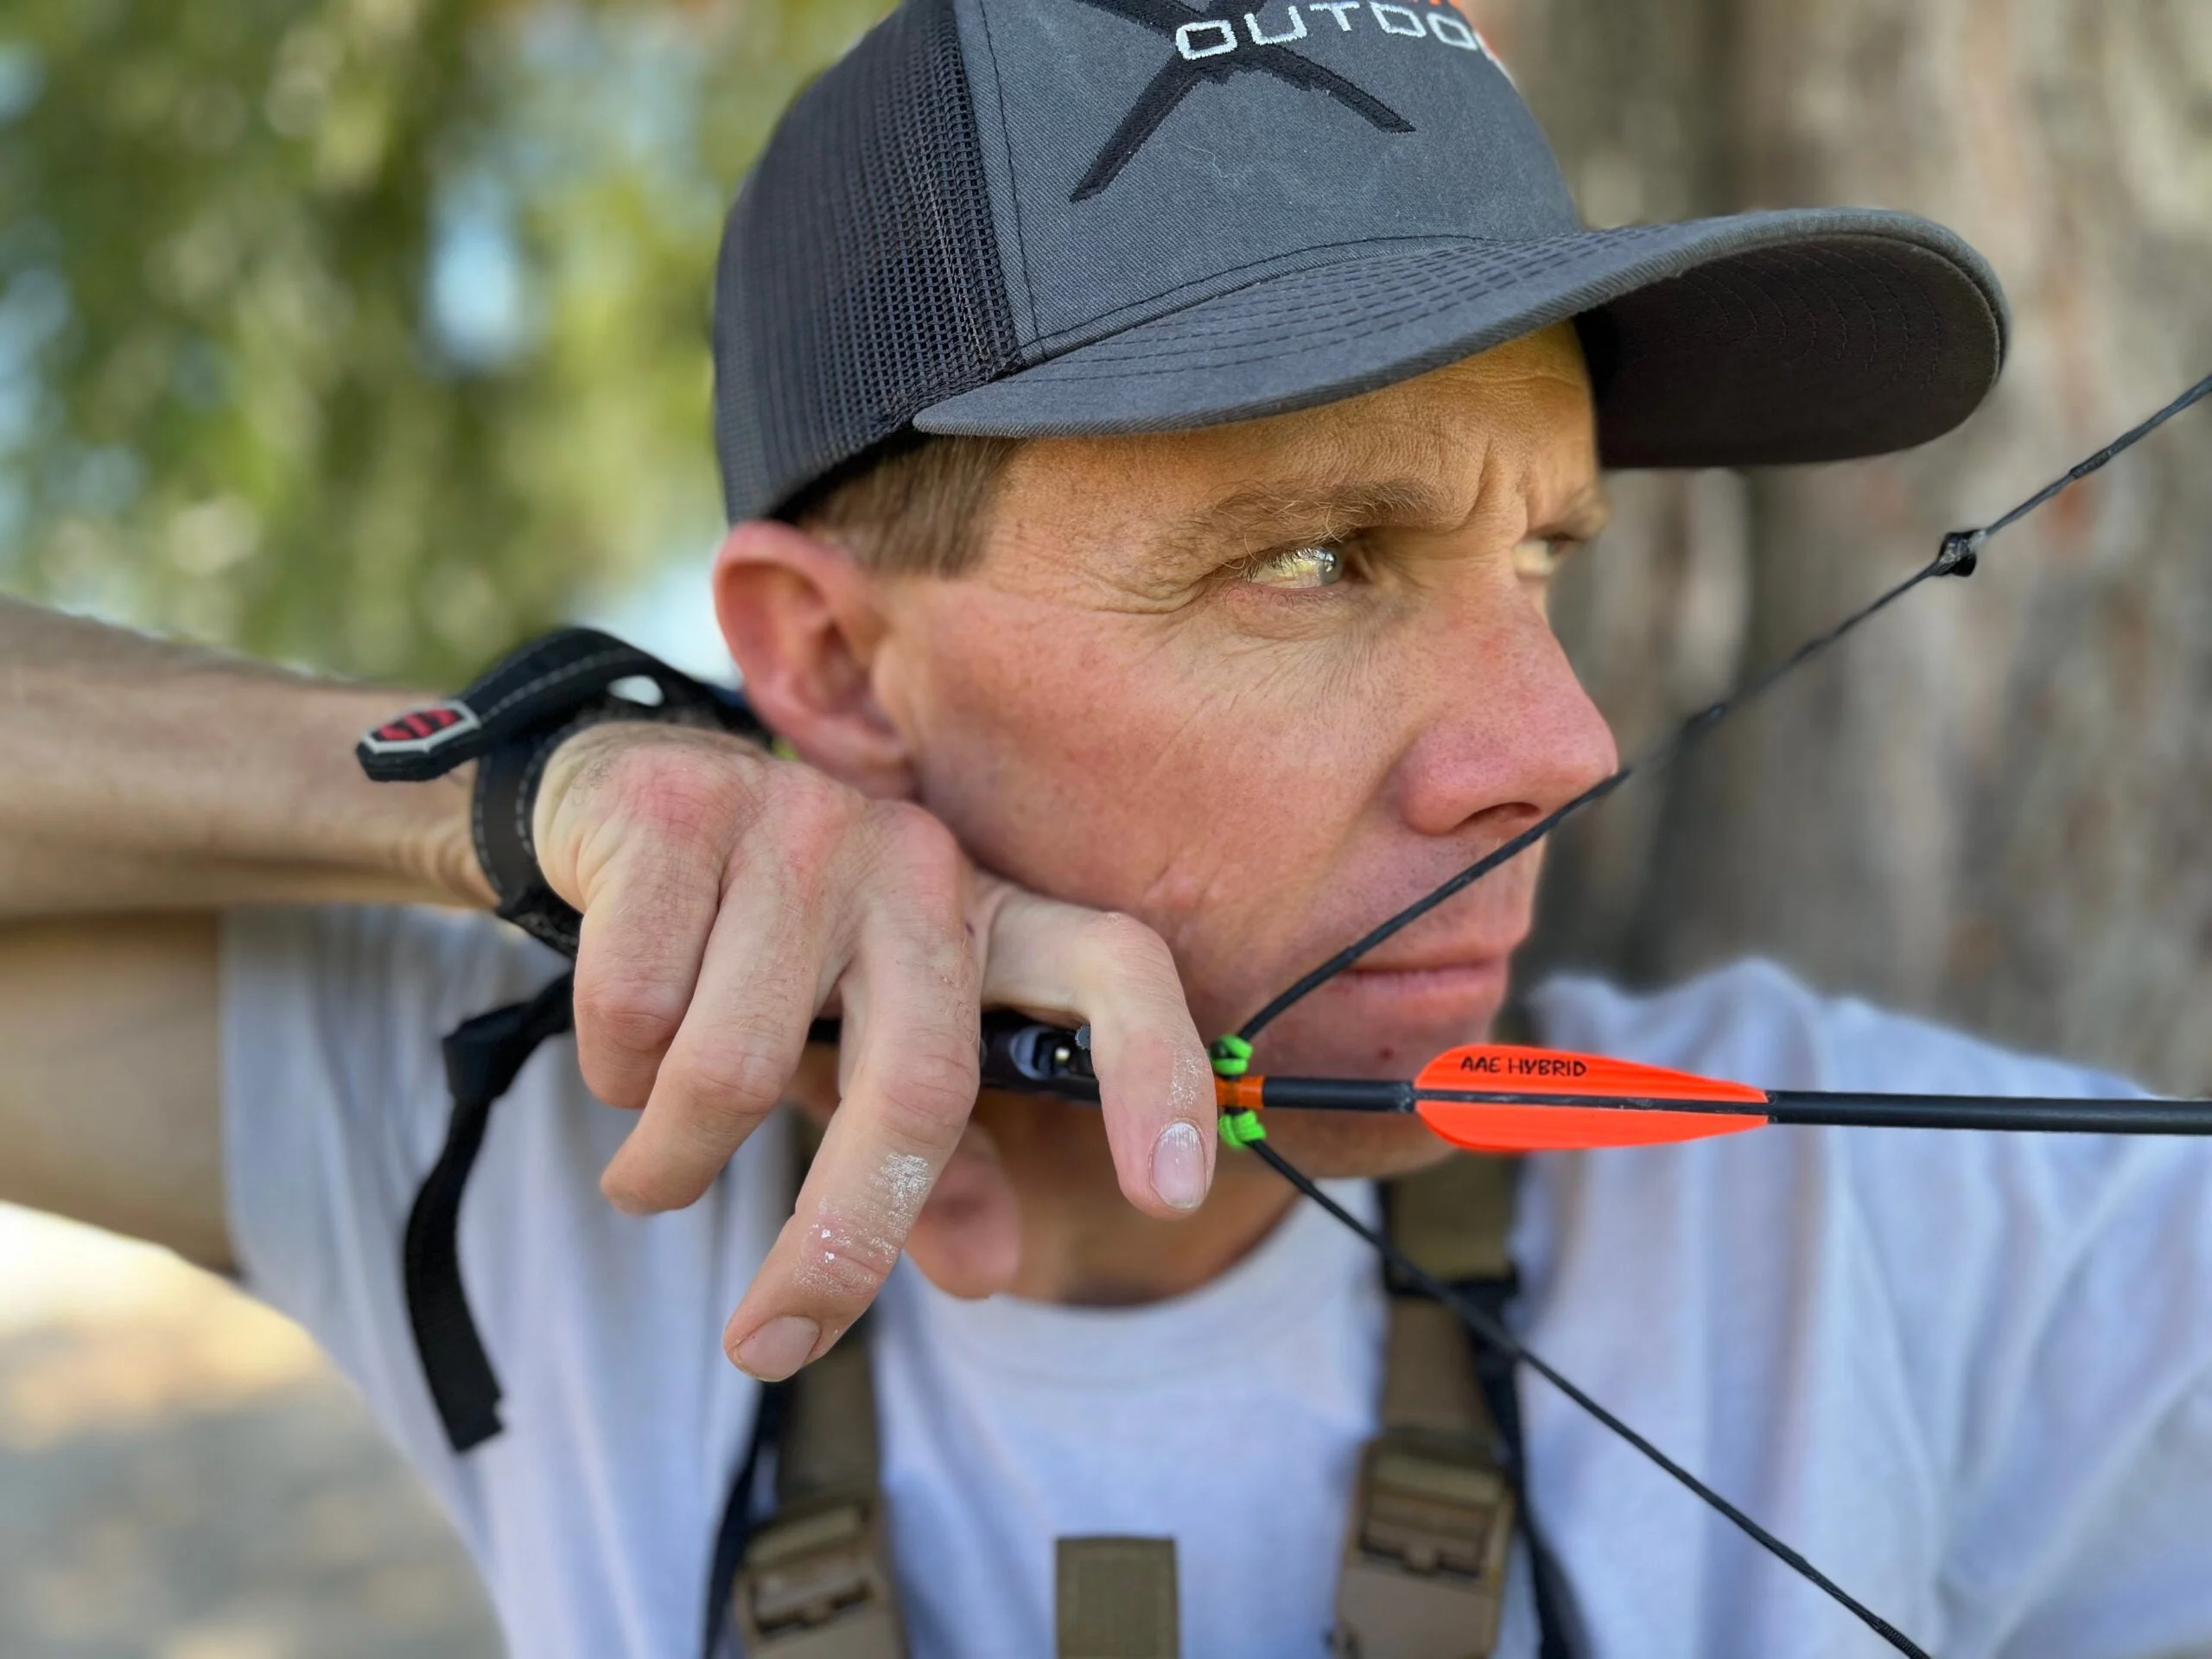
The author anchors with the tip of his nose on the string and his hand in the same place on his face, every time. Jace Bauserman
I know, it seems a little weird, but don’t let that stop you; talking to yourself develops a repeatable routine and helps reduce anxiety. As you transition from your anchor to the actual shot execution, you should say one more thing, but what you say here is entirely up to you. I whisper a bible verse I’ve memorized. Other bowhunters I know have different phrases they say to themselves. Some are as simple as, “Here we go.” The key is having something that transitions your thinking from the draw and anchor process to shot execution.
How to Sight in a Compound Bow—Fine Tuning
Perfect and Confirm Your 20-Yard Pin
Develop your process from 20 yards, and don’t finalize your 20-yard pin setting after putting an arrow or two in the dot’s center. Shoot until you put multiple arrows in both the dot’s center and in the lungs of the 3-D target, and then put the bow down for at least an hour. When you return, go back to 20 yards, go through your shot process, and see where you hit. Chances are good you’ll be a tad high, low, right, or left, even at 20 yards. It takes time to develop muscle memory and do everything the same every time. Don’t finalize that 20-yard pin sighting until you can come back after putting the bow down for an hour or more and consistently hit in the same spot.
Confirm Again, Move Back, and Repeat
Occasionally shooting at a 3D target instead of a dot during this prociss can help keep target panic at bay. Jace Bauserman
Now move to 30 yards and do it all over again. My goal over two days is to get my 20-, 30-, and 40-yard pins dialed, or those marks set on a sight tape. Don’t be in a hurry, and don’t get frustrated. It’s also crucial over these two days to make every shot a quality one. It doesn’t matter how many arrows you sling. It’s about grooving your process on every arrow and making the best possible shot each time. This is why I like to have a 3-D target next to my dot-style target. Moving from a dot, which can create anxiety that leads to target panic, to a 3-D target every few arrows relaxes my mind and helps me stay focused.
On day three, confirm your 20-, 30-, and 40-yard distances, and then move back another 10 years. Do this even if you don’t plan to shoot at an animal past 40. Shooting longer ranges will make you much more accurate. Again, the key is not to get in a hurry. Go to 50 yards, and don’t move beyond that distance for at least two shooting sessions. Some western bowhunters talk about 50- and 60-yard shots like they’re close, but they are not close shots. Shooting at longer ranges takes time and practice. You can have a sub-par grip or inconsistent anchor, or the bubble on your sight can be slanted one way or the other, and you can still make a killing shot at 25 yards. Do any of those things at 60 yards, and you’ll miss—or worse, wound the animal.
How to Sight in a Compound Bow With Perfection as Your Goal
The author admires a perfect shot. Jace Bauserman
After going through your entire shot routine from start to finish, take time to reflect on each arrow. Don’t grab another shaft and fling. This leads to bad habits. Instead, take two or three minutes to reflect on the shot. Did you talk yourself through each step? How was the execution? Did you punch the release or pull through it? It doesn’t matter if you smack the bull’s eye from 50 yards if you know it was by chance. You want to know that the arrow is sitting in the target’s center because you executed it flawlessly. This builds maximum confidence. Don’t be satisfied with hitting close to the spot at 50 yards. You want perfection.
Follow this routine as you step back in yardage day after day. How far you decide to sight in your bow in is up to you. If you ever start feeling anxious as you move farther from a target, stop and move closer. Target panic is ugly, so don’t give it a chance to seep in. Move in, gain confidence, then try again.
Once you’ve got your shot routine grooved and you’re feeling great about your shooting, then it’s time to move on to walk-back tuning and broadhead tuning. Do either of these sooner, and you’ll probably have to do it twice, or more, which is a big waste of time. So take the time to get this right, then you’ll be ready fine-tune your equipment for the field, which we will cover in out next installment.