


_We may earn revenue from the products available on this page and participate in affiliate programs. Learn more ›
_
Trail-camera technology has gotten better and better over the years. But no matter how many megapixels a camera has, it’s useless unless you know how to get the most out of it. If you’re running the best new game cameras, and all your getting for pictures are antler tips and elbows, the following tricks will help.
1. Know Your Trail-Cam Before You Set it Up
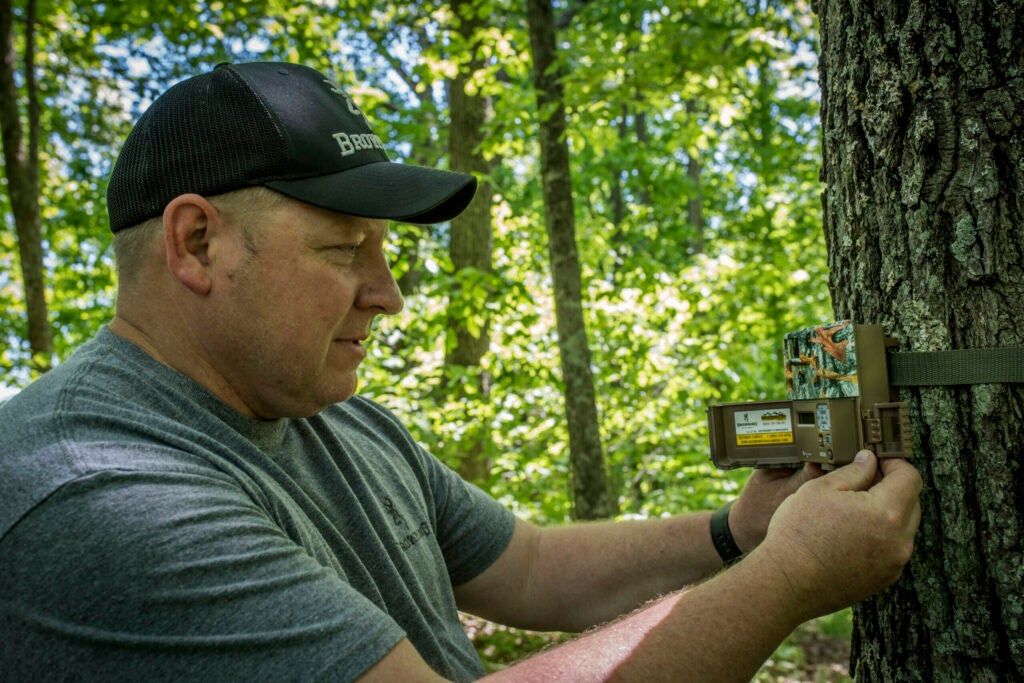
“Take the time to learn about any unique features on your trail cameras,” says Tom Rainey of Browning Trail Cameras. “Things like adjustable trigger speeds, flash ranges, and detection ranges can all help you customize your cameras to perform at their peak based on your expectations, and where you have the camera set up.”
2. Set it and Forget It
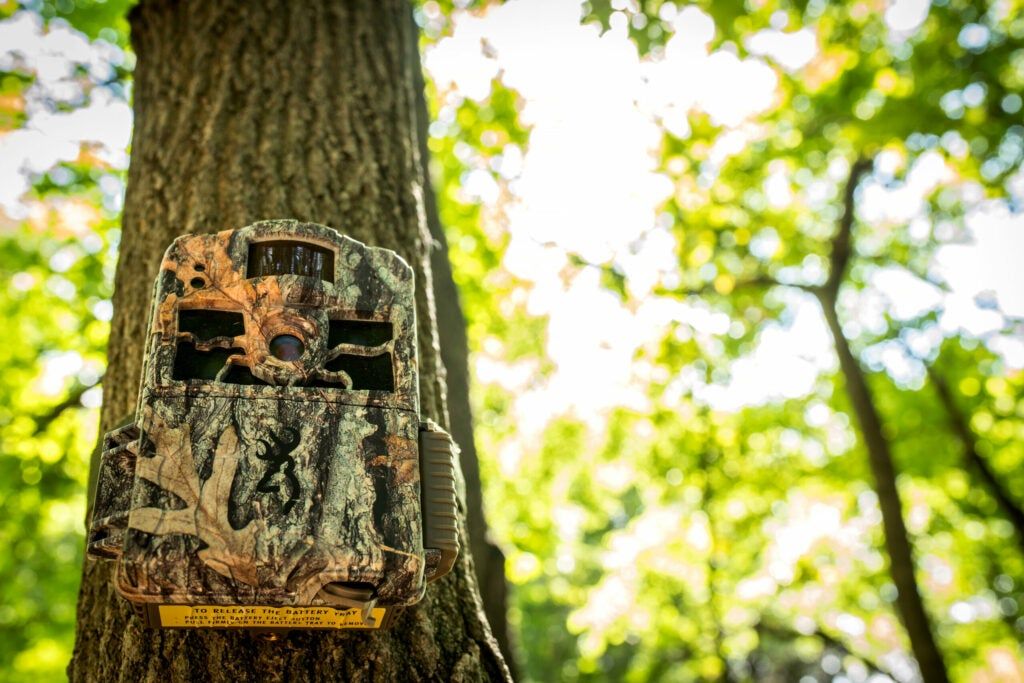
Set conventional cameras up and leave them be for at least a week between checking. Browning Trail Cameras
It’s easy to fall into the trap of checking your trail cams too much. This can be a problem especially in high-traffic areas like field edges. The more you walk in during or before the season, the more the deer in the area are going to avoid that spot. Check your cameras once a week at the most before the season, and two to three times a week during the rut.
3. Don’t Spook Deer When Checking a Trail-Cam
Approach cameras in sensitive areas (such as those near a natural scrape or close to bedding cover) as you would a treestand; keep the wind in your face, walk quietly, and avoid touching vegetation. On field-edge or feeder setups, drive your vehicle or ATV as close to the camera as possible, and always check it at the same time of day. Adopting a routine will habituate deer to your presence.
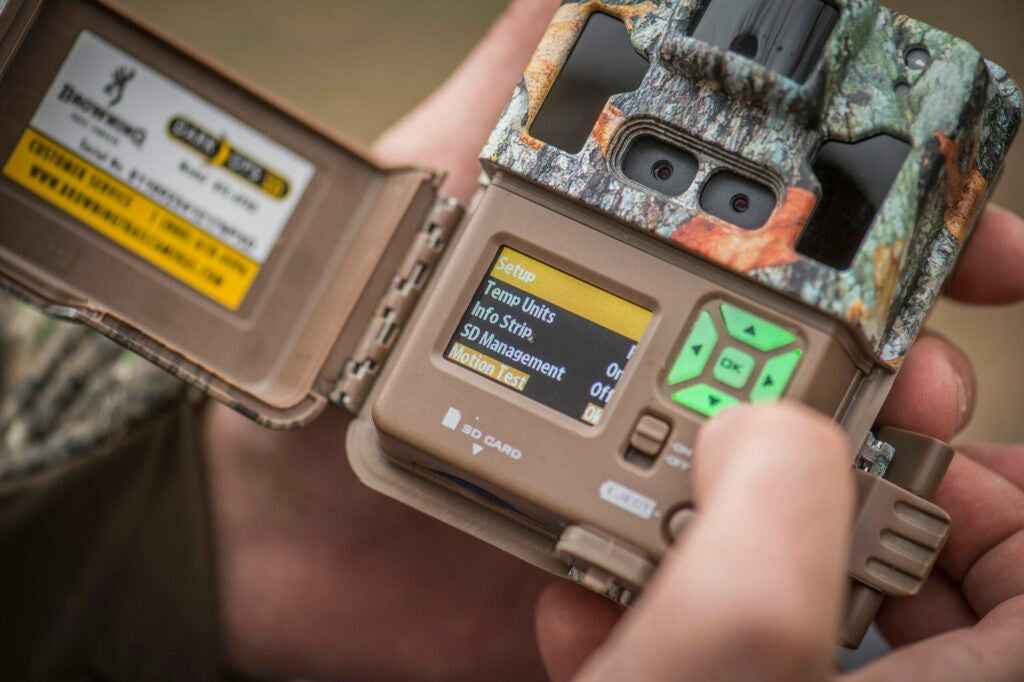
Check SD cards while you’re in the field so you can adjust a camera if necessary. Browning Trail Cameras
4. Bring a Card Reader into the Woods
“Always have a way to check your SD cards when you are in the field,” says Rainey. “Whether it’s a viewing screen on your trail camera, a card reader, or a tablet viewer, it never hurts to double-check what will be in frame when your camera triggers. Checking SD cards in the field allows you to see where the camera is aimed and make necessary adjustments while you are there. This can help you avoid those irritating pictures that are focused too high or too low.”
5. Keep Your Scent Off of Your Camera
Just because you’re not sitting in a tree stand stinking up the woods doesn’t mean the stuff you leave there won’t smell. Wear rubber gloves and boots when placing or checking cameras. Try to handle them sparingly, and clean your cameras with scent-free cleaner before putting them in the field.
6. Use High-Quality Cards
Not all memory cards are created equal. Even though they all look the same and will fit in your camera, some SD cards are better than others. High-quality cards will write faster and won’t fail to save an image as much. Get the best cards you can afford, and you’ll probably be able to use them season after season with better results. —M.E.
Take time to learn the features of your trail camera. Browning Trail Cameras
7. Point a Camera North for Better Results
The best times for deer activity are at dusk and dawn—when the sun is low and apt to shine right into a camera lens. Point your camera north if you can. Cameras facing east or west will often produce washed-out images and experience more false triggers.
8. Turn the Sensitivity Down Over Bait Piles
When you’ve got a big pile of corn out or a mineral lick, the deer can come in droves. This will wear down the battery life on your camera if the sensitivity and picture frequency are set too high. Turn these settings down to get more pictures of different deer—not a lot of pictures of the same five does. The opposite is true when placing a camera on a run, creek crossing, or over a scrape.
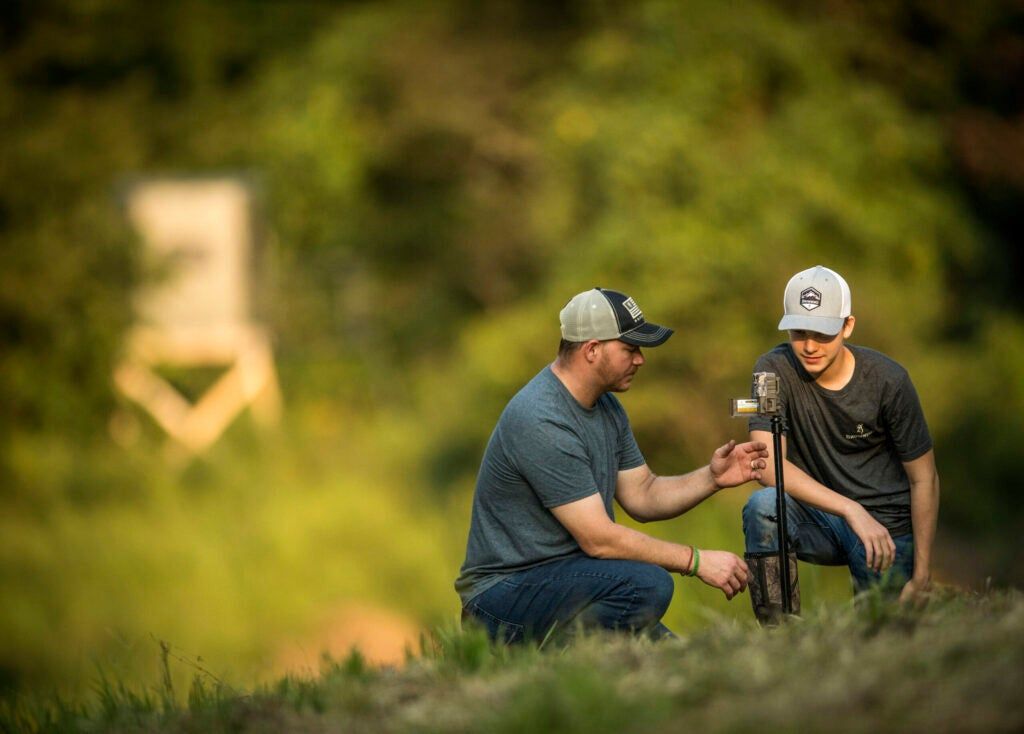
Use a camera mount if there aren’t any trees around. Browning Trail Cameras
9. Use Mounts or T-Posts When Straight Trees Aren’t Around
When you can’t find a good tree to hang your camera, you’re going to need some options. Luckily, most trail cameras come with a ¼-20 threaded socket in the bottom for mounting on tripods or other camera mounts. Pick up some mounts that allow you to pivot the camera up or down. This will allow you to attach it to bent trees or branches. If you’re hunting on private land and there are no trees, drive a T-post or a stake-type camera mount into the ground next to some brush and attach your camera to it.

THE 1871 CLUB