We all know the best deer steaks are cooked over an open flame, but sometimes that’s just not practical. If you run out of briquettes (or, shudder, propane) or it’s just too cold outside to stand over the grill, this super-simple technique turns out perfectly cooked, killer tasting deer steaks right out of the oven.
There are two requirements to this recipe. First, you need a heavy oven-proof pan, preferably cast iron. You also need thick-cut deer steaks. An inch is best, though you might be able to get away with 1/2-inch cuts if you’re careful. Any thinner and the steaks cook so quickly you might as well skip the oven step and transfer them directly from pan to plate after searing. If you’re still with me, here are six steps to cooking the perfect deer steak in the oven.
Cook the Perfect Deer Steak in the Oven.
About an hour before you plan on eating, pull the deer steak from the fridge and let it rest on the counter until it comes up to room temperature.
Place a 10-inch cast-iron skillet in the oven and set the temperature to 450°.
Using a paper towel, blot any surface moisture and blood off steak. Rub both sides with canola or vegetable oil. Sprinkle heavily with salt and cracked pepper, pressing the seasonings into the meat with your hand.
When the oven comes up to temperature, carefully remove the hot pan to a stovetop burner set to medium-high.
Place the steak in the pan and sear one side quickly, no more than 30 seconds. Flip the steak and transfer the pan back into the oven. Cook about two minutes per side for medium rare, but no longer than 3 minutes per side.
Remove the pan from the oven and transfer the steak to a plate. Let the meat rest for about five minutes before slicing. Use this time to deglaze the pan with a little red wine or stock to make a quick, easy pan sauce.
Dry-Age Your Venison Steak in Your Fridge Before Cooking
By now, everyone know about dry-aged meat and how hanging large cuts in controlled environments for weeks and weeks creates delicious, butter-soft steaks. Normally, this is the realm of the high-end steakhouse, or the really obsessed home cook. But, you can dry-age a steak, be it venison or beef, in your fridge, in just a few days’ time. The process works great on previously frozen meat, making it perfect for steaks or chops from last fall’s deer or elk. Big steaks—those an inch or more thick—are the ideal candidates.
Now, this short-term, in-home aging process isn’t going to give you that rich tang or fork tenderness associated with steaks that have been aged for weeks or even months. The process does, I believe, enhance the flavor and, because of the loss of moisture at the surface, grill up a lot better, with some excellent, flavorful browning taking place when it’s exposed to heat. I’d even skip the grill altogether and sear the steak (and burgers for that matter) on a smoking-hot cast-iron pan, but that’s a discussion for another time.
Ideally, you should do this in a separate fridge, like a beer fridge or that mini-fridge you still have from college. However, it works equally well in your regular refrigerator, but there are a couple things to keep in mind. One, your steak will pick up foreign odors, so cover or wrap up anything that’s really smelly—onions, that hunk of Maytag blue cheese, etc. Second, bacteria. A steak lying bare to the world is exposed to any bacteria that may be floating around, so throw out those rotting leftovers and give the fridge a thorough cleaning.
There’s another advantage to having a dedicated meat fridge. It’s easier to maintain a consistent temperature and humidity level when you’re not opening the fridge every 10 minutes to find something to eat. Commercial dry-aging facilities—those that do it for restaurants—keep humidity levels at 75 to 85 percent, but since you’re only aging for a few days, versus up to 28 days or more, you don’t want it that wet. Shoot for 60 percent or so, which you can monitor with an inexpensive gauge. If you need to up the humidity, fill a small bowl with salt and add water until it’s just saturated. As for the temperature, keep it above freezing, but below 40 degrees.
Dry-Age Instructions
Unwrap the steak and pat all surfaces dry with a paper towel. Place the steak on rack set inside a pan or on a small plate. You want the entire steak exposed to the air, plus the tray will catch any dripping blood or water. Set the tray in the refrigerator.
After 24 hours or so, check on the steak. It will probably be wet, so wipe it down with a paper towel. I also like to flip the piece of meat to ensure every bit is getting some air. Do this every day for however long you decide to age the steak. Five days is about the ideal target, although sometimes I will push it to seven. More than that and you’re tempting fate with spoilage unless your aging conditions are exactly perfect. You’ll also end up with an exterior that’s too dry, meaning it will need to be trimmed before cooking. By keeping within the seven-day window, you shouldn’t need to trim the surface at all. Just grill to medium-rare and enjoy.
Tenderize Frozen Venison Steaks
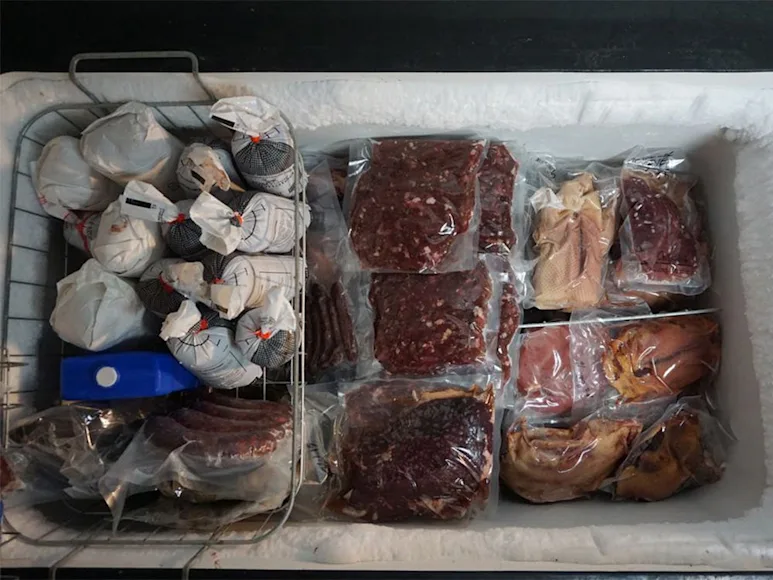
There are a lot of ways to tenderize a tough deer steak. Some of them, such as mechanical tenderizing, work great. Other, namely marinades, don’t penetrate far enough to make much of a difference in the toothiness of a tough cut. However, according this article in the High Plains Journal some time in the freezer might make certain cuts softer.
_Kansas State University meat scientists say they’ve confirmed previous findings about the impact of freezing strip loin and inside round steaks. In a recent study, they tested six major muscles from the hind quarter and found that those two cuts were as much as 10 percent more tender after freezing.
Steaks were evaluated for tenderness using the Warner-Bratzler Shear Force test, which measures the force needed to shear muscles.
“So the question we had was why did these two cuts react while the other four did not,” said John Unruh, professor of animal sciences and industry.
Part of the answer, he noted, is moisture loss. “These two muscles, for some reason, did not lose as much moisture during freezing as the other four,” Unruh said_.
While the study tested beef, I don’t think there would be much difference when it comes to deer, elk or other types of venison. It would be interesting to find out, though I don’t have access to a Warner-Bratzler Shear Force tester. Guess I’ll have to wait until next season for a side-by-side comparison.


