Many deer hunters default to throwing venison over an open fire, getting a nice crust, and shooting for medium-rare. The only issue with this is venison doesn’t always cook to the same level of doneness throughout. For example, you may get medium rare in the center, but the outer layers of the meat will be well done.
Sous vide is the answer. It sounds fancy, but it’s basically just a way to slow-cook meat by submerging it in a hot-water bath. When done correctly, sous vide cooking minimizes those layers of gray, flavorless, dry meat, and instead produces pink, flavorful, medium-rare venison from the middle to the crust.
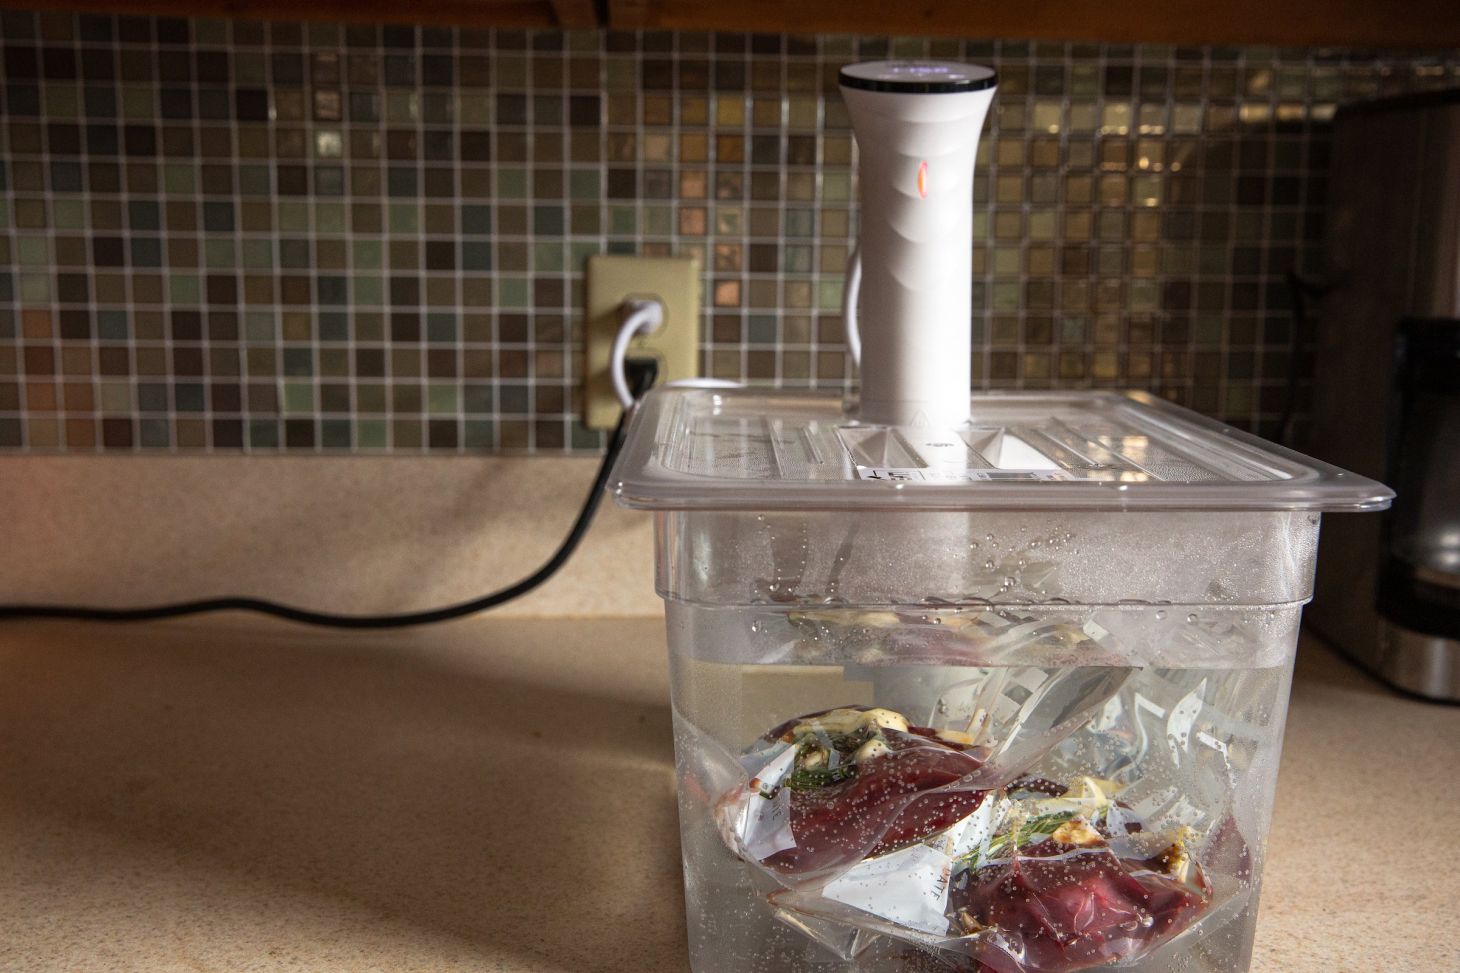
A sous vide cooker slowly cooks meat in a hot-water bath. Jack Hennessy
Sous vide cooking also allows for some leeway. When cooking with high heat on an open fire, a few minutes can be the difference between medium-rare and medium-well. Sous vide cookers
offer a far greater margin of error because temps are low and consistent.
Sous Vide Basics For Venison Roasts and Tough Cuts
If you want to sous vide venison, you need a sous vide cooker
. The cooker attaches to a container filled with water
and uses heating coils to regulate water temperature to the decimal point of a degree. You also need a solid vacuum sealer to bag the meat and separate it from the water bath. You can use Ziploc bags in a pinch—just try to push out as much air as possible to keep your bagged meat from floating in the water bath.
Different cuts of venison require different cooking times and temperatures. For example, here’s how long you should cook a few basic venison cuts, from backstraps to roasts.
6- to 8-inch backstrap: 2 to 3-1/2 hours at 115 degrees F
3-pound hindquarter roast: 3 to 4 hours at 122 degrees F
Eye of round: 1-1/2 to 2 hours at 110 degrees F
For all cuts, upon removing from the sous vide bath and plastic bag, pat-dry and reverse-sear the meat on a grill, flat top, or skillet heated to 600 degrees F for exactly 1 minute per side. Make sure to rest the meat uncovered for 15 minutes before carving. For sous viding tougher cuts, the general rule is to cook at 180 degrees F for 14 to 16 hours.
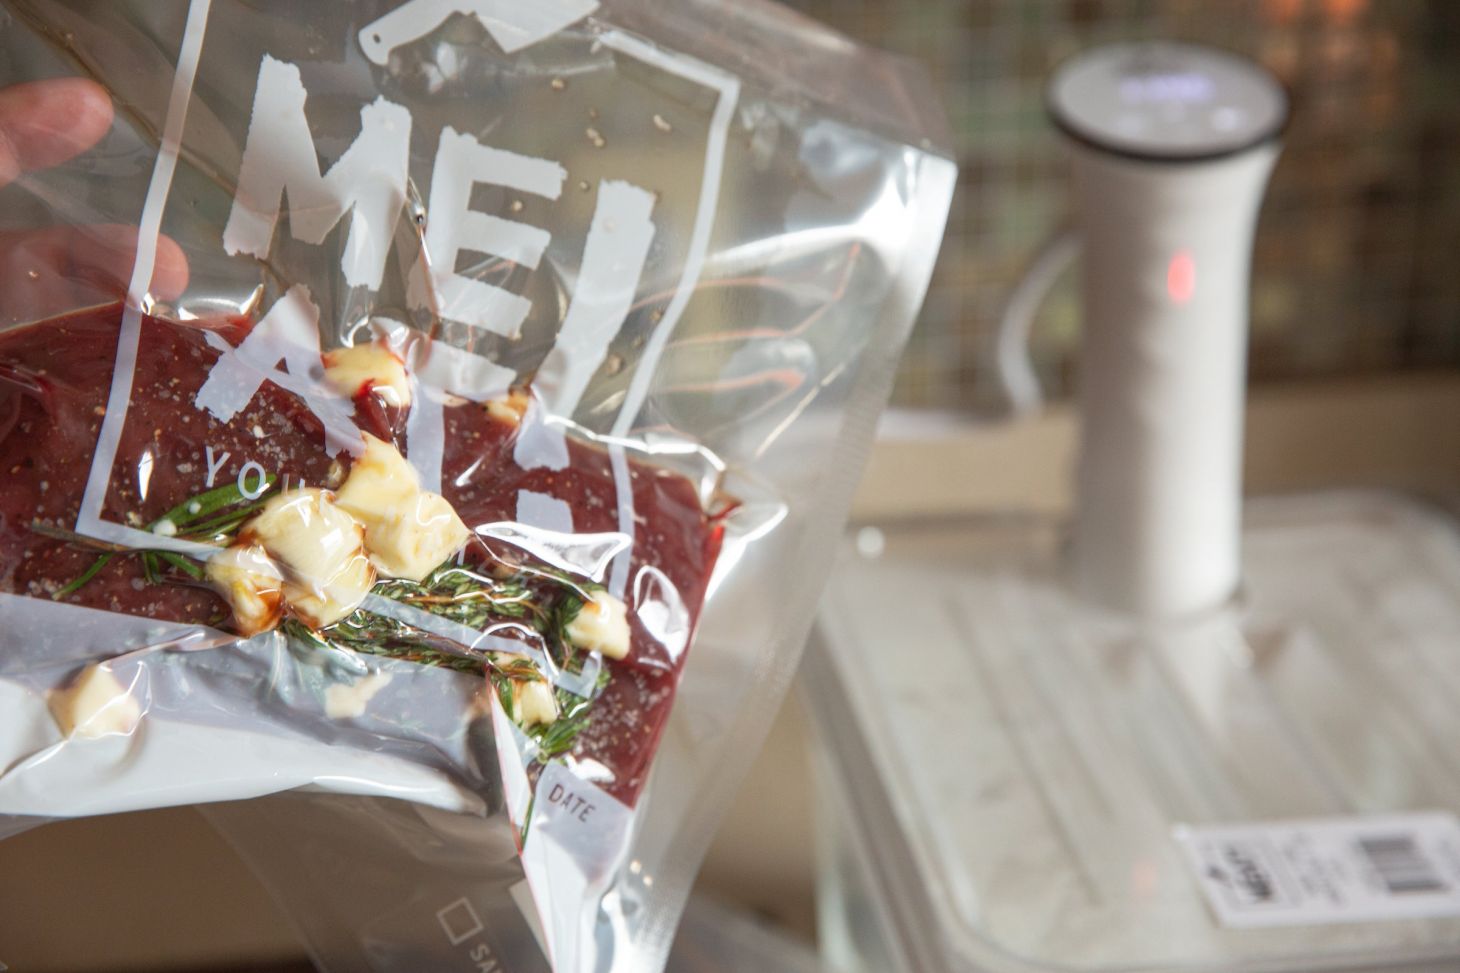
A vacuum sealer is important for sous vide cooking. Jack Hennessy
How to Sous Vide a Venison Backstrap
Ingredients
Serves two to four
One 6- to 8-inch length of backstrap
Kosher salt
Freshly cracked black pepper
Two sprigs of fresh thyme
Two sprigs of fresh rosemary
Four garlic cloves, smashed
1 cup white wine
Two pats of salted butter
Sunflower oil
Pickled red onions (simmer until sugar and salt dissolve, let cool, then add onions to set for at least 6 hours.)
Two medium red onions, sliced
2 cups apple cider vinegar
2 cups water
1/3 cup sugar
2 tablespoons kosher salt
Directions
Remove any silver skin or fascia from the fully thawed backstrap and lightly dust with kosher salt and freshly-cracked black pepper. Add the backstrap to a vacuum-seal bag with fresh rosemary, thyme, smashed garlic cloves, white wine, and butter. Mix up and seal the bag as tightly as possible. If using an external vacuum sealer, you may opt to not use any white wine.
Heat the water container with your sous vide cooker to 115 degrees F. Place the sealed backstrap in the container and leave anywhere from 2 to 3½ hours. When you’re ready to pull the backstrap from the sous vide bath, pre-heat a grill, flat top, or skillet to 600 degrees F. Cast-iron or mild steel works great here, but I would not recommend heating up a stainless steel skillet to this temperature. If you only have a stainless skillet, shoot for a 500-degree surface temp and cook each side for 30 seconds longer than the suggested times below.
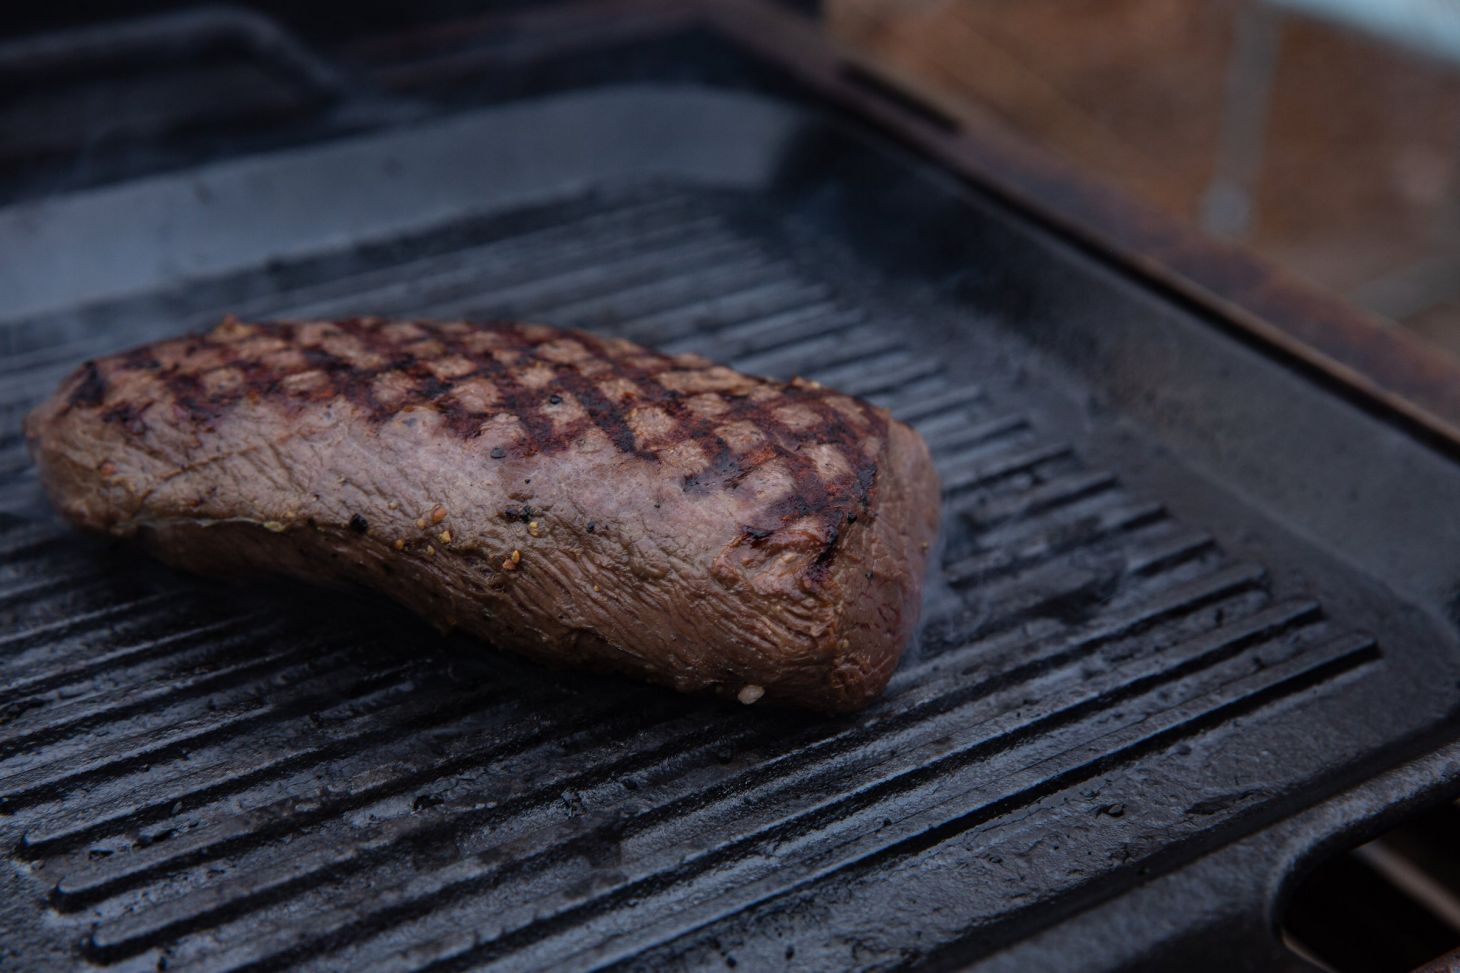
Searing meat after you’ve cooked it is called reverse searing. Jack Hennessy
Dry meat sears better, so pat the backstrap dry after you remove it from the bag. Lightly coat the backstrap in sunflower oil (or similar high-heat cooking oil) and sear the top and bottom for 1 minute on each side.
**Read Next: Want to Make The Perfect Smoked Backstrap? Use Frozen Meat
**
Remove the backstrap and place it on a cooking grate or mesh for juices to drip. Allow the backstrap to rest, uncovered, for 10 to 15 minutes prior to carving and serving. Pair with pickled red onions, if you wish.

THE 1871 CLUB