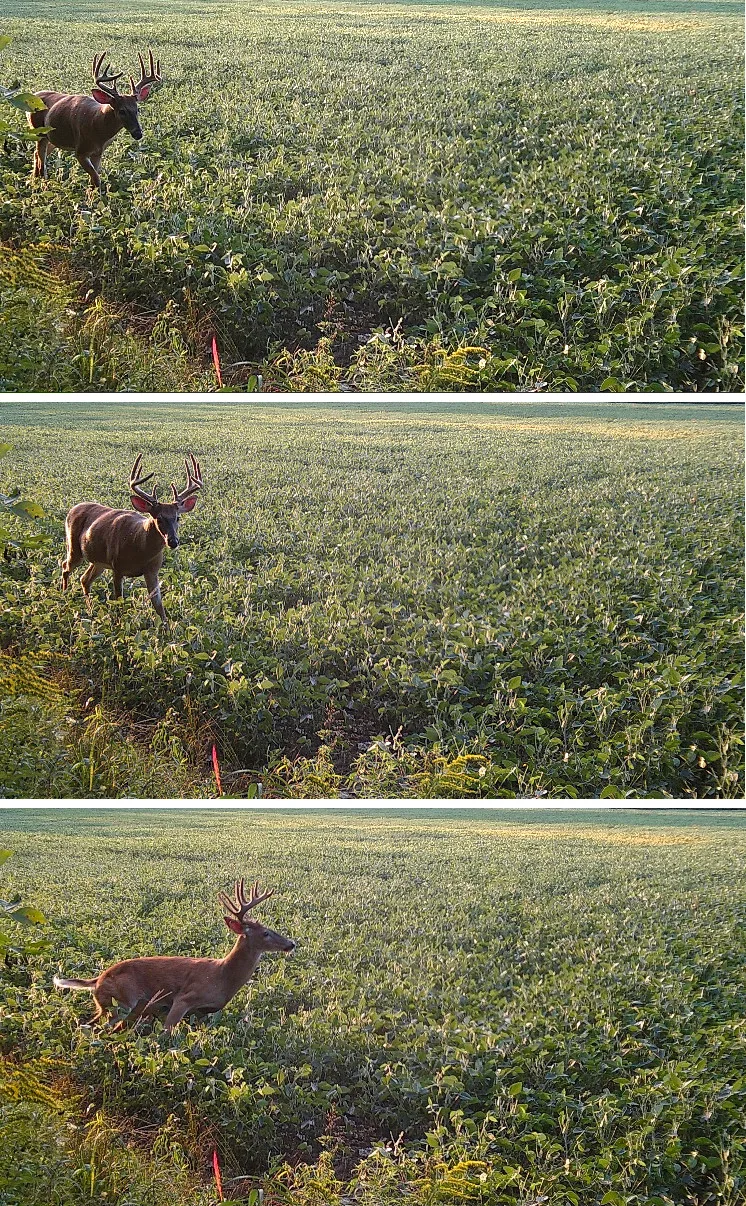
I was scrolling through hundreds of trail-camera pictures when I finally saw what I was looking for: a good buck casually walking through a September bean field in broad daylight. But as I scanned the next two images, eager to see more of the 10-point beauty, I got only disappointment. One frame showed the buck glancing toward the camera, and the next showed him coiling to bolt.
I hunted that piece of Michigan public land several times during the fall, hoping to catch a glimpse of the buck, but he never showed. Sure, he may have been shot by someone else or relocated to a different core area, but those images were a stark reminder that trail cameras can spook bucks—and of how critical proper cam positioning can be. I took a big chance when I strapped my camera to that naked little tree, and I predictably paid for it. But what are best practices for hanging trail cameras so deer won’t catch you spying on them and hightail it for other parts? Below are 9 rules I’ve learned from hard experience and from talking with fellow whitetail nuts. Following them will give your best chance to observe whitetails, collect vital hunting information, all while keeping it completely covert.

Related: 30 Trail Camera Tips for Getting More and Better Pictures
1. Assume all deer are smart.
Some whitetails spot trail cameras and keep right on posing, but others, like my 10-point, do just the opposite. Whether it's age, personality, hunting pressure, individual experience, or intelligence at play, tolerance levels vary from deer to deer. When we see the clueless ones again and again on camera, it's easy to assume this is how all deer will react, which is a mistake. Longtime deer farmer Doug Roberts of Conquest Scents estimates that roughly one third of whitetails are of lower intelligence, another third are average, and the rest are downright smart. So, by far the best way to stay completely under the radar is to treat every single deer, young or old, as if they are in the top third and will spook if they detect anything slightly off in their environment—including your camera.
2. Don't play it straight.
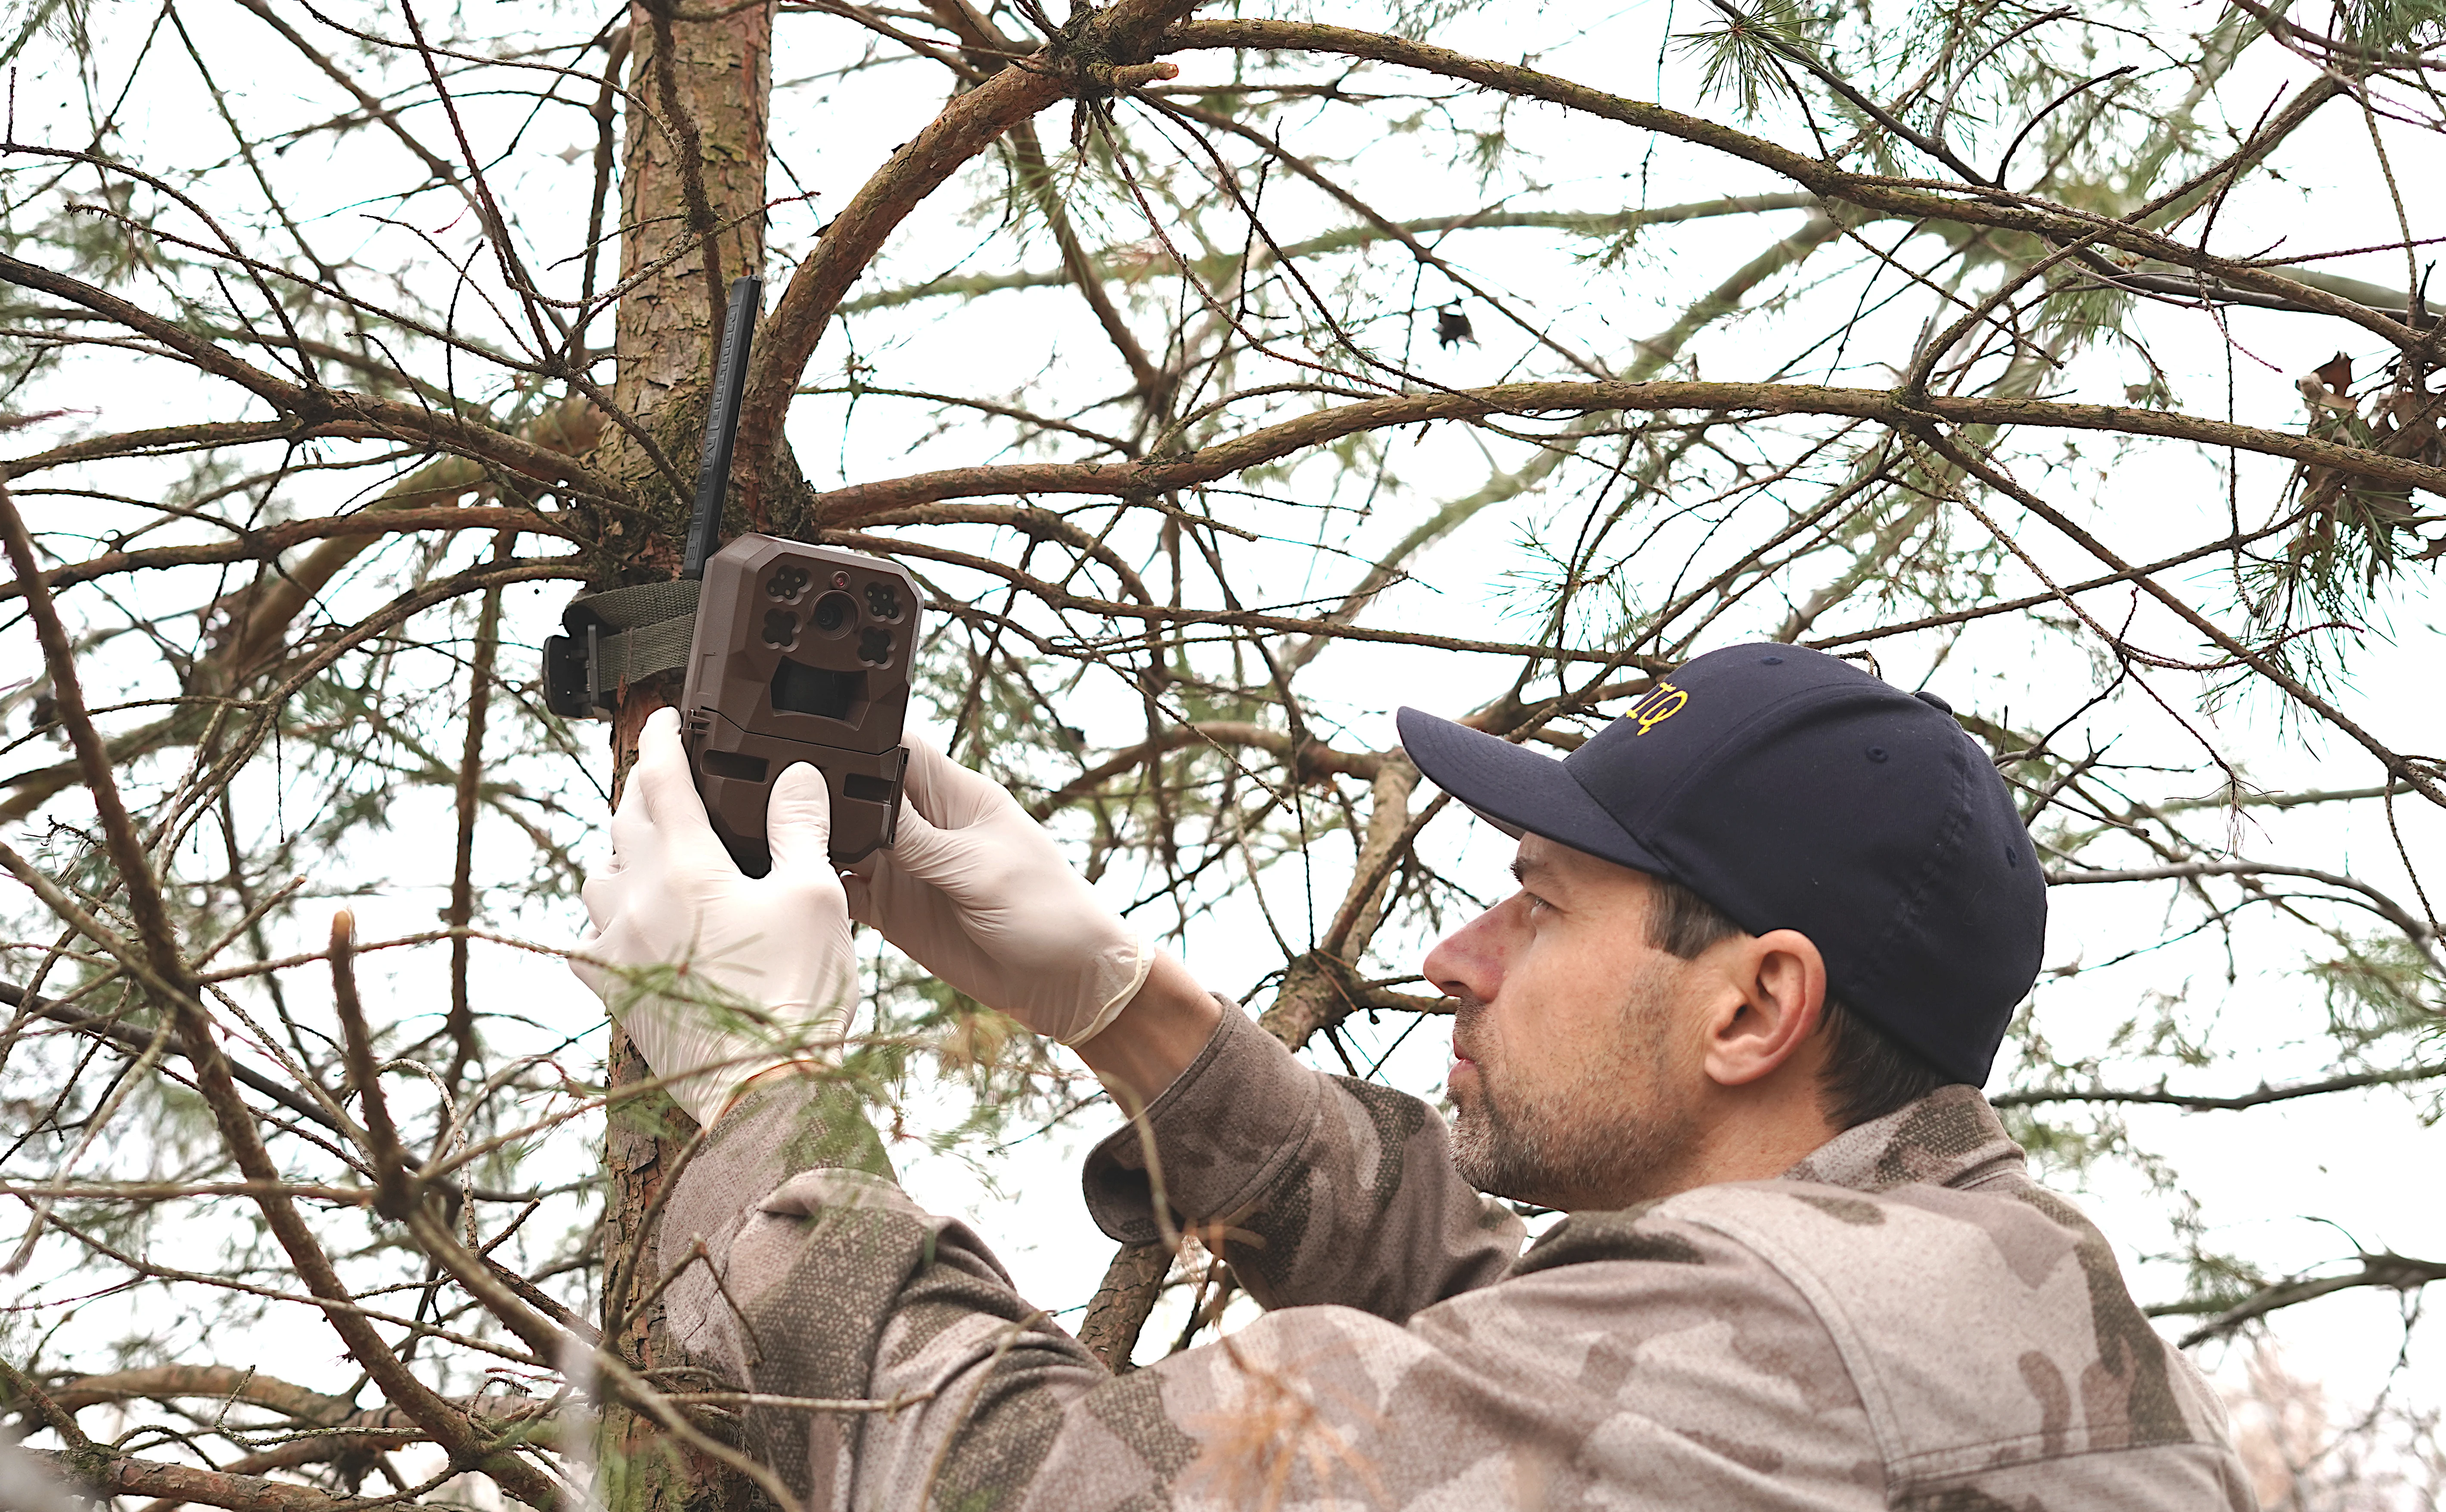
When it comes to placement on trails, edges, and other lines of travel, never put cameras straight-on to predictable deer movement. Deer can see about 300 degrees of their horizon simultaneously, but they definitely seem to notice odd-shaped objects right in their face best, especially when walking directly at them. And let’s be clear, a plastic box strapped to the side of a tree is odd. I see this mistake a lot on public land, and it's one sure to turn a hot trail cold. This poor placement also allows deer to smell your camera as they walk by, likely associating the area with human activity and possibly starting to avoid it. Hanging cameras at a 45-degree angle to lines of travel keeps it out of their face, allows for an adequate trigger window, and keeps it away from curious noses.
3. Hang them high.

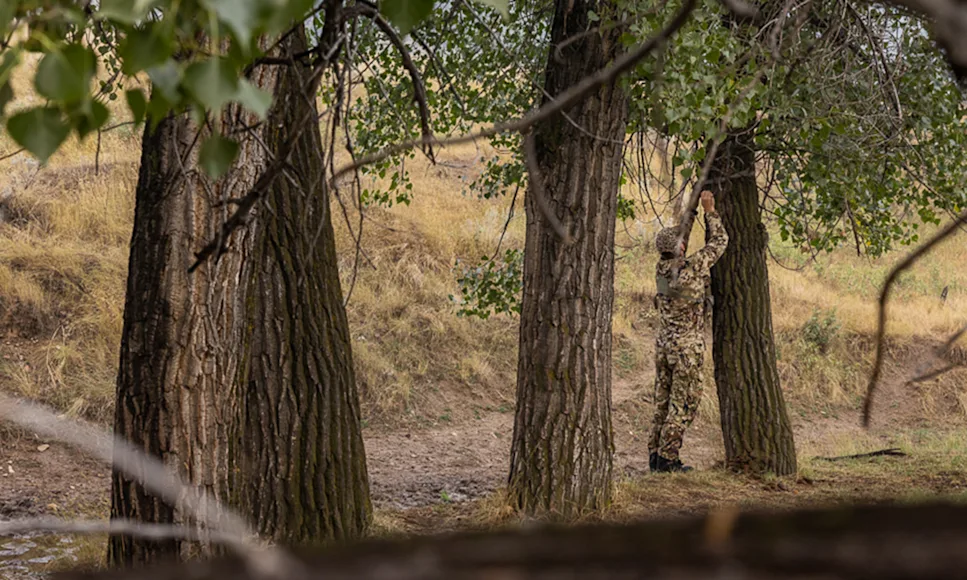
I’ve found that trail cameras hung 6 to 8 feet above the ground get noticed far less than one hung at waist-level, much like hunting in a tree gives you an advantage over sitting on the ground. You often see cams hung 3 feet off the ground on naked trees or t-posts, but this is not a best practice in my opinion. Why place something clearly unnatural in a whitetail’s turf in a way that is sure to be noticed? Putting a camera over your head gives a better chance to keep it out of a whitetail’s normal line of vision and minimizes their ability to walk up and inspect it. And if you decide to take this idea to a higher level by climbing 20 feet up a tree, just be sure the angle isn’t so steep that you can’t get quality pictures.
4. Get in their blind spot.
A whitetail’s 300-degree horizontal field of view is impressive, but it does means they have a 60-degree blind spot. To surveil a focused food source like a fruit tree, feeder, or to monitor scrapes, take advantage of this achilles heel and place cameras so deer are most likely facing away from it. Analyze likely entry and exit routes deer will take, and even steer deer by manipulating habitat with hinge cuts and strategically placed brush piles to position them where you want and decrease chance of their detecting your camera.

Most manufacturers recommend avoiding an east- or west-facing camera due to the sun’s transit causing false triggers as it rises and sets. But let’s take it a step further. If possible, place cameras on the north side of a tree that is south of your target. Since the autumn sun is largely in the southern sky, this puts your camera in the shade of the tree instead of direct light, helping it blend into the shadows. And if a curious buck wants to scope it out, the blinding sun behind it will discourage too much of this behavior.
Related: 60 Craziest Trail Camera Photos We've Ever Seen
5. Leave no trace.
One of the most overlooked factors when it comes to making cameras undetectable is scent—your scent. Being plastic, cameras typically don’t hold odors, but offensive greasy odors can stick to the surface, and the straps are like scent absorbing wicks. Keeping cameras stored in an area managed for odors helps with this problem, and being sealed in a tote protects them from harsh odors like exhaust, oils, and grease. Surfaces should still be wiped down prior to deployment, and straps should be washed or at least treated with ozone. If a big buck catches a whiff of human stink, or your diesel truck, or the hamburger you ate in your truck before you grabbed the camera, they may associate the area with humans and permanently vacate the premises.
6. Do a decible check.
Some talk has circulated among hunters about mature buck sensing the radio waves emitted by cell cams or seeing infrared from camera flashes, but we debunked both of those ideas in this article. So why do deer sometimes stare directly at your camera as if they sense it? Most likely, it's the clicking sound of the shutter or a noisy capacitor releasing energy for the flash. And some brands are just louder in nature or get that way over time, so doing a simple test each year before deployment can help weed out the noisy models and keep your arsenal whisper quiet.
7. Create a barrier
If you really want to keep deer noses and ears at a safe distance from your camera, remove the possibility of deer being close to it. Use a tree that has ample brush, logs, or impenetrable briars several yards around it, and deer are likely to never be close enough to notice the plastic box you strapped to it. And if you can’t find a spot to fit this description, create one. It may be a challenge for you to access, too, but that’s kind of the point.
8. Keep it natural.
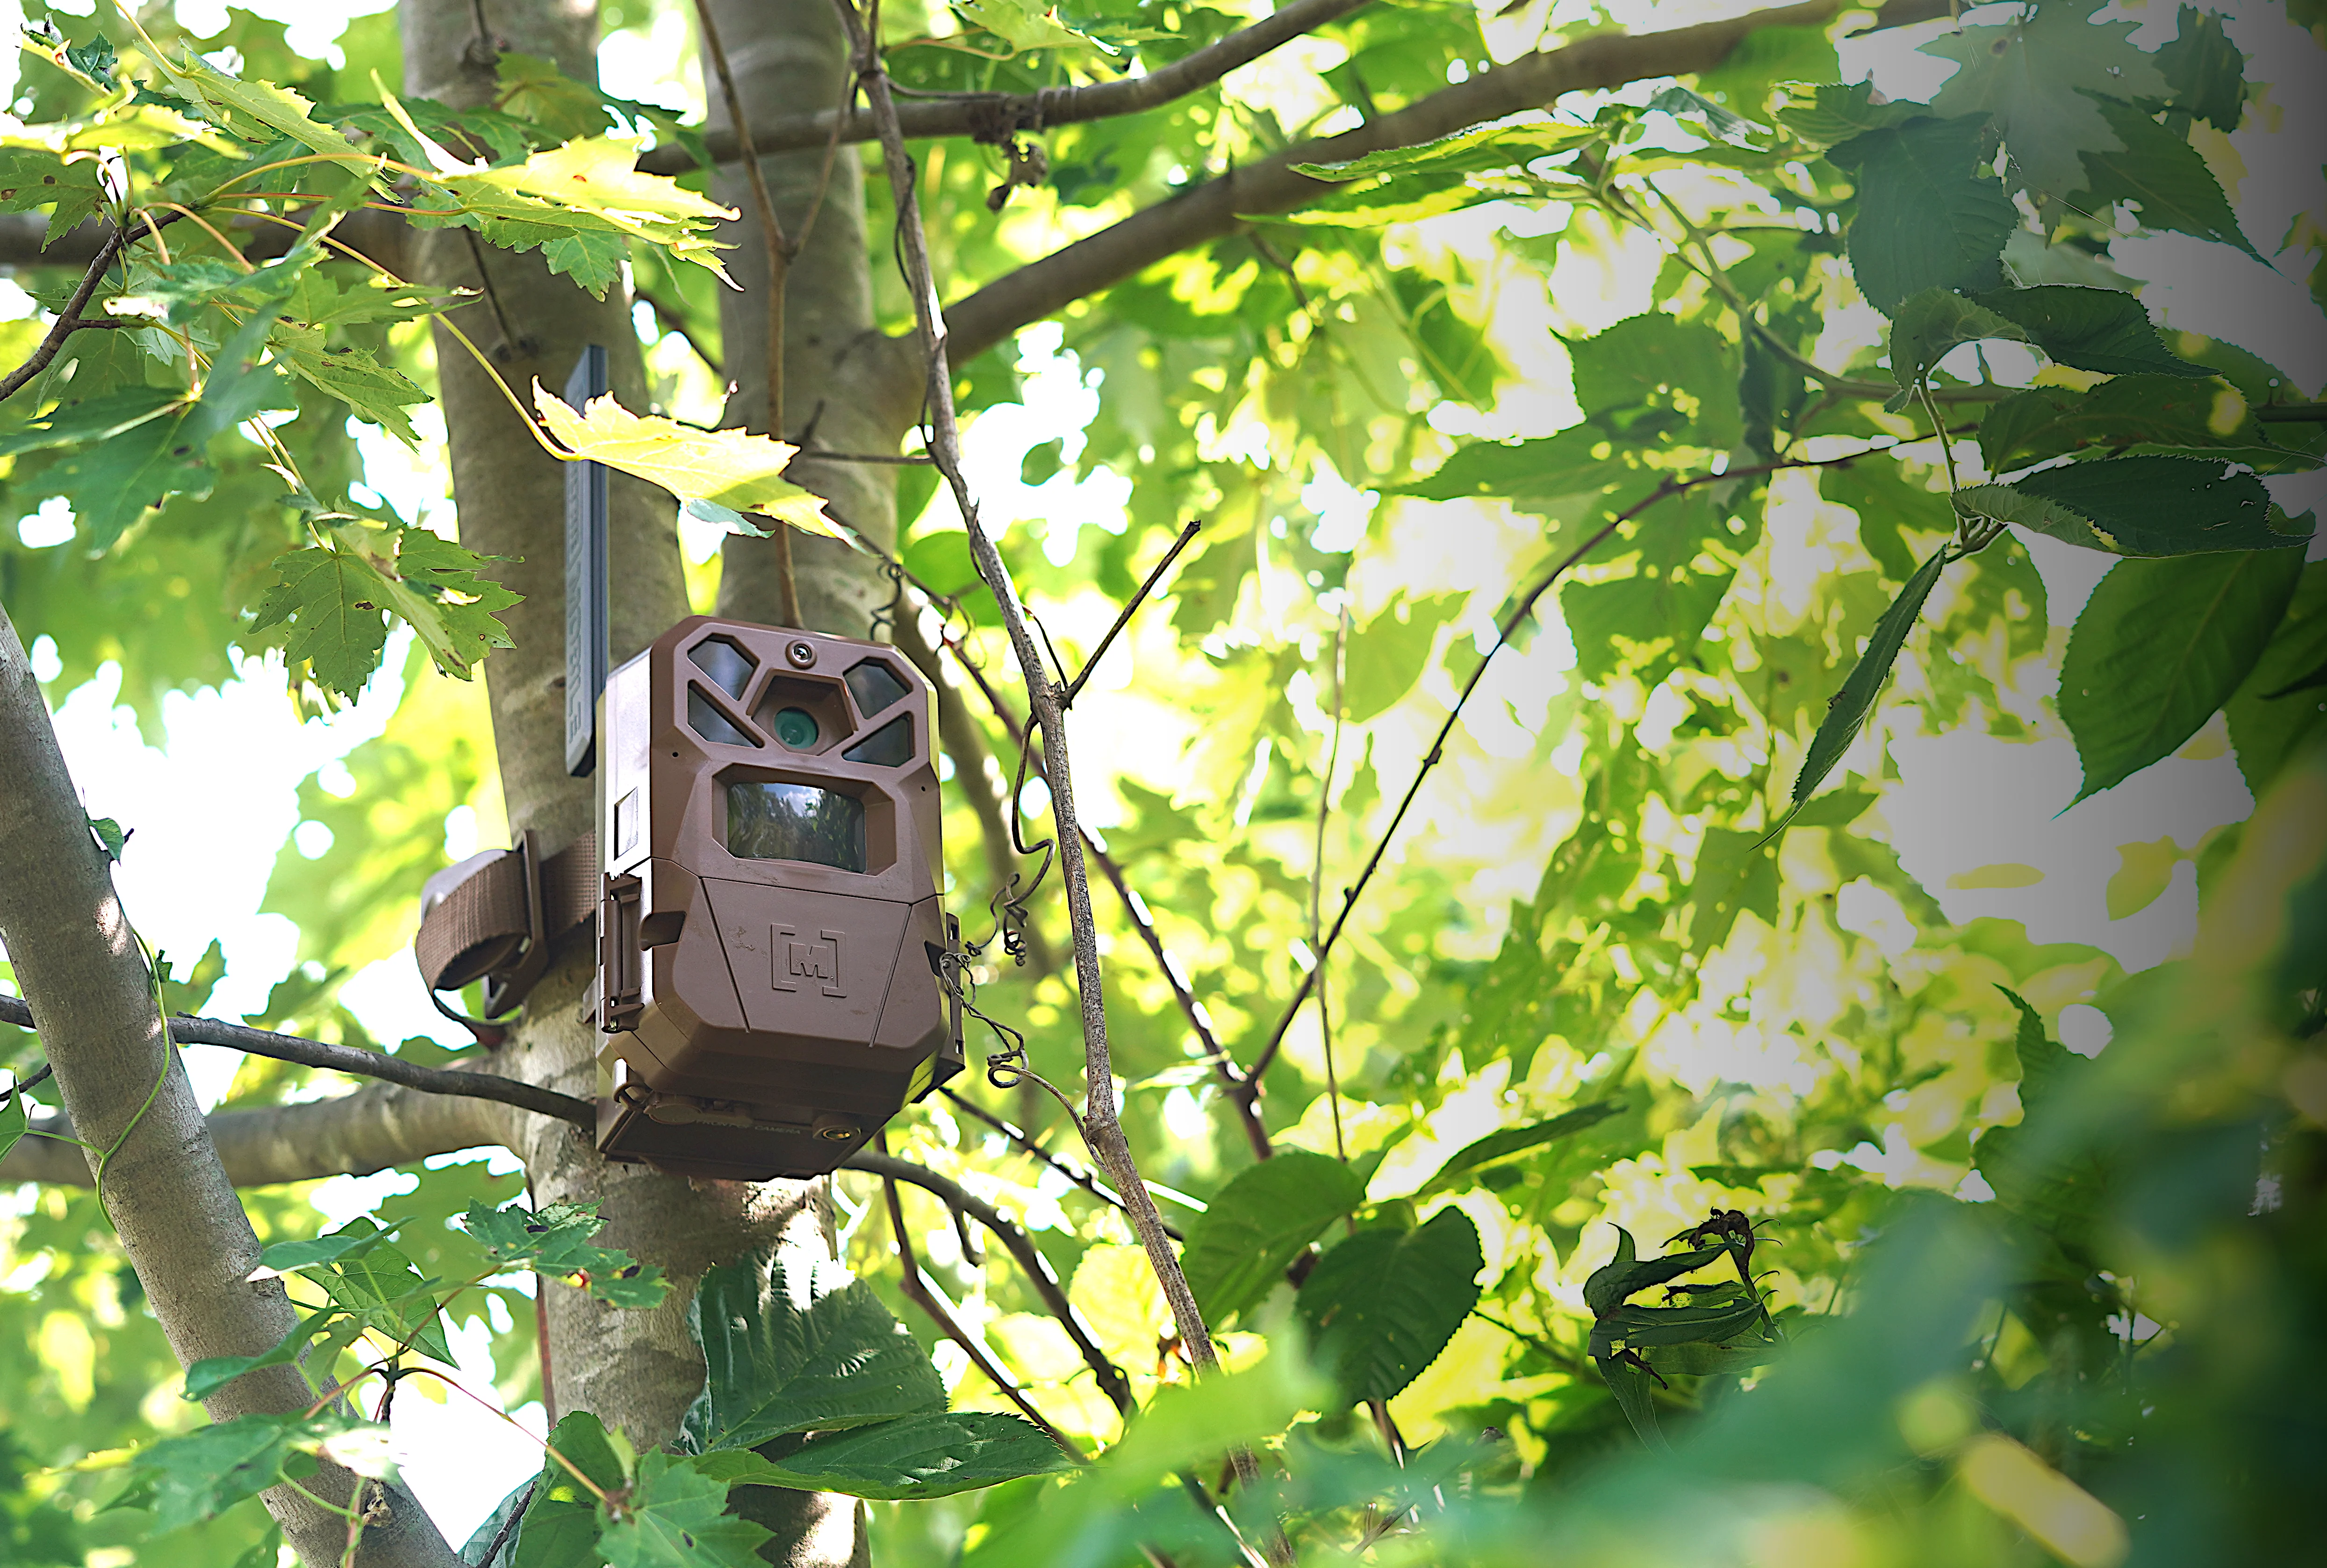
Let’s face it, some cameras blend in better than others, and all could use some help due to their weird shape. A whitetail’s vision is fuzzy compared to ours, but they quickly hone in on objects that don’t belong. So extra camouflage is the rule not the exception. If you have to, spray cams with matte paints of natural color or add your own camo. I’ve even applied facepaint to break up the form of monochromatic models with good success. But by far your best bet is to avoid naked trees, and find those with lots of leaves and limbs to tuck it up in and around. Just be careful nothing can dangle in front of the sensor or you’ll have thousands of leaf pictures to filter through.
9. Max Out the Flash
Remember that your ace in the hole is distance. How far should you place your camera from the “subject”? As far as possible to still get quality nighttime photos—that is, the maximum flash distance. This is usually stated in the camera manual but can also be tested in the backyard. This last rule helps cover anything that snuck through the cracks with our meticulous checklist, like a small odor or little noise. And this gets back to the goal of cameras, as well. I’m not trying to get a blue ribbon photo; I’m concerned with seeing what triggered it, where the beast came from, and a bunch of other data recorded by the camera that helps me make good hunting decisions. I’ll take a slightly grainy photo that gets me on a buck every day over a closeup of a deer bolting for other parts. Farthest is best.


