_We may earn revenue from the products available on this page and participate in affiliate programs. Learn more ›
_
Like anything, you can take patterning a shotgun too far. A turkey hunter told me once he spent $1,000 one winter buying XX-Full chokes and magnum loads for his guns, then he patterned them all to find the combination that put the maximum number of holes in a 10-inch circle. That is too far. At some point, testing like that is no longer about killing turkeys but about shooting holes and getting through the off-season. That’s okay, I suppose, if that’s what you want to do. And it’s much better than not taking testing far enough. Fine-tuning the choke and load for your gun assures you that when you take a shot, you have given yourself the best possible change of making a clean kill. You owe yourself and your quarry that much. So, here’s how to go about, in four simple steps.
How to Pattern a Shotgun: Summary
The most basic way to pattern a shotgun is to shoot a large piece of paper (more than 30 inches in diameter) at the distance you expect to be hunting with the choke and load combo you expect to hunt with. After the shot, draw a 30-inch circle on the paper, using the densest part of your pattern for the center. Average the number of pellets within that circle and compare to the total number of pellets in an average shell. Ideally, you should find a distance where your gun will print a 75 to 80 percent pattern within the 30-inch circle. That is your maximum ethical range.
.embed-container { position: relative; padding-bottom: 56.25%; height: 0; overflow: hidden; max-width: 100%; } .embed-container iframe, .embed-container object, .embed-container embed { position: absolute; top: 0; left: 0; width: 100%; height: 100%; }
See https://www.youtube.com/embed/iI-Wya9XXBcon YouTube
Pattern a Shotgun: Step By Step Guide
Step 1: Gather Your Gear
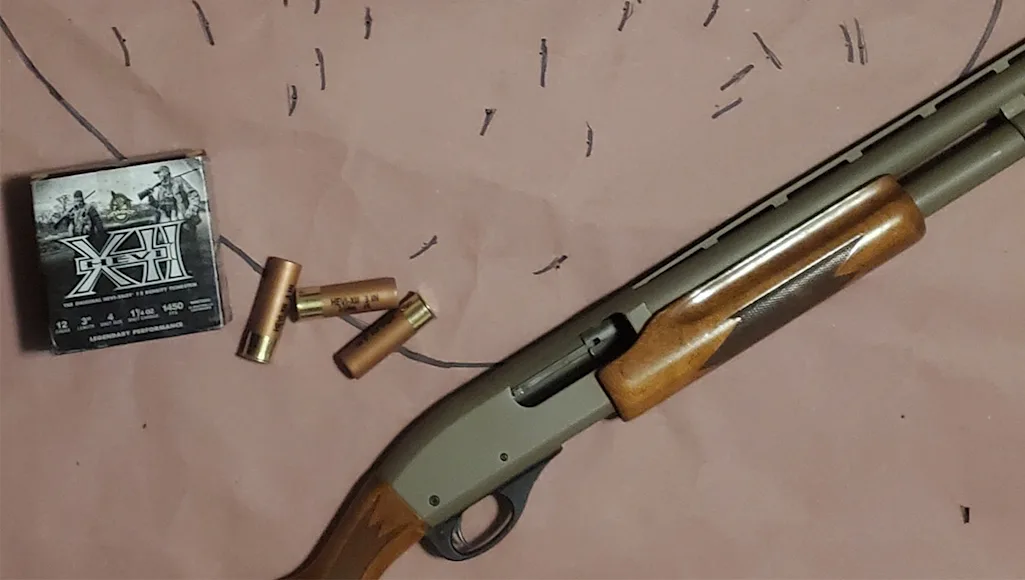
First and most important, you need a gun that fits you and that you can hit with. A good pattern does you no good if you can’t put it squarely on target. You may have two such guns, in which case you’ve doubled the amount of patterning work you have to do.
Begin with the chokes that came with the gun before you start spending money on aftermarket tubes
. Round up boxes of what you think will be the appropriate ammo. Bear in mind that all of the following factors can affect patterns, sometimes dramatically: shot type, shot size, wad type, buffer, and velocity. In general, slower loads, buffered loads, harder pellets, and larger shot sizes pattern more tightly than faster, unbuffered loads and loads with softer and/or smaller shot. Some wads are designed to contain the shot a few yards out of the muzzle and those generally produce tighter patterns than other types.
When you choose shot sizes, start with your favorite for the species you’re preparing for, then choose one size smaller and one size larger. There is no magic shot size for any game, just our favorite. I like steel 2s for big ducks, but 1s and 3s work fine. I like lead and bismuth 5s for pheasants, but there are no flies on 4s and 6s. What matters is how a load works with your gun and choke.
Once you’ve chosen your gun, chokes, and loads to test, you will need a roll of paper at least 30 inches wide, as that is the maximum effective spread of a pattern, and a backstop to staple it to. I buy rolls of 36-inch-wide brown or red contractor paper at Lowe’s. Get a big sharpie to make an aiming mark in the center, and to write notes on your patterns.
Step 2: Shoot and Shoot Some More
Start shooting at the distance you most often shoot your birds. Shoot from a rest, aim at the mark. Change paper between shots. No two patterns are alike, and there is variability within the same box of shells. Therefore, three is the barest minimum to shoot at each distance with each gun-choke-and-load combination. Five is good, 10 is best. After 10 shotgun patterns, the law of diminishing returns takes effect.
Shoot sets to pattern your shotgun 5 yards closer and 5 yards farther away with each combination, too. Not every shot will be taken exactly at your ideal distance, and some tighter chokes hold a very tight pattern, then open quickly, while more open chokes usually produce patterns spread more gradually as they fly downrange. It’s good to know what’s going on at longer and closer ranges as well as at your chosen range, just in case. Test as many choke-and-load combinations as you can stand to shoot. A Lead Sled helps greatly.
Step 3: Evaluate Your Patterns
Once you’ve shot all your patterns, take them home and make yourself a compass for drawing 30-inch circles with a marker and string. Use the middle of the densest part of the pattern as the center of your circle. If you want to, draw a second, smaller 20-inch circle inside the 30-inch. That’s the pattern core, the part that kills birds cleanly and smokes clay targets.
Now, look at all your targets. What you want to see is the gun-choke-load combination that shoots patterns distributed such that there is good density in the 20-inch core, and plenty of pellets in the 20-to-30-inch ring. That outside ring is your margin for error if you don’t make a perfect shot. There will be gaps and clumps in any pattern, especially around the edges. What you want is one without too many holes a bird or target might slip through. (Note: For turkeys you can skip the big circles and just count holes in a 10-inch circle.)
You don’t have to count holes and figure percentages if you don’t want to, although I find that counting up all five or 10 patterns and taking an average of the holes helps me compare results. If you do that, the ideal is usually a pattern that prints 75 to 80 percent of its pellets in a 30-inch circle at the range you want to shoot your birds. It will be dense in center but not so tight that the fringes lack sufficient pellets to make hitting easier, nor so dense it blows up your birds.
**Read Next: The 9 Most Common Shotgunning Myths, Explained
**
Step 4: Pattern a Shotgun to Find Best Choke and Load Combo
If, after comparing patterns made by your factory chokes with a variety of loads, you don’t see a result in a combination you like, buy an aftermarket choke or two and try again. Or experiment with still more loads. Or both, until you find the choke and load your guns shoots best. Then, stock up on the shells.