We may earn revenue from the products available on this page and participate in affiliate programs. Learn more ›
I grew up shooting deer in the woods. The shots I’d take were hardly ever farther than 75 yards. I used a Remington 7400, and I’d practice shooting 1-gallon water jugs in the off-season. I could hit them every time at 100 yards, sometimes at 150, and once in a while at 200. Then I went out West. I met hunters who shot elk and mule deer at 400 yards with bolt-actions and big scopes. They talked about ballistic coefficients, hand-loaded ammunition, and custom turrets to dial for elevation. I graduated from water jugs to beer cans, to sub-MOA groups on paper. But hitting targets at the range didn’t always translate to good shooting in the field. I knew there was more to learn about long-range shooting, but I didn’t know how it applied to the average hunter.
To try to answer this, I spent a year talking to rifle shooters from military and competition-shooting backgrounds. I didn’t want to shoot animals at unrealistic distances; I just wanted to hit my mark every time within 300 yards. One of the most valuable weekends of that year was Chris Roberts’ mountain rifleman course. Roberts co-founded a shooting school called CR2 Shooting Solutions. Before that, he was an Army sniper instructor, meaning he doesn’t just know how to shoot, he knows how to teach people to shoot. And he is a natural-born teacher.
In three days, Roberts had a class of seven hunters hitting 1000-yard targets in windy high-desert conditions. More important, Roberts taught us things we can actually use while hunting. If you have the time to take one Roberts’ courses, it will dramatically improve your understanding of rifle shooting. If you don’t, here are a few things I picked up while I was there.
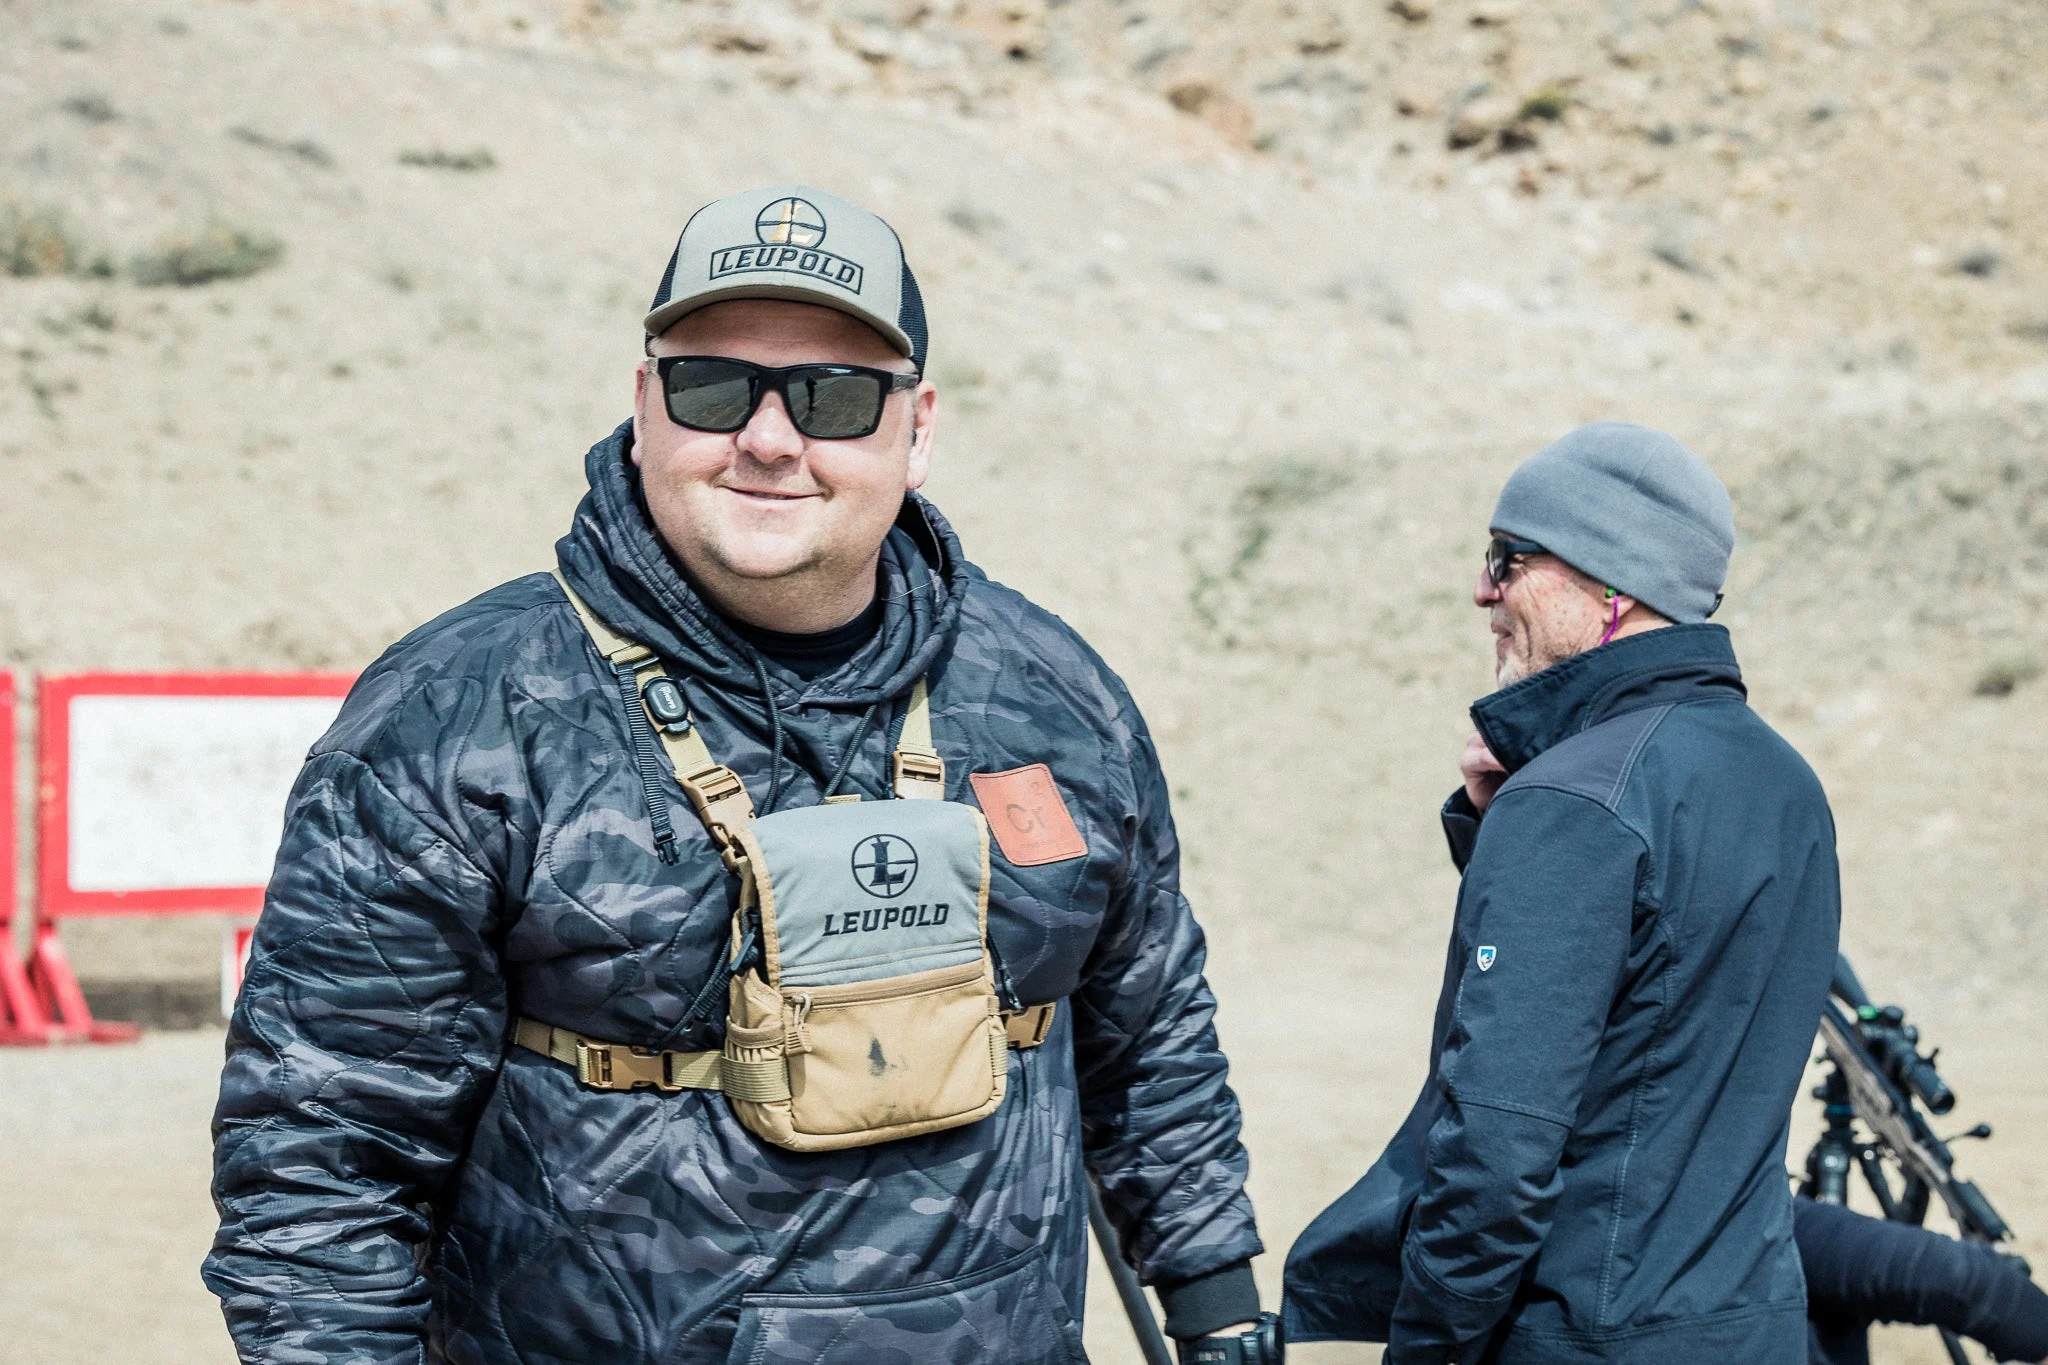
Shooting instructor Chris Roberts of CR2 Shooting Solutions. Frank Galli from Sniper’s Hide
Long Range Shooting: Table of Contents
You’re Probably Putting Too Much Pressure On Your Rifle
Shooting Bags Aren’t Just For the Range
Blading Your Shoulders Leads to Bad Shooting
Learn to Build Good Shooting Positions
Light Rifles Can Be Accurate, Too
You Don’t Need A Lot of Ammo to Practice
Respect the Wind and Your Limitations
7 Long Range Shooting Tips
1) You’re Probably Putting Too Much Pressure On Your Rifle
A rifle kicks, and it’s natural to want to grip it tightly. But you’ll be a better shooter when you stop doing this. No matter what, people impart movement on rifles when they hold them—and that’s where inaccuracy comes from. It’s not a big deal at 100 yards, but death-gripping your rifle can cause you to miss at 300.
“Stability comes from bone support instead of muscular support,” Roberts says. “It also comes from things like shooting bags, bipods, and tripods.”
Instead of trying to muscle a rifle into a steady position, focus on building a position that supports a rifle (more on that below) and touch your rifle just enough to control it and absorb recoil. This is a bit of a dance. It takes practice to figure out how much pressure you need to put on your rifle to shoot it accurately.
At the range, put a paper target on the 100-yard line, and set up on the bench. Support the front and rear of the rifle with bags or a rest. Then crank the magnification up on your scope and put the crosshairs on target. Add and take pressure from your cheek weld and where your shoulder meets the buttstock noticing the whole time how each bit of pressure causes the crosshairs to wobble. Do this until you find the sweet spot and the crosshairs stop moving. Then pull the trigger and repeat. Your goal is to find just enough pressure to support the rifle and absorb recoil while keeping the crosshairs still.
2) Shooting Bags Aren’t Just For the Range
In Roberts’ class, we didn’t go anywhere without a rear bag. If you don’t know what these are, they’re small sandbags used to support the butt of a rifle when shooting prone or from the bench. In class, Roberts taught us to think of rear bags more as general shooting bags to support our rifles in just about any position.
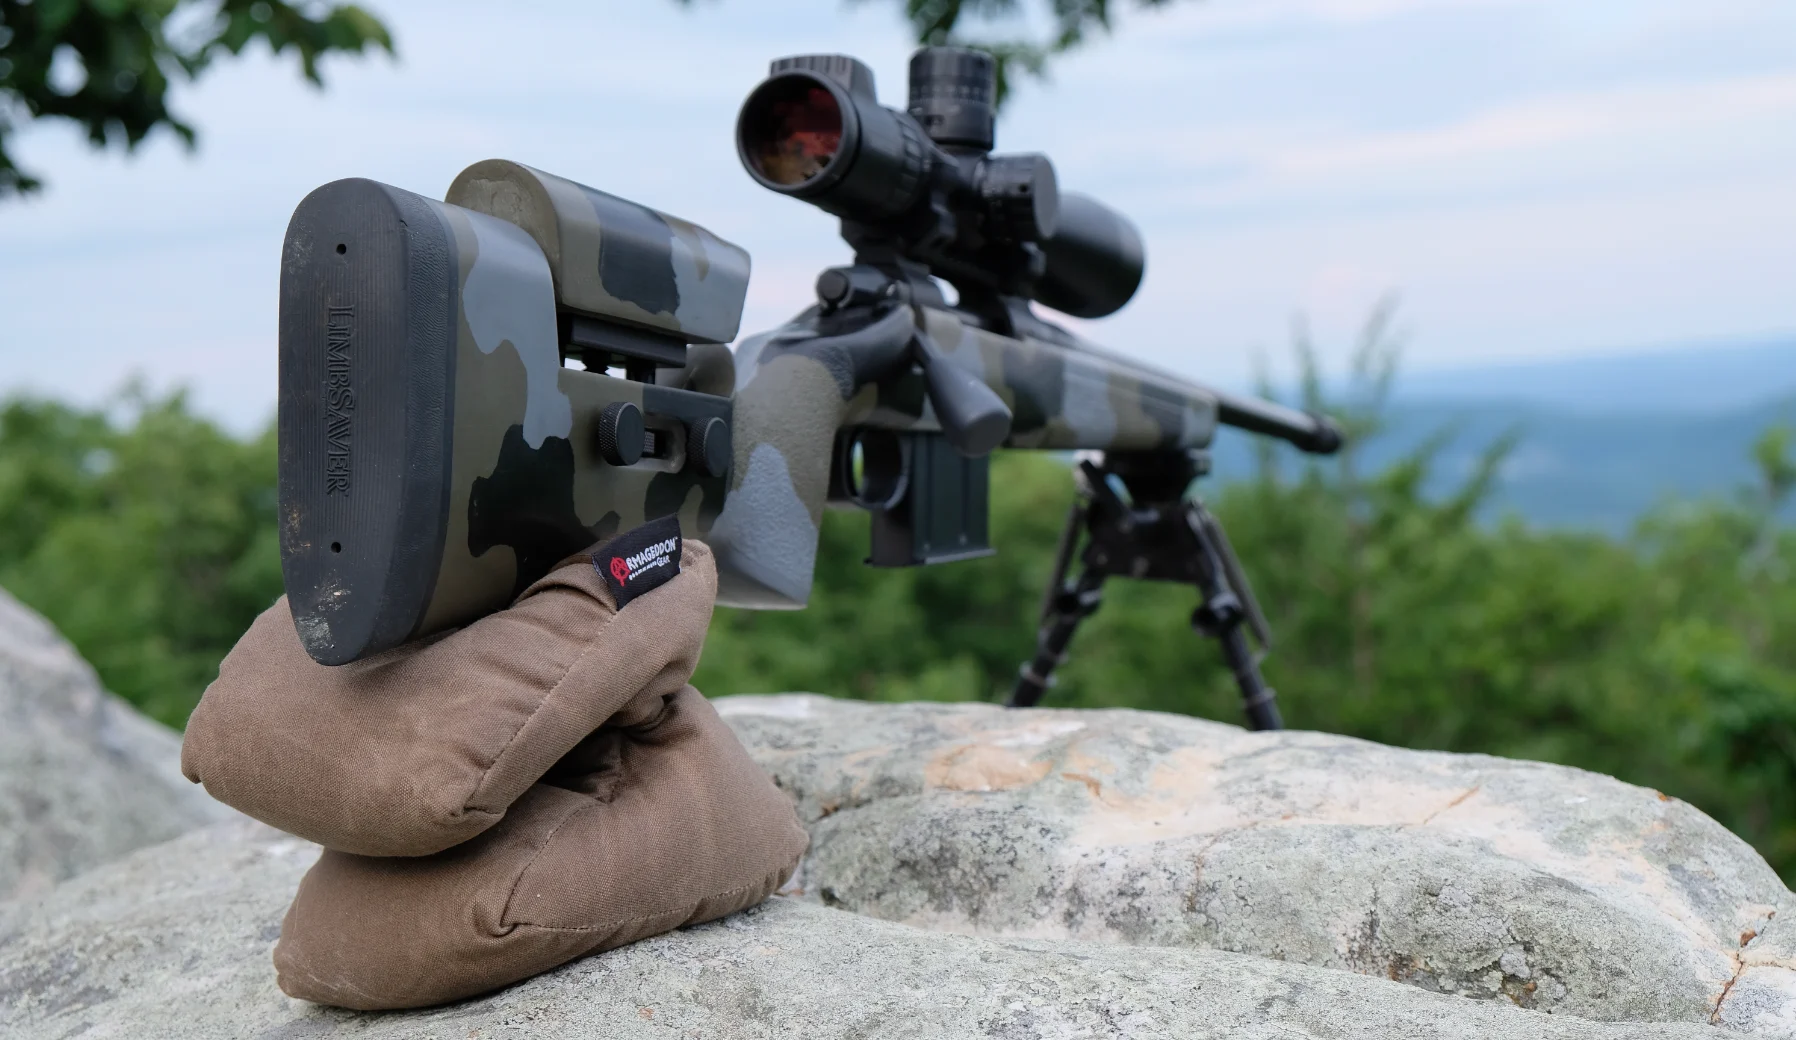
Shooting bags like this pint-sized Gamechanger from Armageddon Gear are useful in the field. Armageddon Gear
We’d put them on rocks, logs, and tripods to support the forend of a rifle or wedge them under an elbow for more support. The more you shoot with a bag, the more you’ll find ways to use it to support your rifle in different positions while hunting.
And before you think you have to pack a 10-pound sandbag everywhere you go, you need to learn about Git-Lite. Git-Lite is a fill material for shooting bags that acts like sand but is much lighter. Personally, I use the Pint-Sized Gamechanger from Armageddon gear, which you can buy filled with Git-Lite. You can also buy the fill separately and add it to any bag you like.
3) Blading Your Shoulders Leads to Bad Shooting
For most of the class, Roberts constantly reminded students to stop “blading” our upper bodies off to one side and putting our rifle’s buttstocks in the pockets of our shoulders. “If you’re canted off to the side, your rifle is going to want to walk away from you,” he says. “Even with the rifle pointed straight at the target, you’ll end up fighting the rifle and have to bring it back towards the target every time you shoot.”
Instead, Roberts suggests placing the buttstock of your rifle closer to the center of your body and squaring your shoulders perpendicular to the line of the shot. He also stresses the importance of aligning your body towards the target before shooting. From the bench, this is easy. Next time you’re at the range, sit behind the bench instead of on the right or left side of it. You’ll naturally square your shoulders to the target and shoulder your rifle the right way.
“I always tell students, the best thing you could do is shoot with the buttstock of your rifle in the center of your chest. The problem is you can’t see through your optics that way. Realistically, you want to have that buttstock as close to your center line and neck as possible while still being able to see your reticle.”
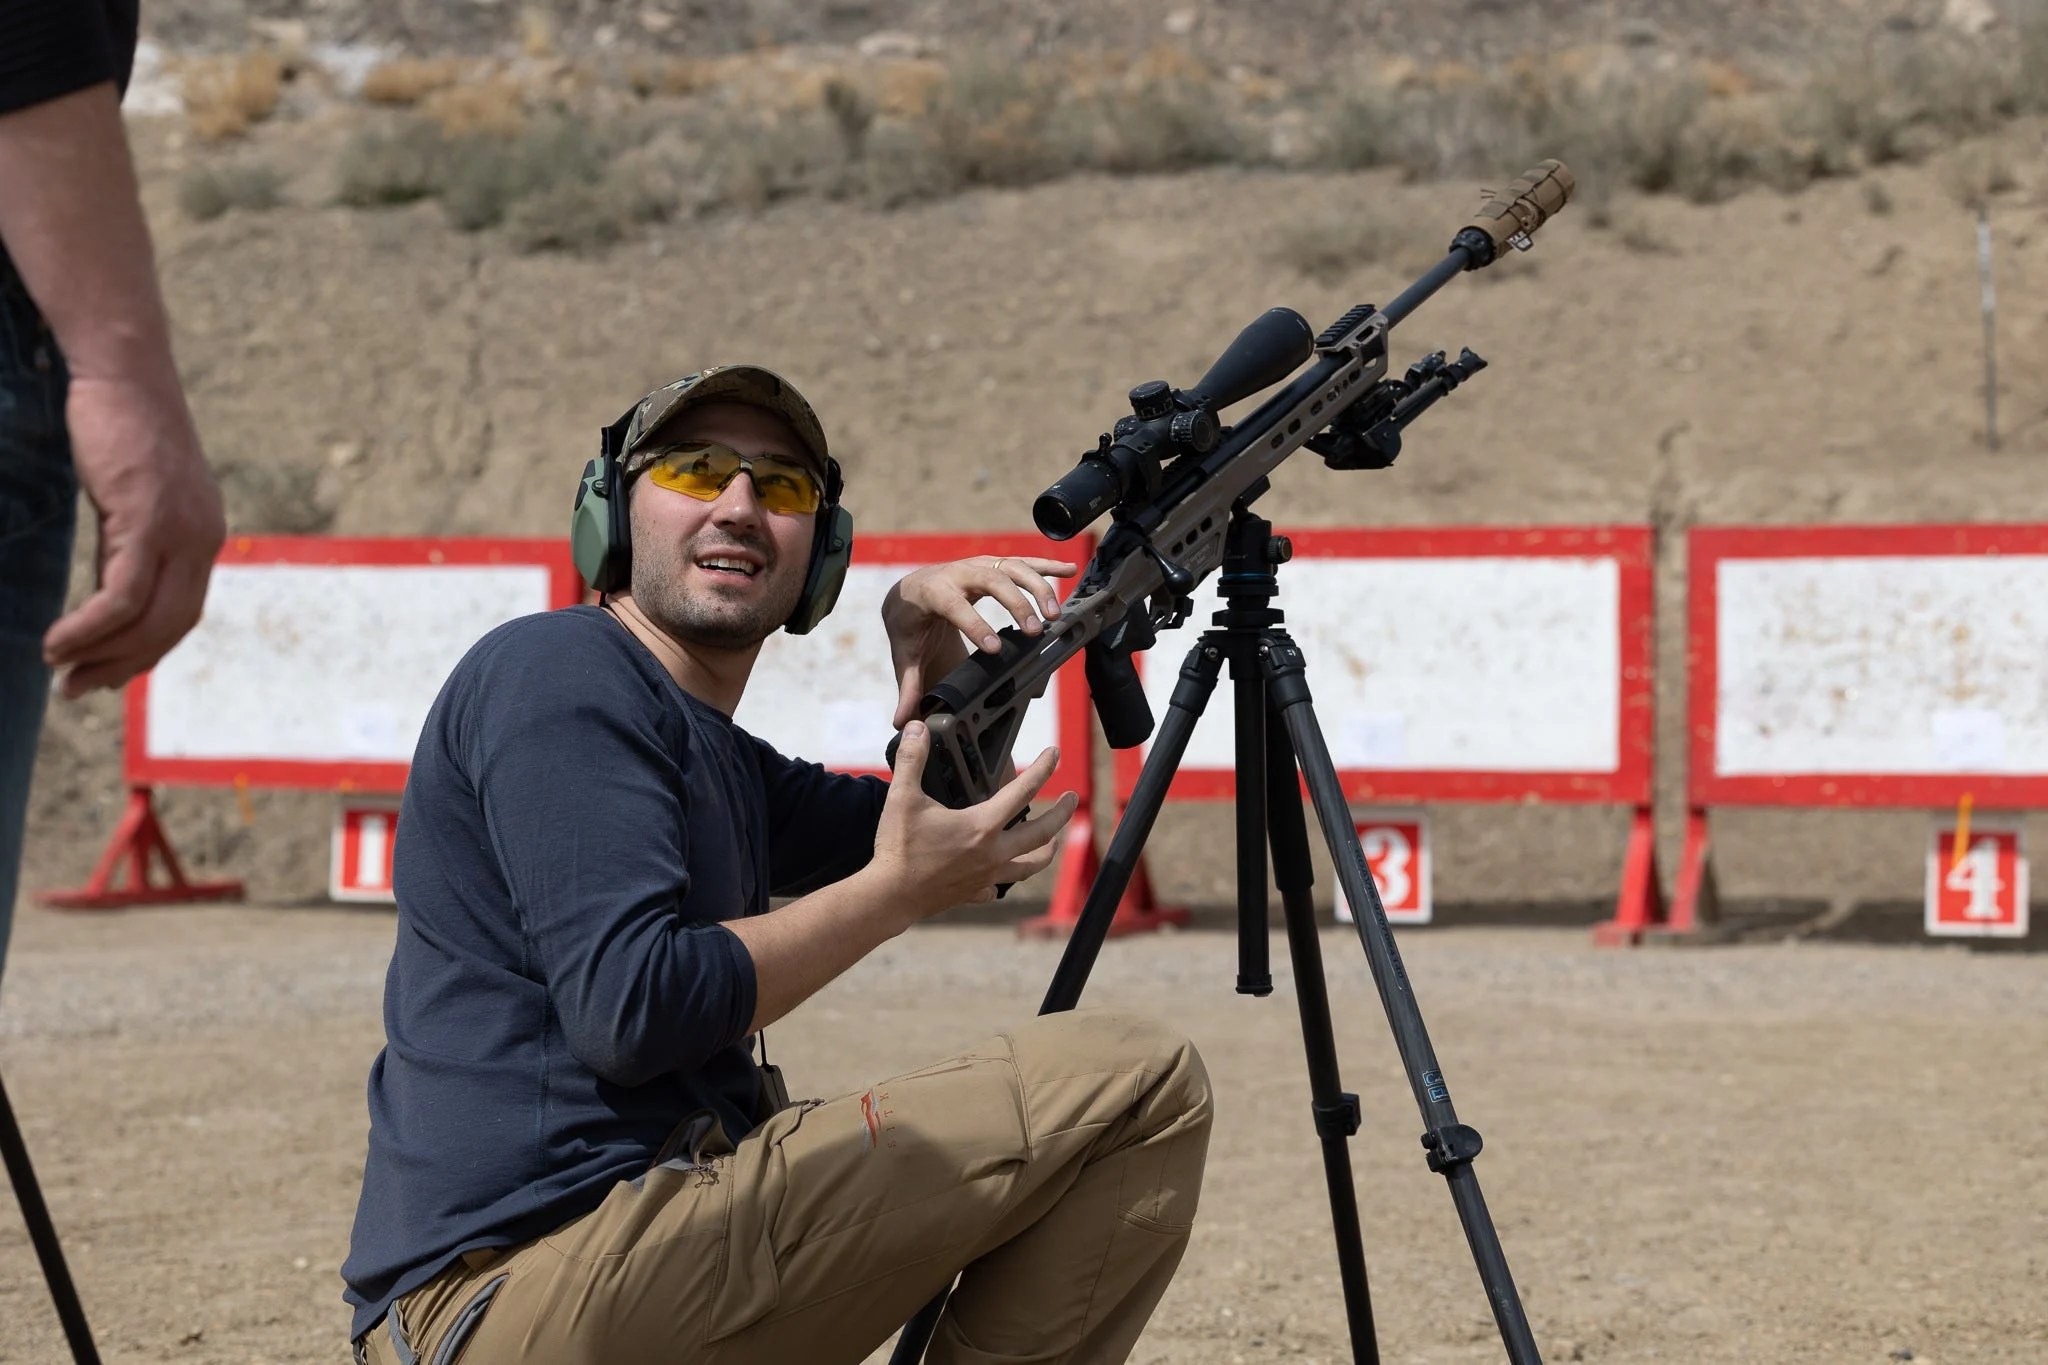
The author learning how to make shots at steep angles. Frank Galli from Sniper’s Hide
4) Learn to Build Good Shooting Positions
After you figure out how to hold your rifle with optimal pressure and keep your body in line with a target, you need to learn to build a stable position. Building a shooting position is like playing Tetris with your rifle, your body, shooting aids like bags and bipods, and whatever you find in the field.
According to Roberts, stability comes from getting as low to the ground as you can. “If you can shoot kneeling instead of standing, you want to do that,” he says. “If you can shoot seated, instead of kneeling, you want to do that. And if you can shoot prone rather than kneeling, of course you want to do that. When you start shooting from other positions, you want to simulate prone in any way you can. Even if you’re going to shoot off a barrier, you to want to emulate that prone position with the front and rear of your rifle supported.”
The goal with any position is to align yourself with the target and support the rifle in a way that eliminates the wobble you see in the crosshairs. You can practice by setting up for a shot on things like rocks, logs, or a tripod and adding support to your rifle until your crosshairs stay still on target. Keep your rifle unloaded and dryfire a few times. Then load up and see if you can keep several shots within 1 to 2 MOA on paper at 100 yards.
Another way to practice building positions is to shoot something called the Kraft Drill. (You can find more information and a free target to print out on the Rifle Kraft website.) The drill consists of 12 shots fired from four positions—standing, seated, kneeling, and prone—at one 100-yard target. Between every shot, you need to build a new position and repeat the process. If your shooting positions are sound, your 12 shots will group close together. On the Rifle Kraft website, you can also record and save your targets to get tips on how to improve based on where you’re hitting.
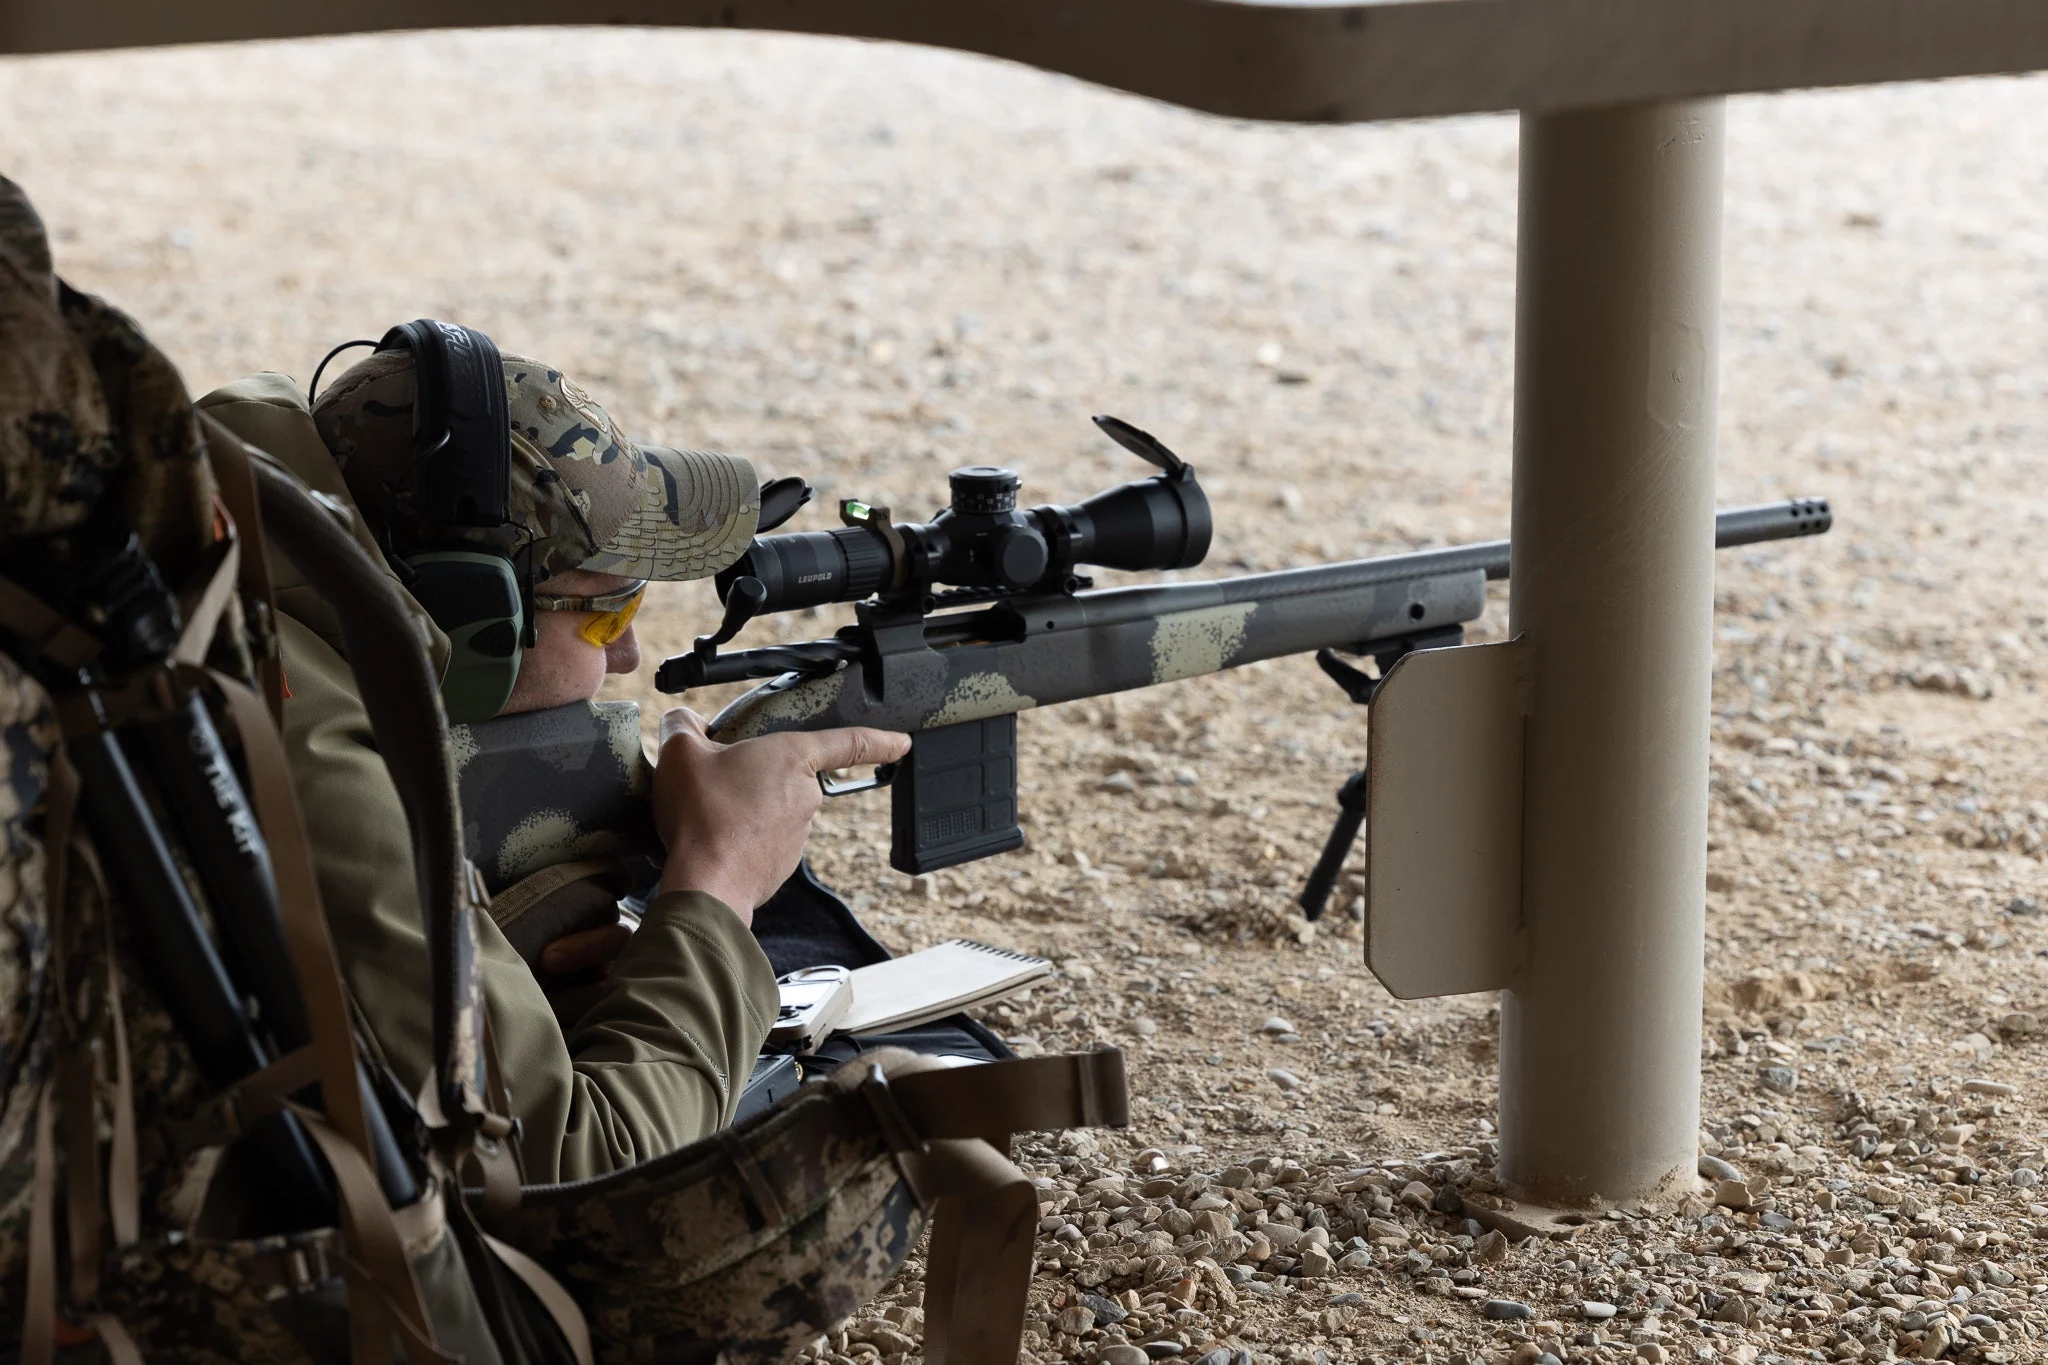
When building a position, try to get as low to the ground as possible. Frank Galli from Sniper’s Hide
5) Light Rifles Can Be Accurate, Too
It’s true that heavy rifles are easier to shoot accurately, but you don’t need one. “People try to overcompensate with weight when choosing the best long range rifle instead of having good fundamentals or a good shot process,” Roberts says. “Obviously you want to glean every advantage you can from a rifle. A NASCAR driver is going to want to have the fastest car he can, but he still has to be able to drive it. There’s something to be said for a rifle that’s easy to maneuver.”
The rifle I brought to class weighs around 6 lbs without the scope. It’s made mostly of carbon fiber, and a lot of new hunting rifles are being built this way. In fact, most of the students in class also shot lightweight hunting rifles. After learning a thing or two, we didn’t have trouble steadying them. If you understand how to build a steady position with a lightweight rifle, and align yourself properly with a target, you’d be surprised how accurate you can be.
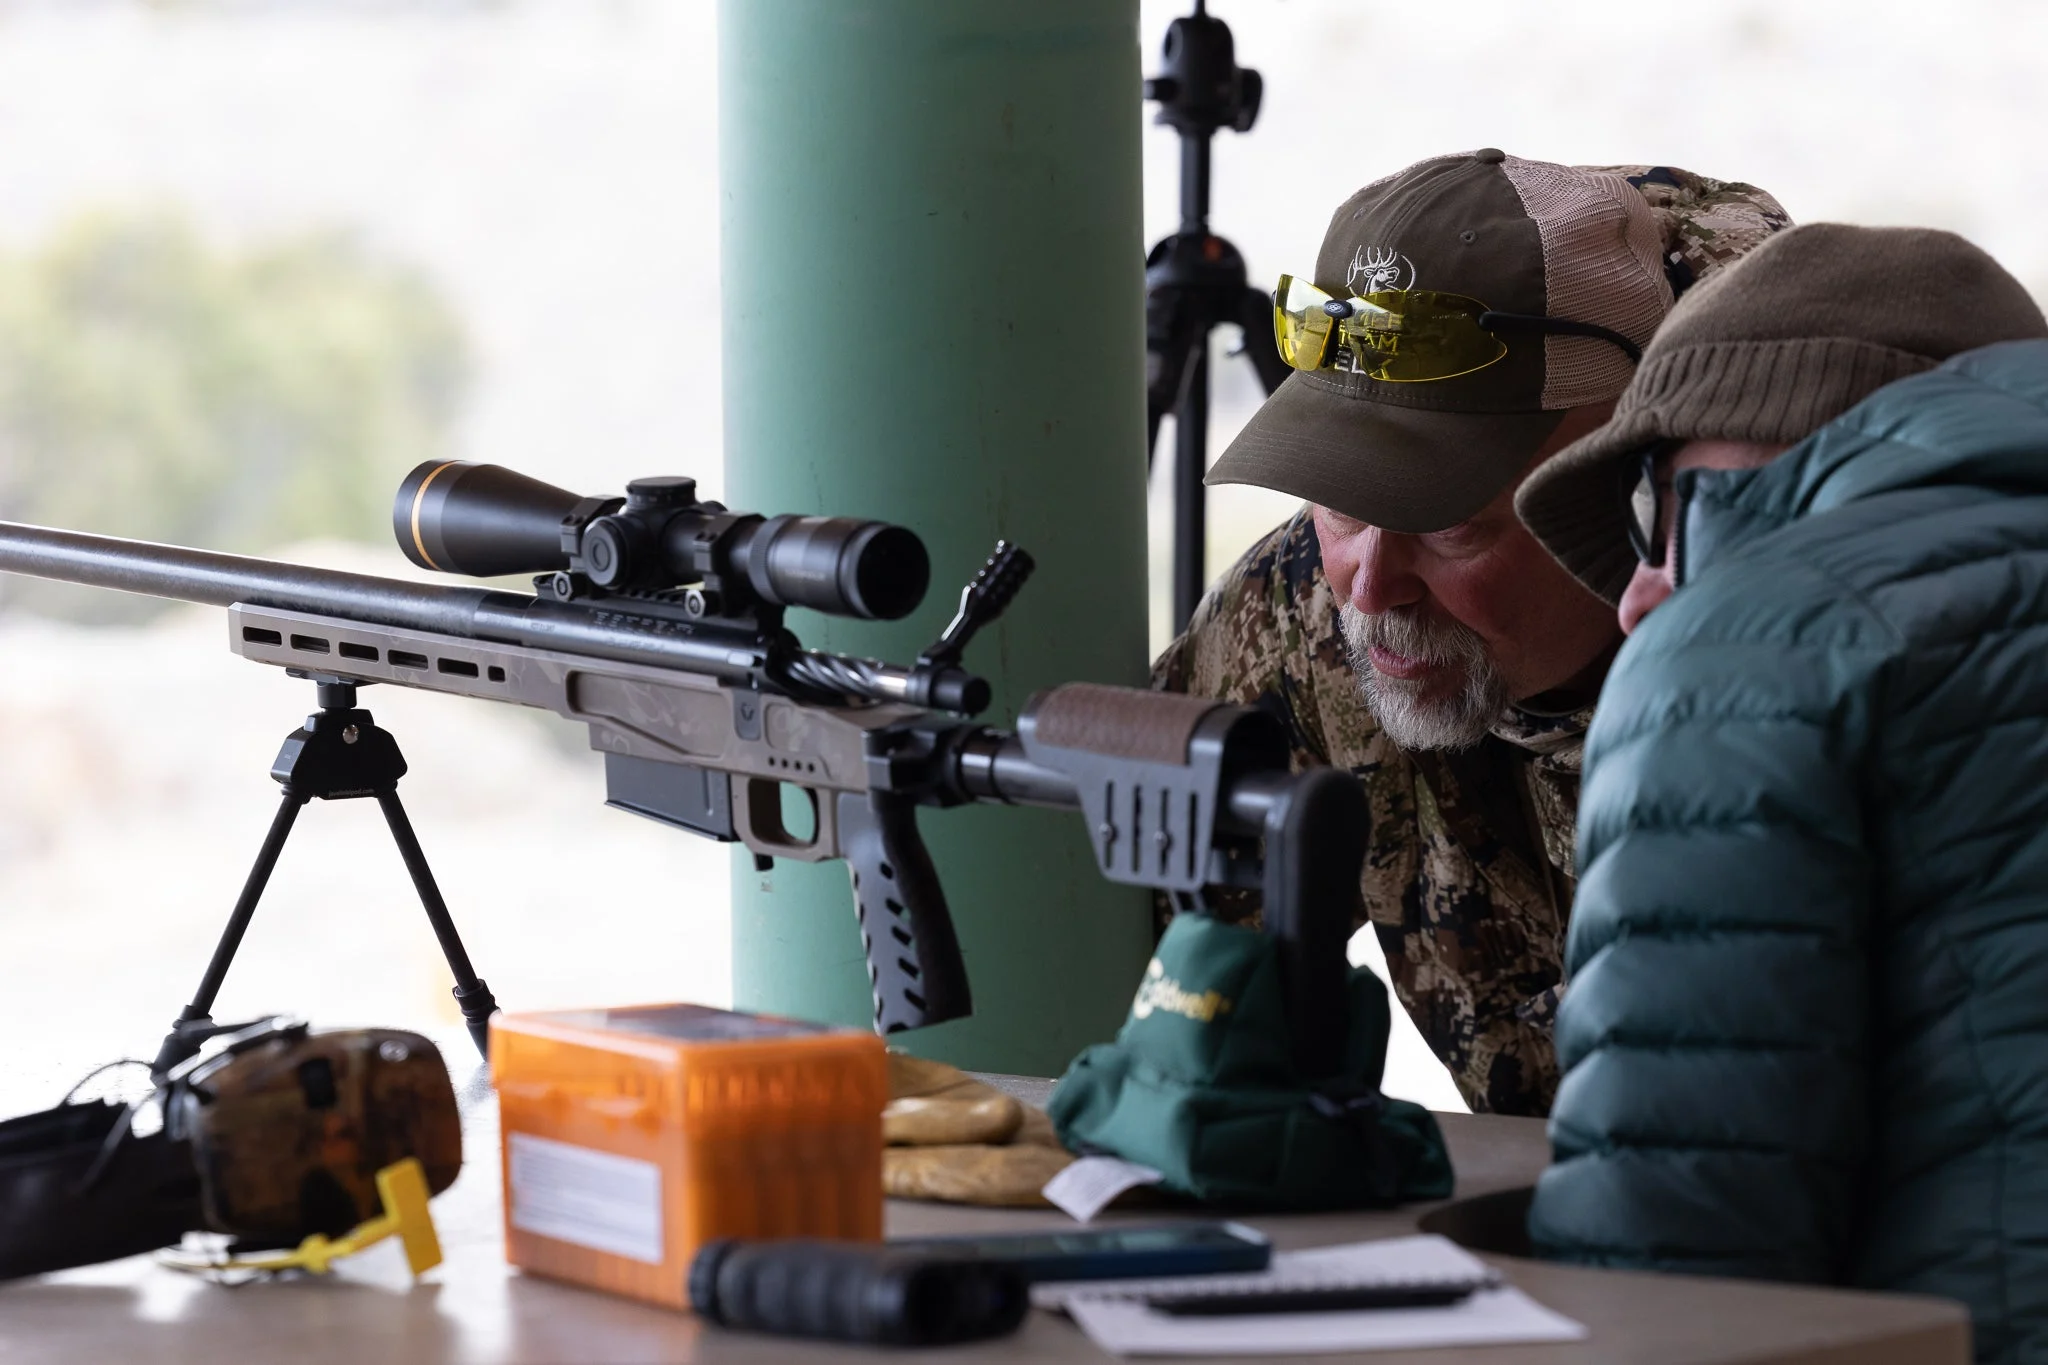
Lightweight rifles can hit targets at distance if you know how to shoot them. Frank Galli from Sniper’s Hide
6) You Don’t Need A Lot of Ammo to Practice
You can get more out of one box of ammo than a whole case of ammo if you know how to practice. Roberts likes to look at going to the range like working out, and he’s got his workout down to 20 rounds. First, he warms up by dry firing.
“I work on the fine motor skills of going through my entire shot process, building and breaking positions, working on trigger control, my grip, adjusting my scope, and things like that without shooting bullets.” After that, Roberts goes into a Kraft Drill. He fires 12 rounds from four different positions and says that he’ll modify the drill to work on specific positions like standing or seated.
“With the rest of the box of ammunition I have, I work on shooting out to distance. If I need to confirm my data I’ll do that, or I’ll practice wind calls. Then I call it a day.” Roberts says that by shooting fewer rounds, he can practice more regularly and avoid reinforcing bad habits.
7) Respect the Wind and Your Limitations
When you get right down to it, Roberts says calling the wind is really just a “scientific wild-ass guess.” We have tools to measure it, and there is science that applies to a bullet’s trajectory in the wind, but there’s a lot that a shooter can’t account for between the muzzle and the target. Because of this, calling the wind takes years to master.
In class, we attempted making calls based on terrain features. Then an instructor popped smoke canisters at various distances to show us if our guesses were correct. They were almost always off. The tricky thing is, you can find what the wind is doing at your shooting position, but it can be different at distance, which will affect your bullet in a completely different way. This is a big reason why long shots at game get ugly. The way that wind affects a bullet depends on factors like wind speed, wind angle, shooting angle, terrain, and the type of cartridge you’re shooting.
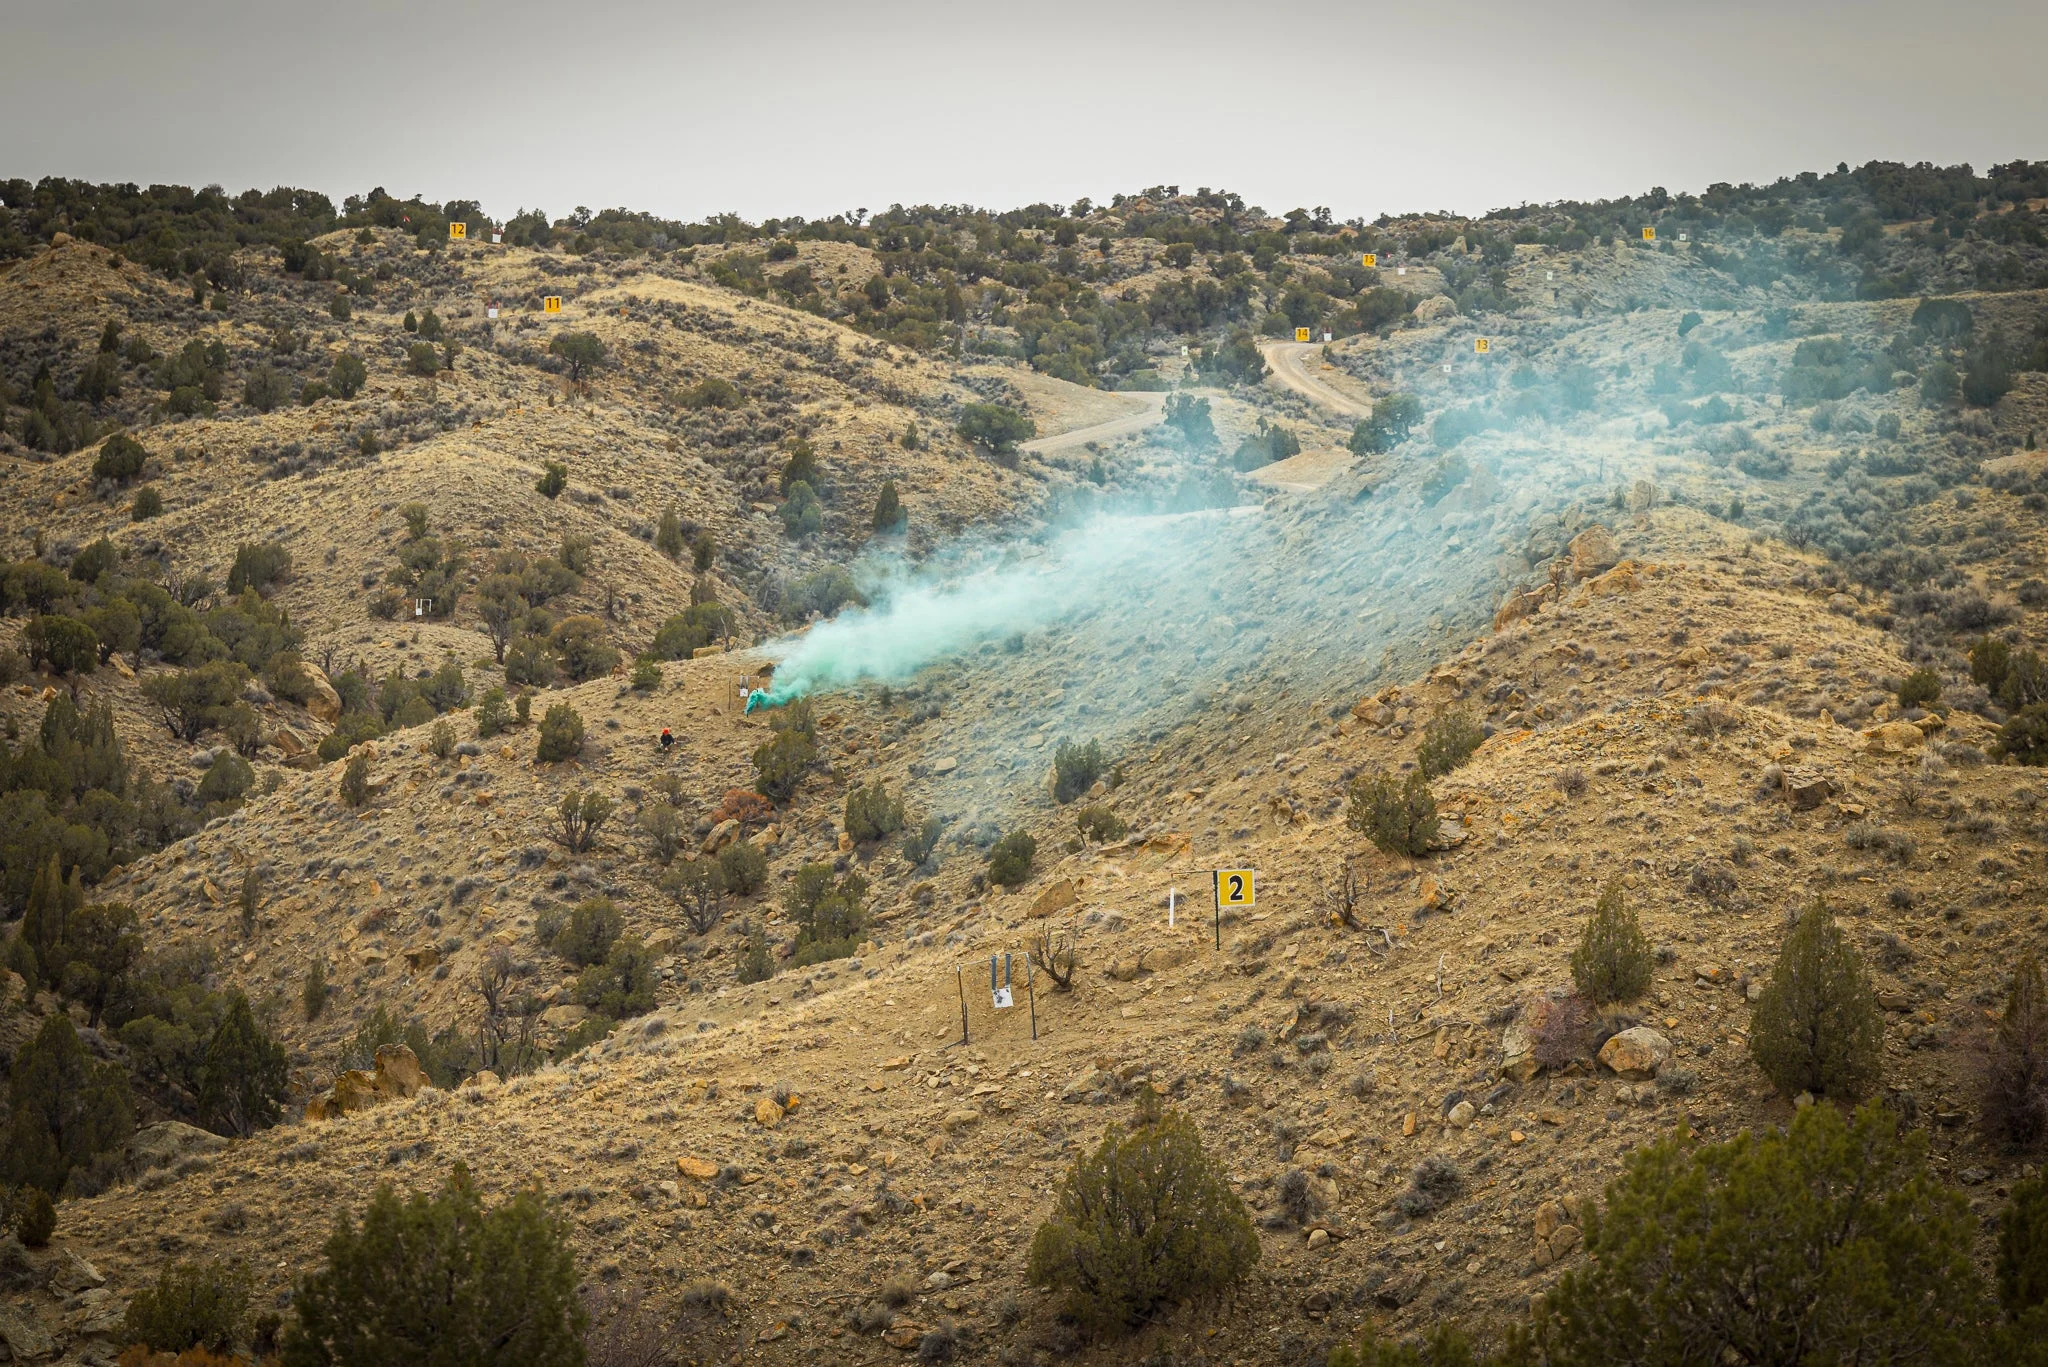
Instructors used colored smoke canisters to show students how the wind was moving through the mountains. Frank Galli from Sniper’s Hide
If you want to learn more about the wind, you need a baseline of good information. ”Stay off of Facebook and forums,” Roberts says. Instead, he suggests articles related to wind on Sniper’s Hide. Study up on the terminology and theories behind shooting in the wind. Next, get a wind meter and carry it around with you. Guess the wind speed at your position constantly, then check it against the meter. Sooner or later, you’ll start getting a feel for wind speed.
Read Next: Long-Range Competition Shooting Gear I’d Actually Hunt With
Finally, there’s no substitute for good instruction and real-world experience when it comes to wind calls. If you can’t go to a course at a place like CR2, put yourself in realistic situations. Check out field-shooting matches like NRL Hunter, and sign up as a “skills shooter” to be paired up with a pro. There, targets are the size of an animal’s vitals, and wind calls really matter. With a little practice, you’ll learn what shots you can and can’t take, and be that much more ready for the real thing come fall.

