_We may earn revenue from the products available on this page and participate in affiliate programs. Learn more ›
_
You can perform many tent repairs
in the field, but one of the hardest to do successfully for a long term fix might be repairing a mesh screen. Whether the mesh on your tent or bivvy, having a hole can or tear can make for a buggy nightmare while you sleep.
Luckily, there are a couple of options for mesh repair that only take a few minutes and a minimal number of supplies. Like most repairs, it is often easier to do them at home, but with a proper backcountry repair kit
, you can efficiently perform a tent screen repair in the field.
How to Repair Tent Mesh
How the screen of your tent is damaged will grealy affect how and if it is repairable. For example, if your dog ran through the screen versus if your headlamp burnt a hole the damaged area will require different repair tactics. While it may not always be pretty, most tent screen can be repaired, you just need the right materials.
The two most common repairs needed on a tent screen are a small hole or a tear of any size. Sometimes the mesh can also separate at the seam. In those instances, the best repair is sewing or seam glue of some kind.
or at the very least taking it out before a trip can help you avoid a surprise hole or tear and it gives you a chance to repair it at home. Accidents still happen even with the best camping tents
though, so it helps to be prepared wherever you roam.
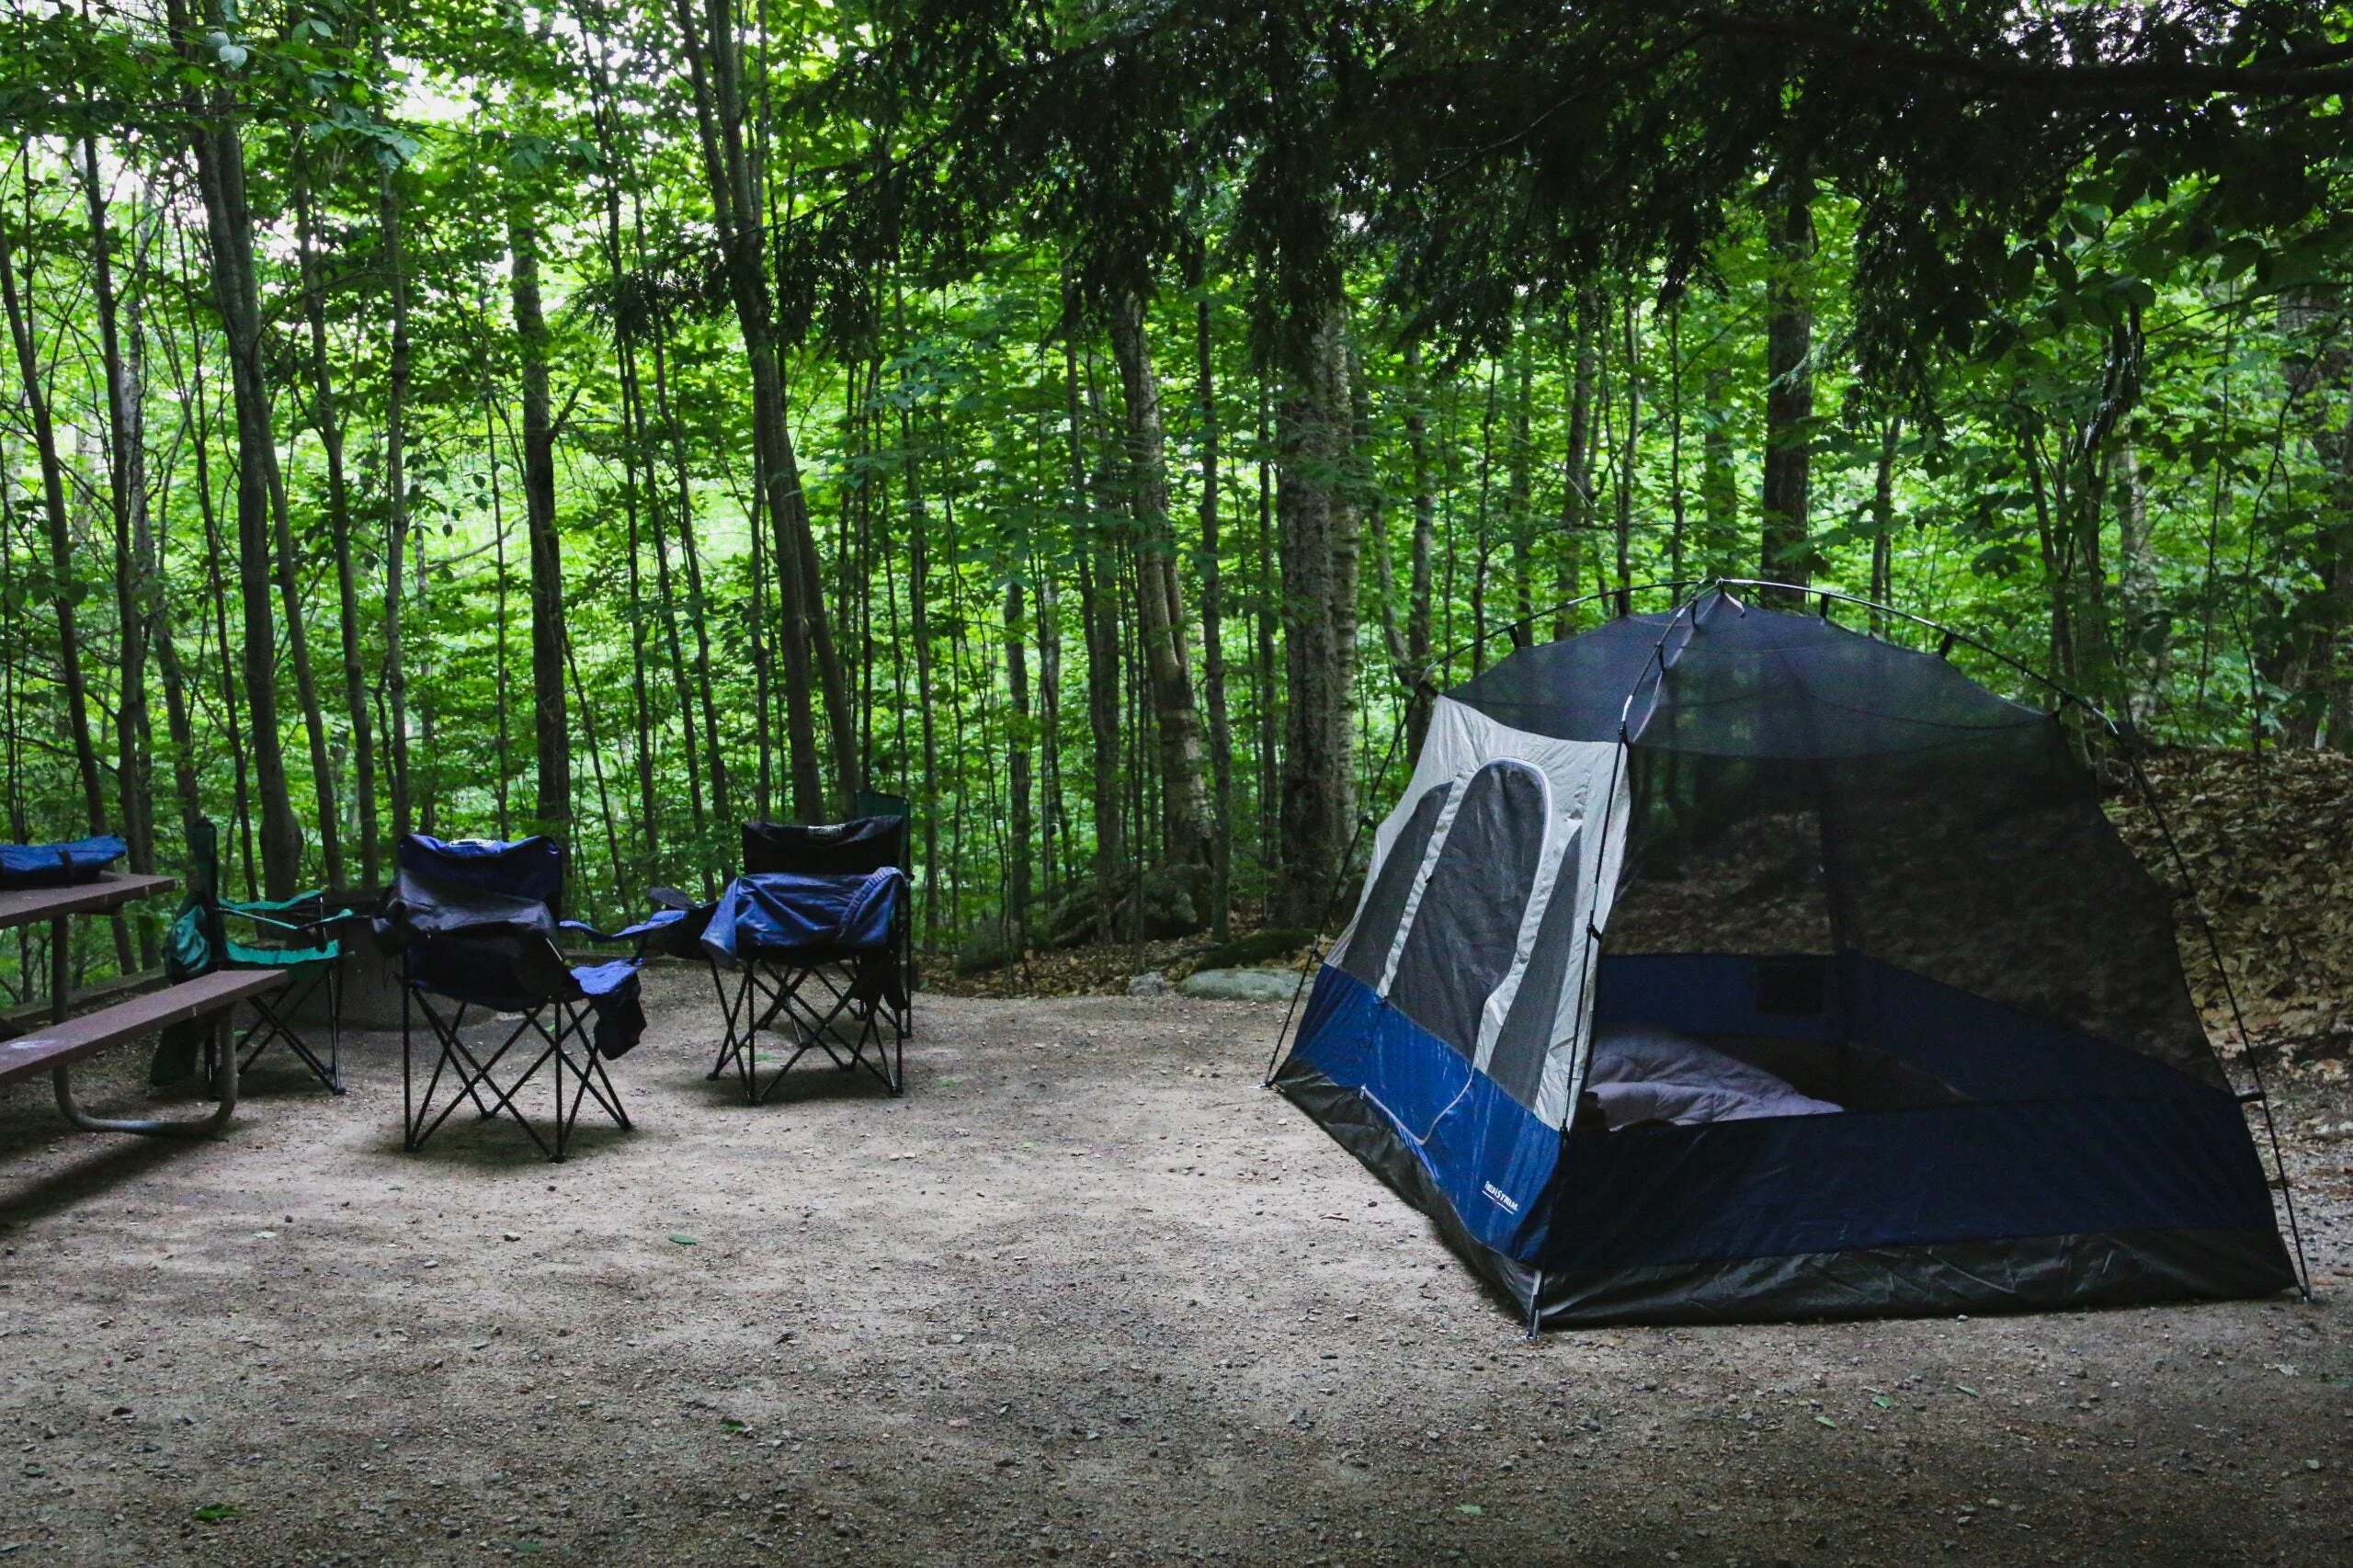
Photo by Brian Yurasits
on Unsplash
Patching Mesh
Patching a mesh screen on a tent is one of the easiest ways to fix a hole or a rip. Patches come in many shapes and sizes, and most of them can be cut down to fit the necessary repairs.
Most patches will be pretty straightforward, but some are messier or take longer to cure than others. Although things like tenacious tape or duct tape can work for certain material repairs in a pinch, we do not recommend using tape on mesh. Instead, invest in a patch kit or opt for sewing. Tape can work for a temporary fix if you are desperate, but it isn’t advised as it can be more damaging when you remove it and it often leaves residue behind that makes it more difficult to repair later.
Sewing mesh can be difficult, and it won’t always be a feasible option, so we recommend a patch first. Sewing may be better than a patch for large or complicated repairs, but a patch will do just fine for small holes and tears.
Materials needed:
Alcohol wipe
Mesh patch
Optional: scissors and adhesive
Not all patch kits will be the same for mesh repairs. Some will include adhesive patches that are essentially peel and stick. Others will include adhesive you have to apply seperatly, and some will be the material with a needle and thread. Since we want these repairs to be most relevant to in-field repairs, we recommend the simplest options, which is the peel and stick.
Keep in mind that things like window screen repair tape and strips also exist. While this is kind of like mesh, the material is often much stiffer and won’t bond well to the mesh materials of a tent because they’re intended for screens. Stick to patch kits designed for tents, or better yet, a kit provided by your tent manufacturer.
Beware when shopping for mesh tent patches. Some patches, like the ones from Coleghan’s, will look decent, but they are just a flimsy sticker with a mesh print on them. They can work for very temporary repairs but they don’t hold well at all. MSR produces one of the best mesh patches
, but they are difficult to find, and I am not sure they even make them anymore.
With the current online options, Gear Aid
seems to make the best mesh repair patch currently available. These are sold in a circular shape and only have adhesive on the edges of the mesh, eliminating your ability to cut the patch to size.
How to fix tent mesh with a patch:
Clean both sides of the mesh in the area you need to repair with an alcohol wipe or a cotton swab and isopropyl alcohol.
Once dry, lay out on a clean, flat surface.
Without exposing the adhesive yet, lay the patch over the hole or rip to ensure it will cover the damaged area with enough room to still adhere to the outsides. Ideally, it should extend beyond the rip or hole at least ¼ of an inch.
Remove the adhesive backing and apply it to the mesh.
Smooth out the adhesive and rub it to help it bond to the materials.
It helps to have two patches to apply to both sides of the fabric.
Let the adhesive cure for around 24 hours.
If you’ve chosen a patch that is simply a mesh material with a glue or adhesive you apply separately, the process will be very similar. The only difference is that it is easier to cut these patches to size, and you will use the adhesive directly to the material instead of it already being on the patch. We still recommend patching both sides of the screen.
Since there are varying patch kits on the market, follow the manufacturer instructions provided with the kit you purchase for best results.
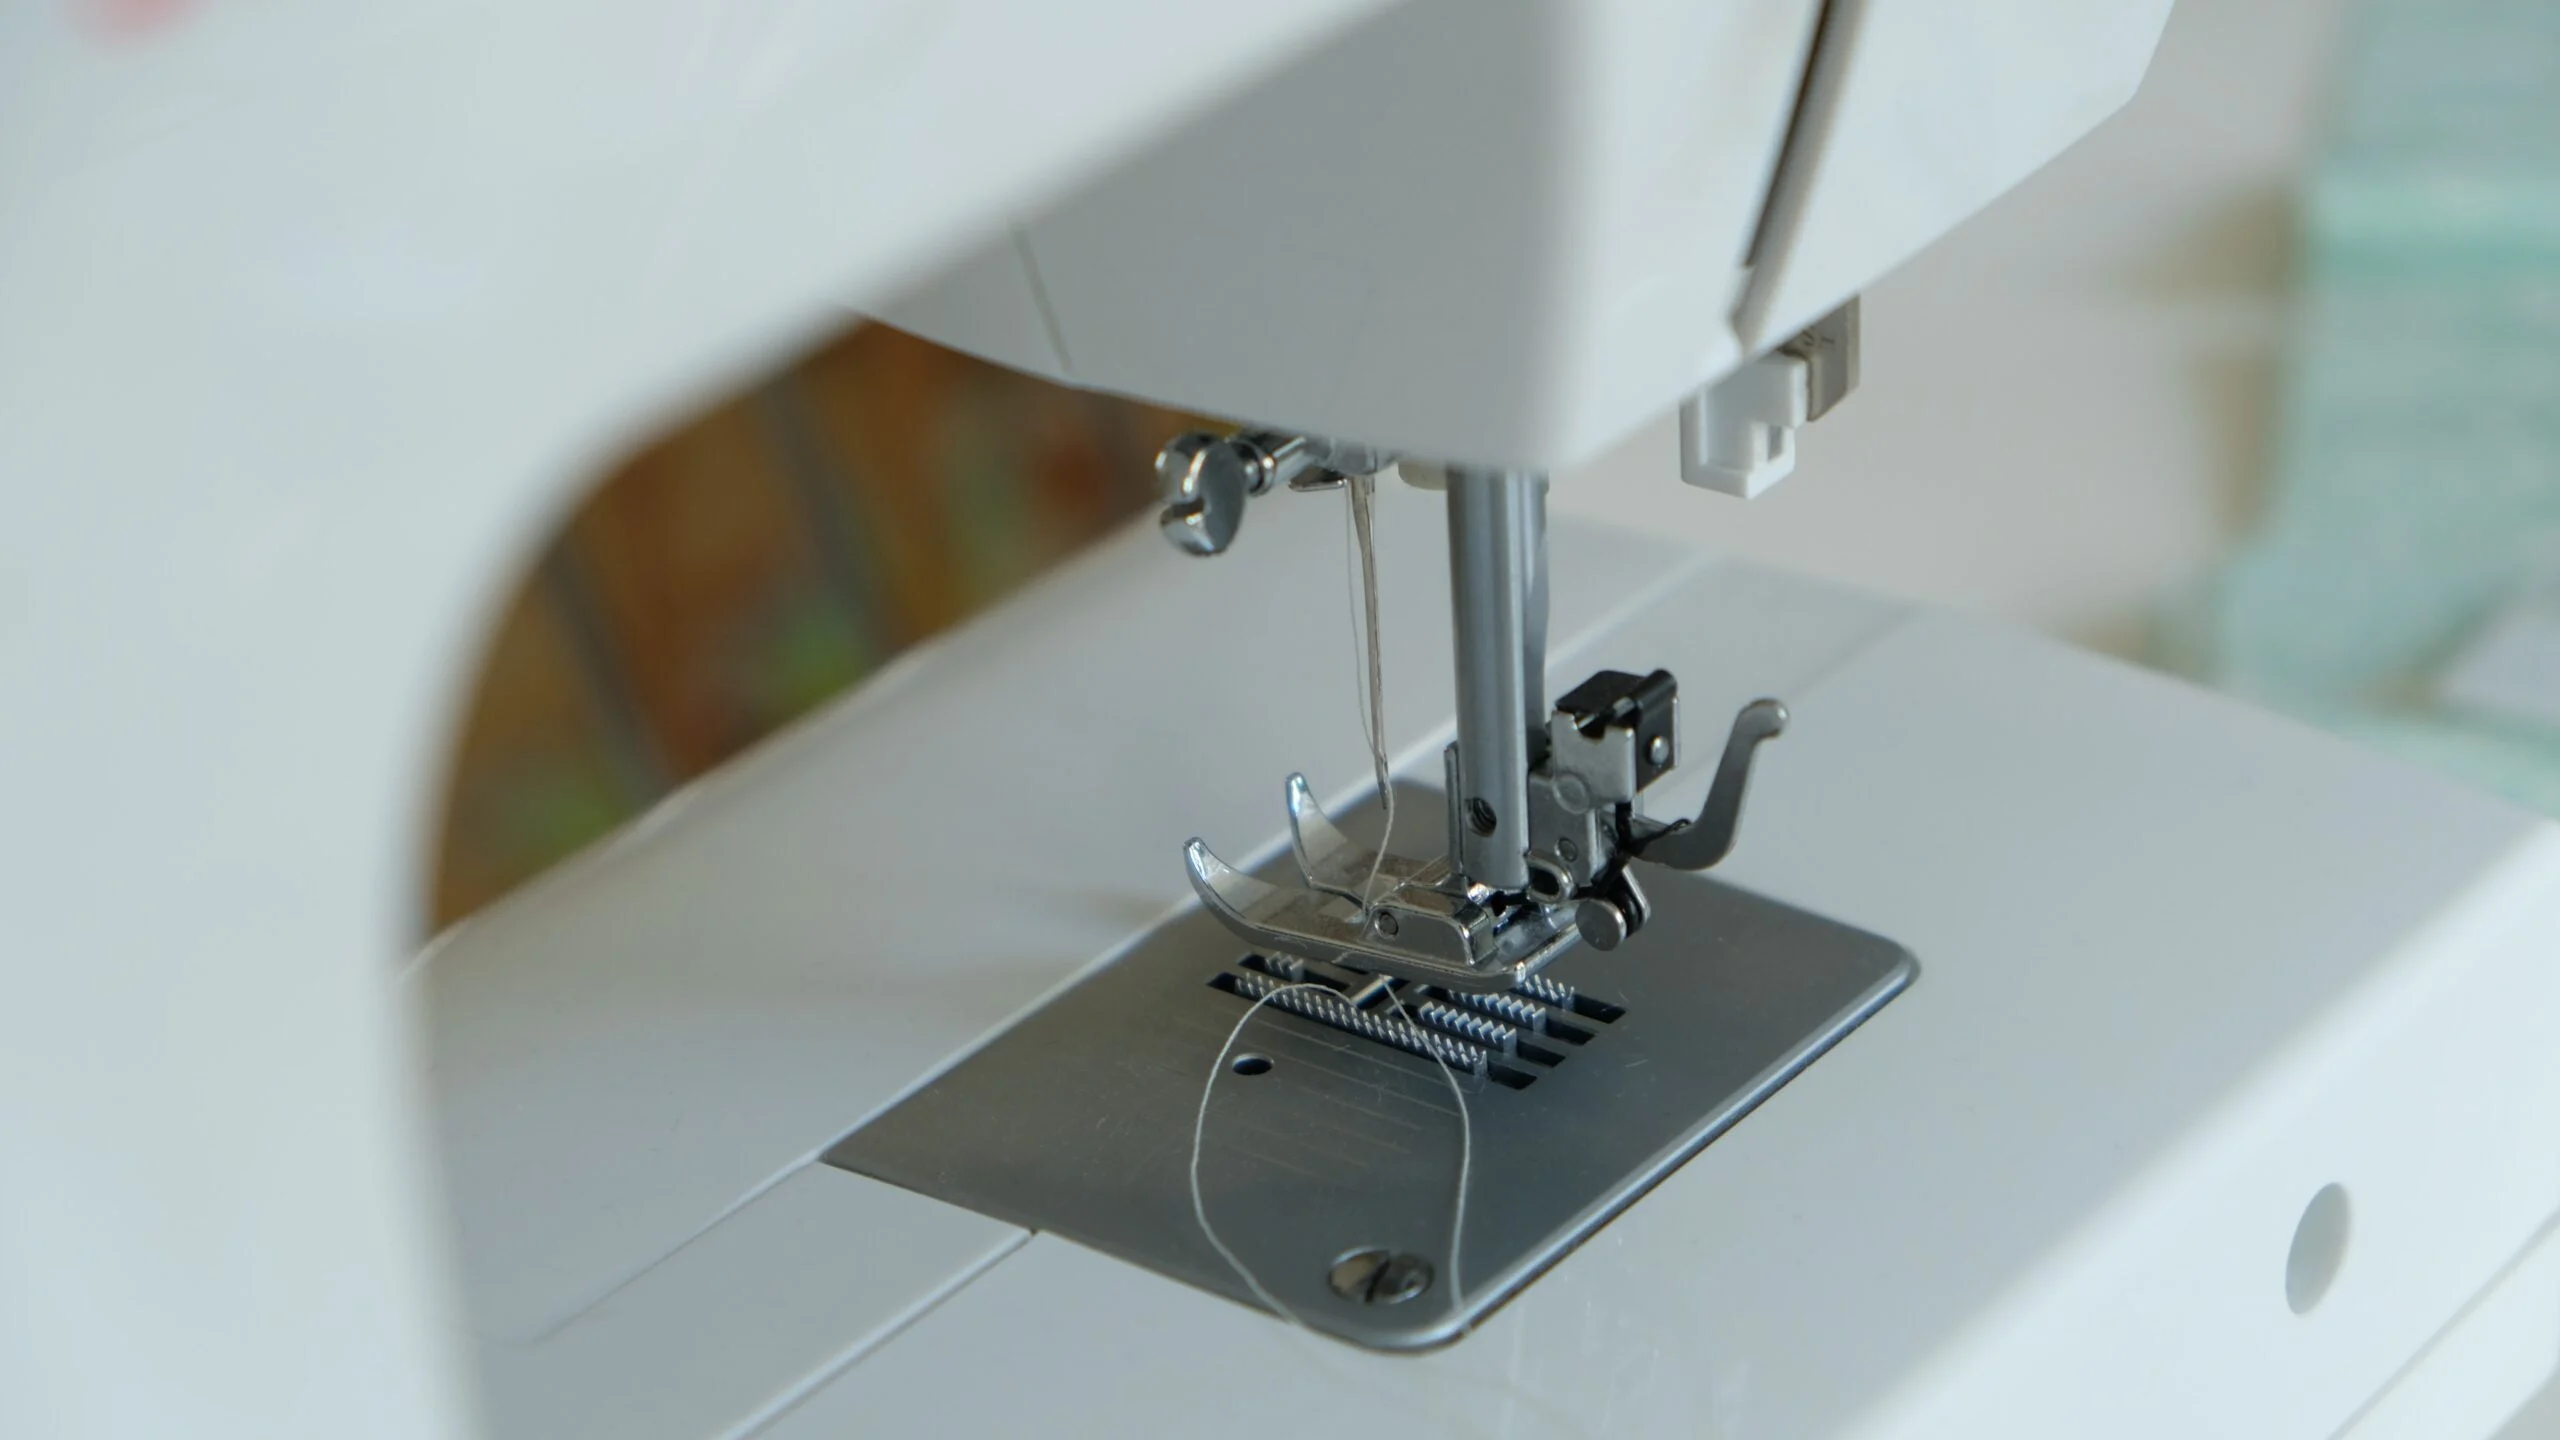
Photo by Louis Mornaud
on Unsplash
Sewing Mesh
An alternative to adhesive patching a hole or tear in tent mesh is to sew it. You can sew the tear directly using specific stitching patterns either by hand or with a sewing machine. You can also sew a piece of mesh over the hole to patch it without adhesive.
Materials needed to sew mesh:
Needle
Nylon thread
Scissors
Mesh material (if needed)
Optional: sewing machine
If the mesh is ripped in a relatively straight line, you can sew the mesh directly. If there is a hole in the mesh or it is a jagged tear, then it works best to cut a piece of mesh fabric and sew the patch. Stitching a patch onto the mesh prevents tension from arising when the tent is set up.
How to sew mesh:
Cut the extra mesh material to size. The material should extend at least ¼ away from the edge of the rip or hole, but closer to an inch is preferred.
Once cut, realign the patch to ensure it is properly sized.
Match up the grain of the patch with the original material, so the face once direction.
Run pins through the materials, so they stay aligned.
Sew the patch in a zig-zag pattern about ¼ inch away from the edge of the hole (easiest to do with a sewing machine).
Trim the edges of the fabric when you’re done sewing.
To prevent fraying, apply fabric repair tape to the edges.
A zig-zag pattern is still recommended to sew a rip without a patch.
If the tent screen or mesh is separating at the seam, invest in some Gear Aid Seam Grip for a quick and easy repair.
FAQ
Q: Can nylon be patched?
Yes, nylon can be patched whether or not it is mesh. We recommend using nylon or synthetic fabric patches to repair and patch other gear like sleeping pads or jackets
. Although you can sew mesh, sewing nylon isn’t advised. Work with a patch that utilizes adhesives and heat bonding, making the material more likely to hold.
Q: Can you sew mesh screens?
Yes, you can sew mesh screens, but sometimes a patch is more effective. To sew mesh, use nylon thread and sew in a zig-zag pattern. Sewing a small rip or a straight tear is relatively easy, but a patch will work better for large holes. If you prefer sewing, opt for sewing a patch of material onto the mesh or utilize a patch with adhesive.
Q: What should I include in a backpacking repair kit?
doesn’t need to be complicated and should at the very least include a needle and thread, some tape, and patches for quick fixes. Other options you may want to include are a multi-tool, zip ties, replacement buckles, and safety pins.
Q: How do you fix a hole in a mesh backpack pocket?
Fixing a hole in a mesh backpack pocket depends on the type of repair needed. If there is a small rip, you can more than likely sew it. If there is a large hole, a patch will be more effective. We recommend checking with the manufacturer to see if they have specific repair options or advice.