Still-hunting is a nice walk in the woods. Driving deer
is a strategic bushwhack with your buddies. Tracking
is a hot-pursuit sleuthing job, where every step gets you closer to a buck you know is out there. It all sounds like more fun than waiting in one spot for a deer to show up, right? So why do so many whitetail deer hunters spend so many hours hunting from a tree stand?
The answer is because in the terrain where most whitetails live, hunting from a stationary position above the animal’s line of sight is by far the most effective method. That’s true for gun hunters and doubly, maybe triply, true for bowhunters. If your number one goal is to get your deer, then hunting from a tree stand is usually the way to go. And don’t forget that wrapping a tag around the leg of a nice buck is pretty fun, too.
The bottom line is this: If you want to be all-but invisible in the woods, practically unsmellable to the wariest buck, and in the perfect position to hear, see, and shoot a whitetail deer, you just need to get some tree stands and really learn how to use them.
Here’s your guide.
Table of Contents
How to Buy the Right Tree Stands
Make a Tree-Stand Hanging Kit
Install a Life Line On You Tree Stand
How to Hang a Lock-On Stand
5 Tips for Easier Tree Stand Hanging
How to Hunt with a Climbing Tree Stand
How to Set Up a Ladder Stand Safely
How to Hunt Deer from a Tree Saddle
Tree Stand Placement, All Season Long
11 Best Places to Hang a Stand and Get Your Buck
How to Pick the Perfect Tree
How High to Hang a Tree Stand
How to Trim Shooting Lanes for Tree Stand Hunting
How to Buy the Right Tree Stands
The first step to tree stand hunting is getting some stands, of course. No specific number of them is just right—or ever enough. But these four types are great to have.
1. Ladder Stand
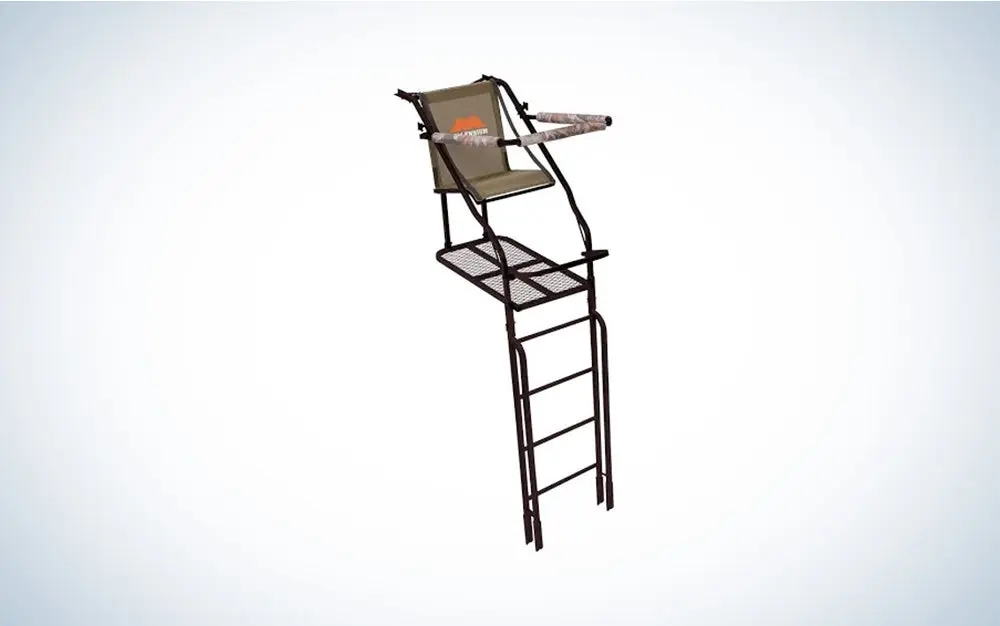
The Millennium Single is comfortable, well-built, tall enough, and reasonably priced.
Ladder stands are heavy and hard to put up, but nothing is easier or safer to climb into and hunt from—something you’ll really appreciate if you’re a little older and/or not as spry as you once were. Ladder stands are perfect for those reliable hotspots that you can drive right up to with your truck or quad, and double-seat models are great for hunting with a kid or beginner.
2. Stealth Climber
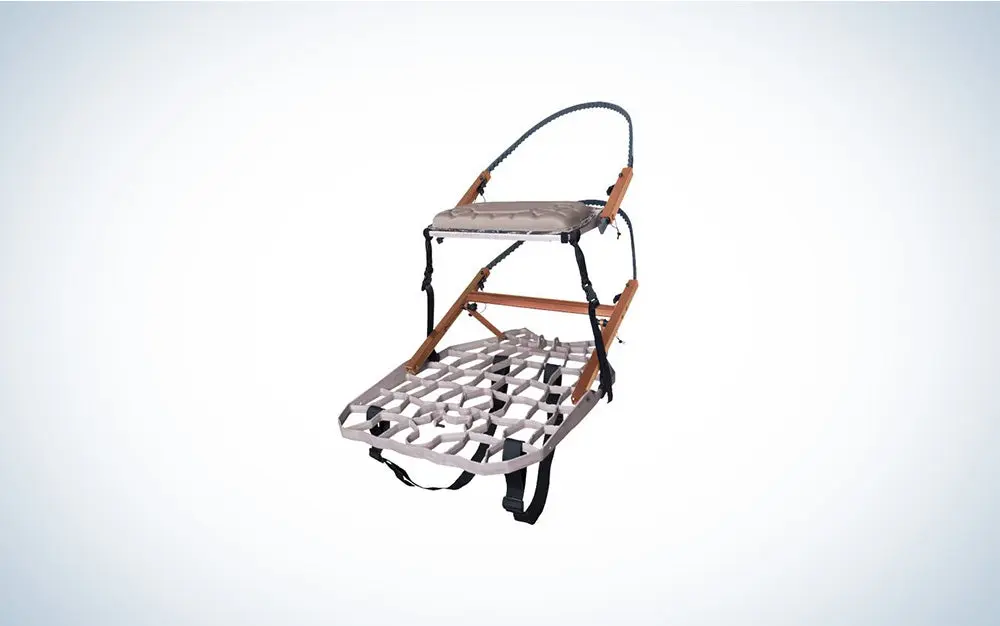
No climbing stand is lighter, quieter, or more compact that the Lone Wolf Hand Climber Combo II. It’s not cheap, but it’s worth it.
For exploring new spots off the beaten path, nothing gets you in quieter and up faster than an ultra-light, compact climber, as long as you have plenty of trees with straight, branchless trunks.
3. Comfy Climber
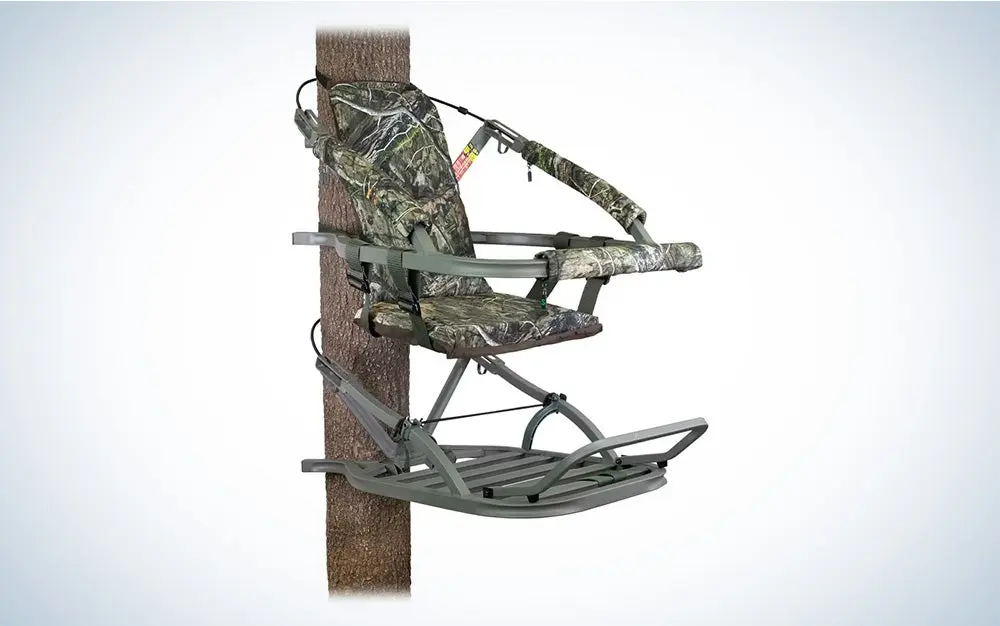
The Summit Viper SD is a hugely popular climbing stand because it’s comfortable, well-built, and still fairly lightweight and compact.
There are plenty of hunts and plenty of places (like the ones that don’t require a long walk in) where you’ll favor easier climbing and more comfortable sitting over light weight and stealth. For those, you want a bigger, cozier, sit-and-climb model.
4. Stealth Hang-On Tree Stand
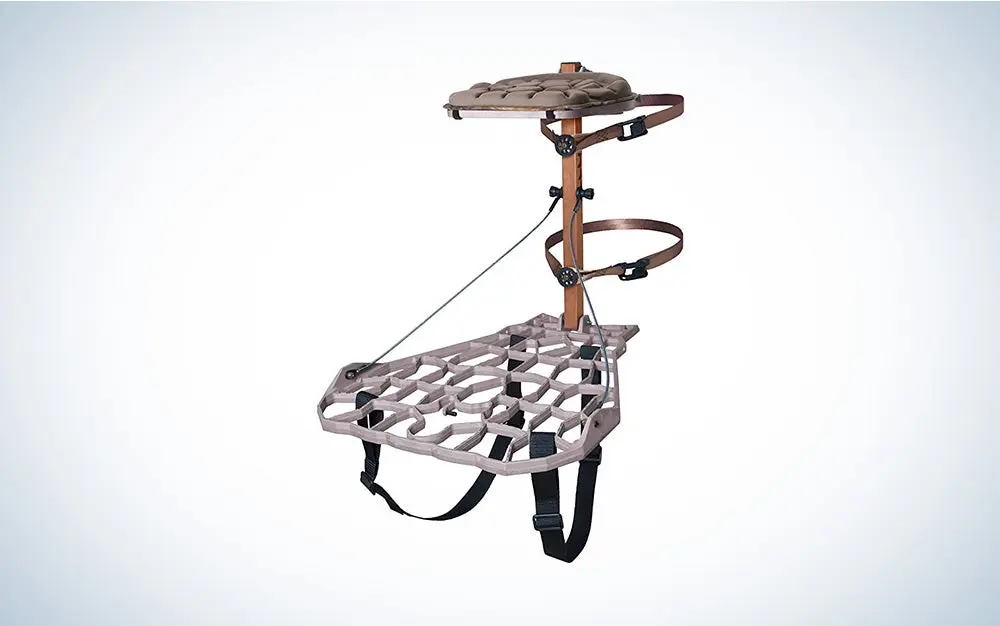
At just 11 pounds, the Lone Wolf Assault II is perfect for quick-hit hang and hunts, and offers the option of an integrated climbing-stick system.
You need at least one featherweight model that goes up fast for short-term sets where you can’t or don’t want to be limited to straight branchless trunks. Pair it with a set of lightweight climbing sticks for quick-hit hang-and-hunts and for hiking back away from the competition on public lands.
5. Comfy Hang-on Tree Stand
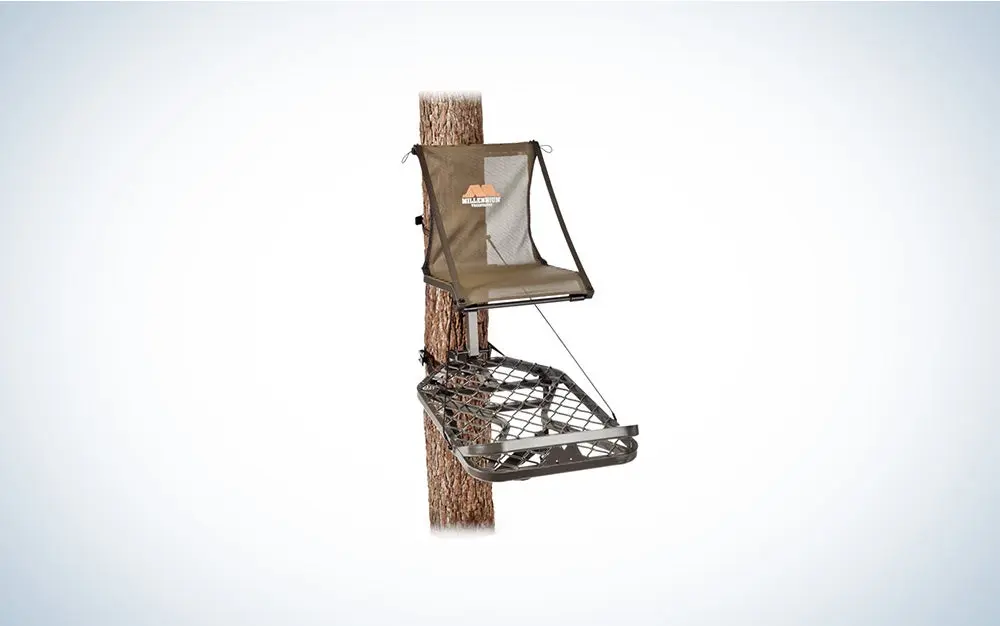
The rock-solid Millennium Monster has a huge platform and full-backrest seat for all-day comfort.
Use this type for long sits in consistent hotspots where it’s not practical to carry in a ladder.
6. Affordable Hang-On Tree Stand
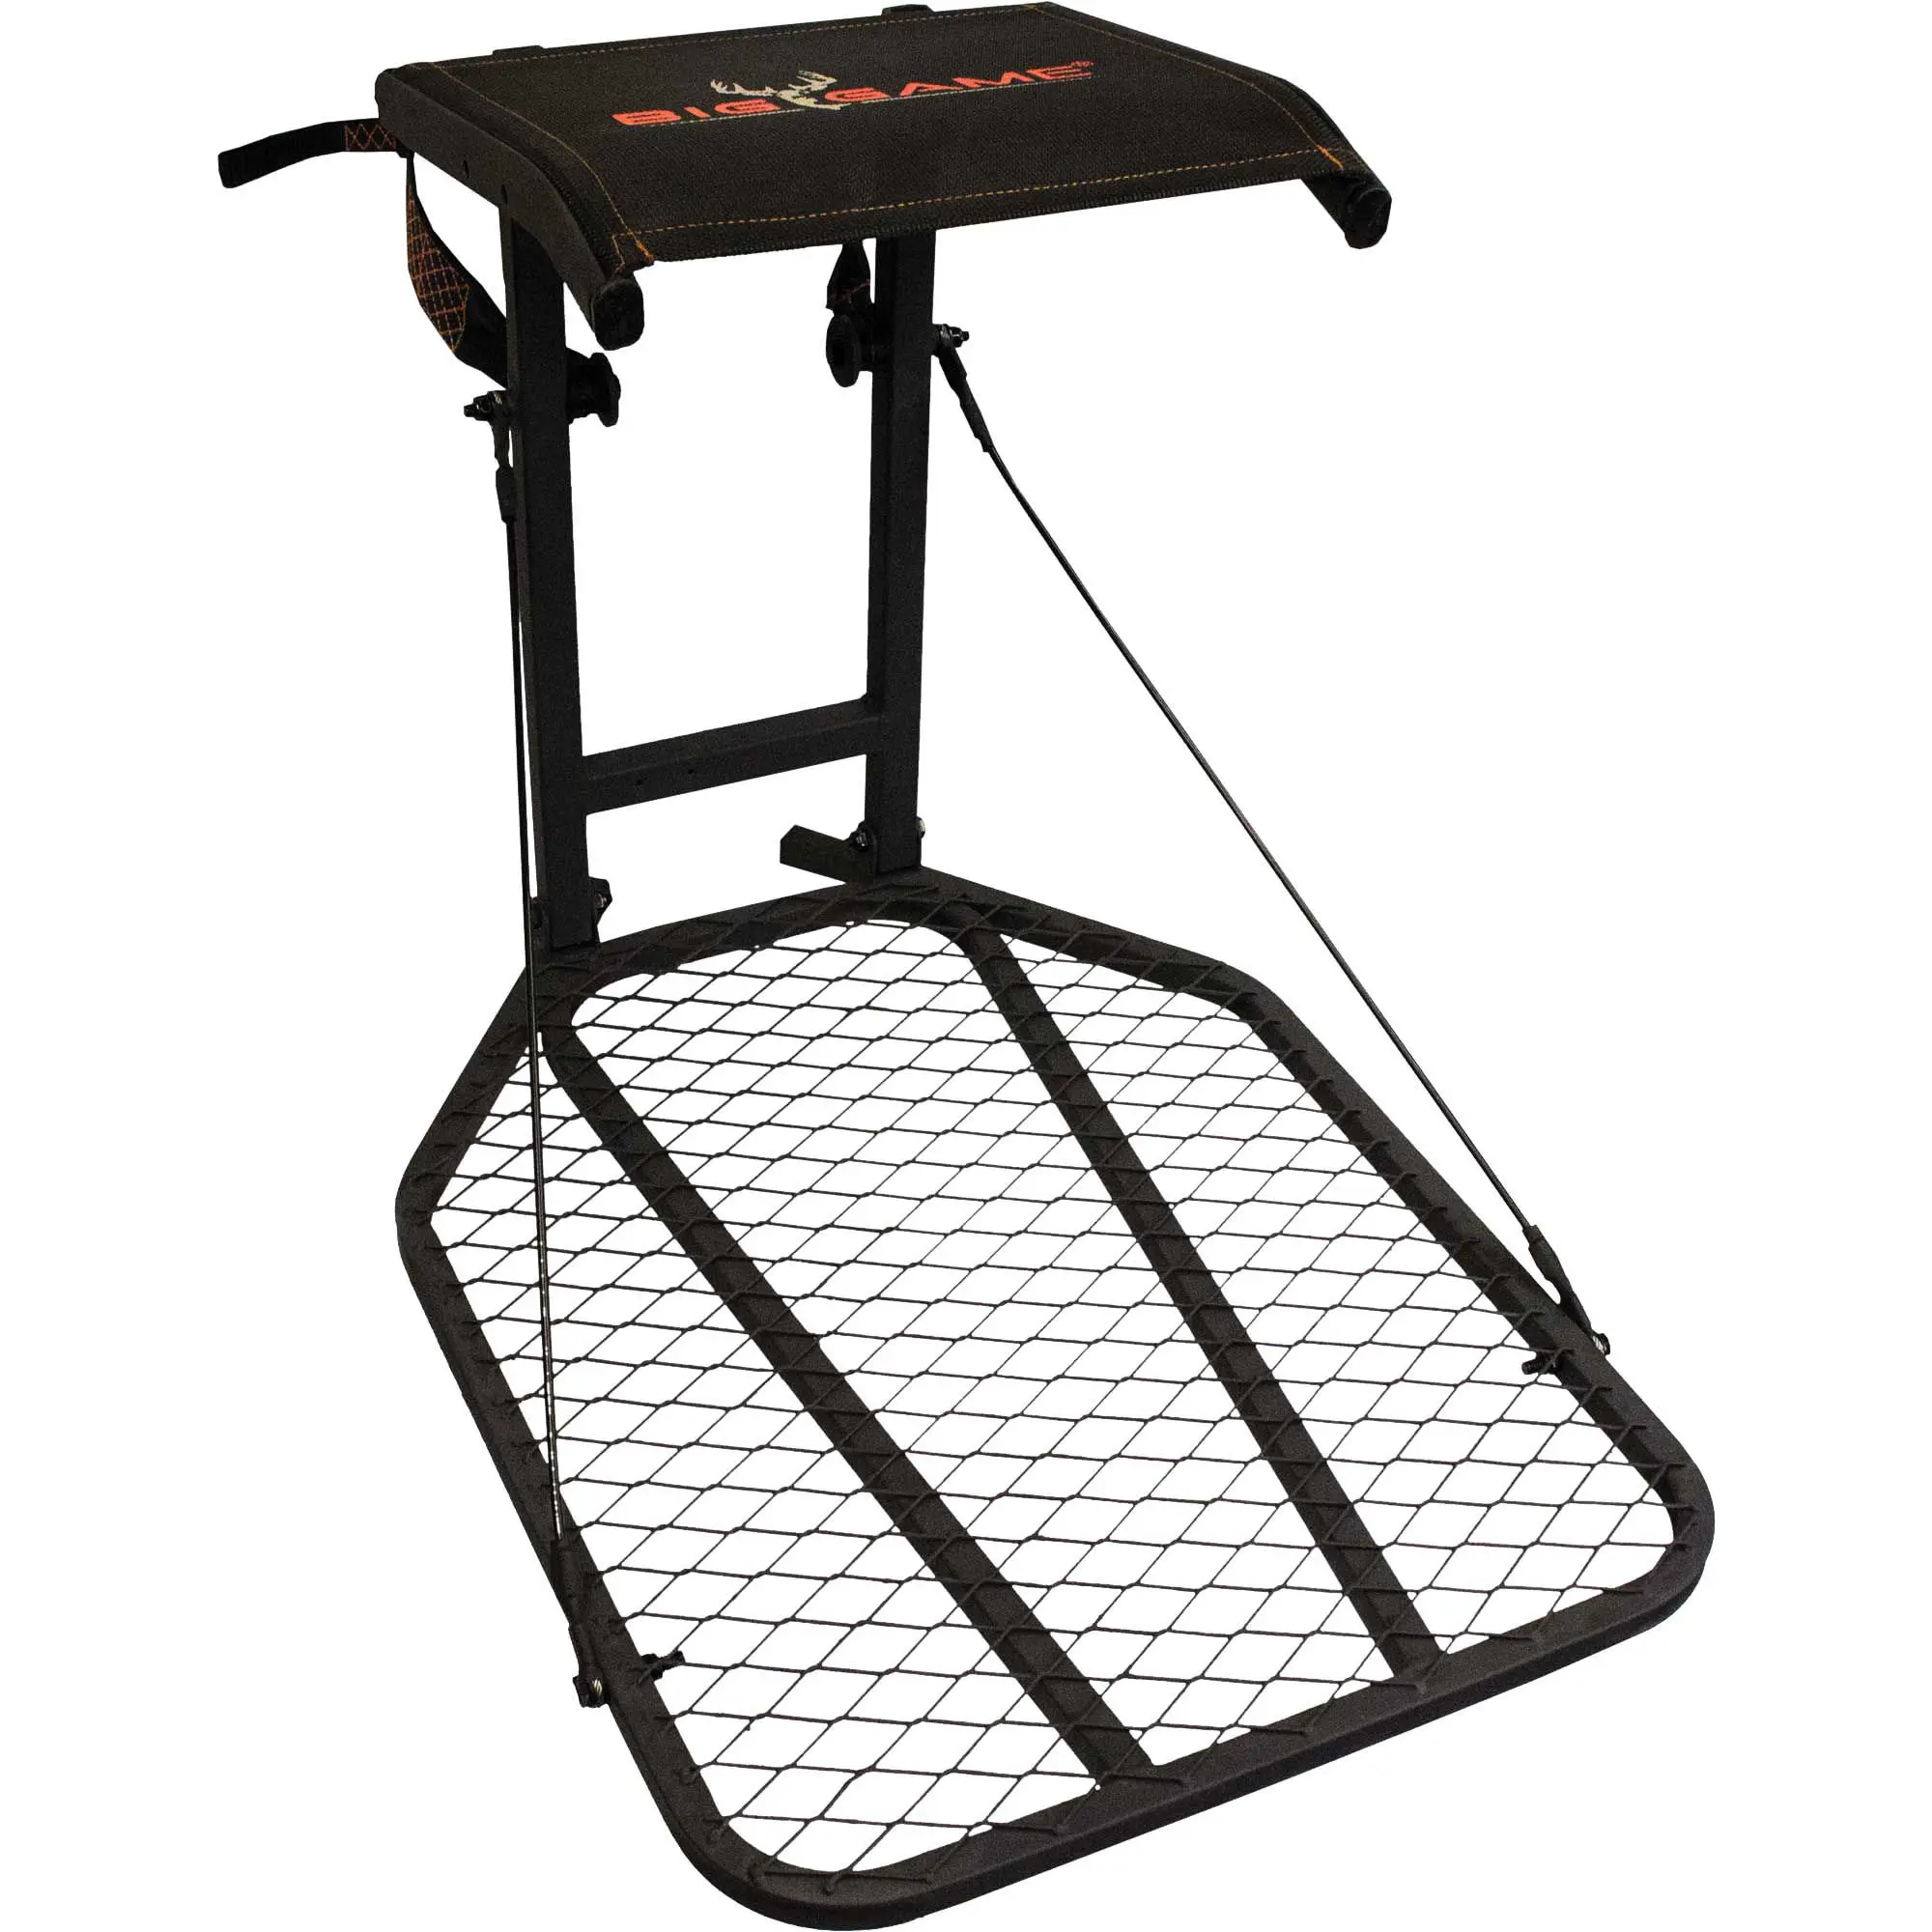
The Big Game Captain is a basic but serviceable hang-on that you can sometimes find on sale for under $70. Big Game Stands
For a lot of us, the only way to quickly grow our stand arsenal is to find a dirt-cheap model that does the job. Local big-box stores often have model for well under $100 bucks. They’re usually a little heavy, and they never go up as easily or lock into the tree as securely, but they get you up there. I’m sure these cheap stands have been tested for safety, but usually like to run an extra ratchet strap on my cheap stands.
Make a Kit for Hunting from a Tree Stand
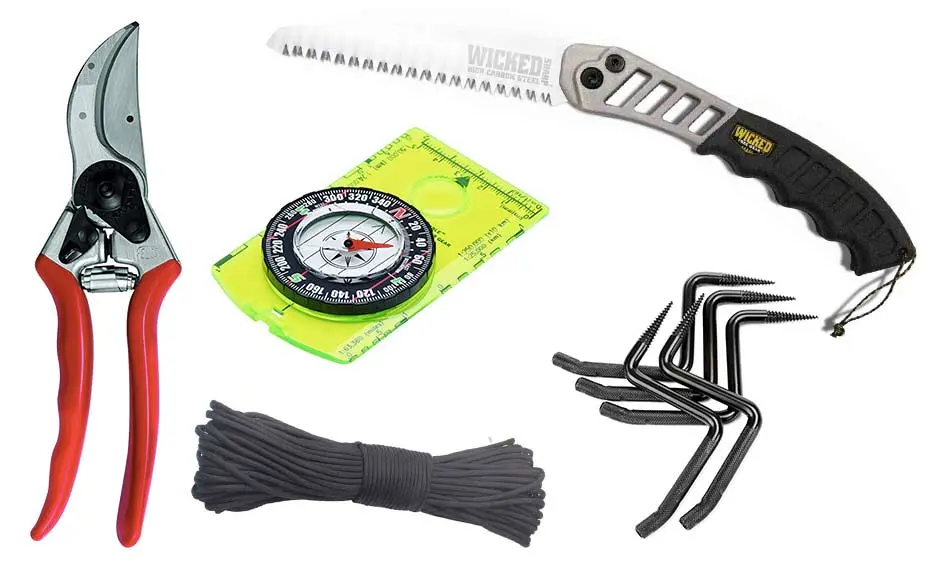
A handful of the items that should be in every hunter’s stand-hanging kit. Amazon/Collage by Dave Hurteau
Now that you’ve got the stands, you need some gear for setting them up—and it’s a good idea to keep that gear all together in a handy stand-hanging kit. Mine starts with a tough, roomy fanny pack that I keep in the bed of my truck, ready to go at any time. (You can use a daypack, but a fanny allows you to swing it around in front, to keep items handy while climbing.) Here’s what I keep in it.
Steps: I wrap enough steps for one setup (about 12 steps for me) in strips of cloth to keep them from clinking and clanking. After I hang a stand, I replace them. (Even when I’m using climbing sticks to hang a stand, I still like to have a few steps handy for hand-holds or in case I want to go a little higher.)
**Rope
:** I always have several 25- to 30-foot sections of rope handy for pulling up a stand, a pack, a bow, or a gun.
:** I have one in my hunting pack and another in my stand-hanging kit so I am never without protection. (This is why I like a roomy fanny pack, so my harness will fit with all the other stuff.)
:** A stout rope that runs from the ground to your hung stand, with a sliding Prussic knot (see “Get a Life Line” below).
:** I like a bypass style that can lop off a finger-thick limb.
:** Zipping through larger branches is easy with a quality hand-held saw.
**Compass
:** Nothing fancy needed here; just a simple, sturdy unit for determining proper wind directions.
:** To double-check thermal flows or unique wind currents from a hung stand.
Trail Markers: API’s Trail Marking Tacks glow in a flashlight beam and are perfect for marking entry trails to morning setups.
Don’t Forget!
Neither of these items fit in my fanny pack, so I keep them always handy in the truck:
Four Climbing Sticks: If I need to hang a stand fast, I’ll use these instead of steps. In fact, like a lot of hunters, I’m using sticks over steps more and more.
Pole Saw: Essential for any long-term set that needs to be thoroughly brushed out.
Use a Life Line on Your Tree Stands
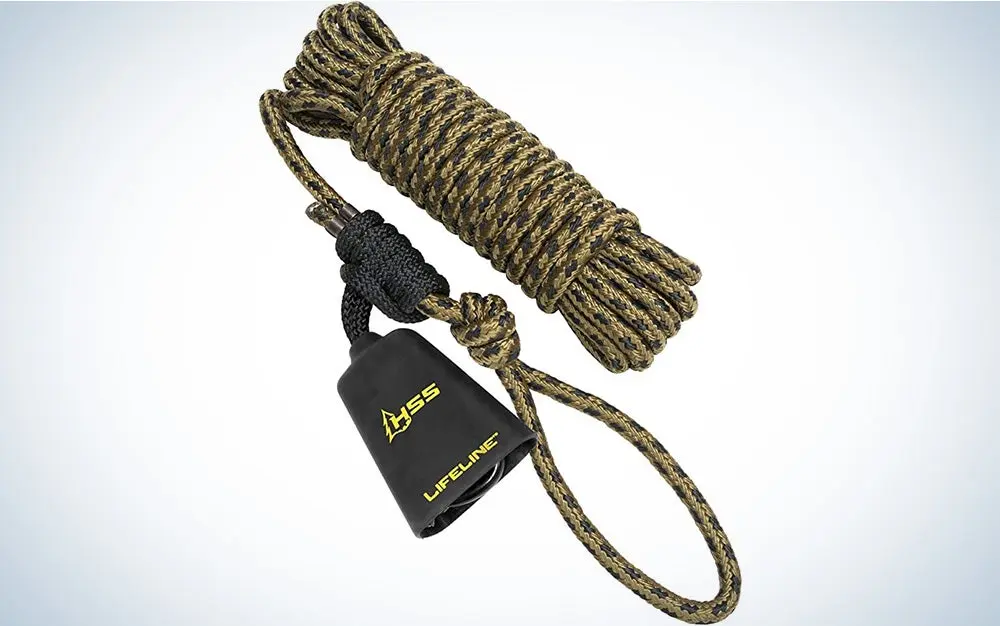
Hunter Safety System 30-foot Lifeline with Prussic knot and carabiner.
I have gotten to the point where I pretty much refuse to hunt out of a tree stand that doesn’t have a life line. I put one on every stand I hang—high or low—and I recommend that you do, too.
A life line consists of a thick rope that runs from above your tree stand down to the base of the tree. Attached is a prussic-knot loop that slides up and down this main line. You clip your harness tether to the loop at ground level and slide the knot up as you ascend. Then you slide it down when you descend. This way, you are safely hooked in from the second your feet leave the ground until they touch down again. You can buy a pre-made life line, or you can search up any number of YouTube videos that will show you how to construct one yourself (at your own risk of course).
How to Hang a Lock-On Tree Stand

Lee Lakosky hangs a Summit lock-on stand. Summit Stands
Lock-on, or hang-on, stands are popular with deer hunters mostly because they’re the least expensive type. They’re also much easier, compared to ladder stands, to move from tree to tree to fine-tune your setup or hunt a new hotspot. But they’re not exactly easy to hang.
Until you get good at it, the job can take close to an hour and involve several sweaty trips up and down the tree. Here’s how to do it in a single bound so you can get hunting right away—plus several tips that make the chore easier, less sweaty, and a lot faster.
Step 1: Study the tree. You want to climb it so your body weight leans into the trunk, not away. Figure out now roughly where you want to position the stand.
Step 2: Put on a harness with a climbing belt. Don’t skip this step. Why? Because while making the job safer, it also makes it way, way easier, giving much-needed leverage for screwing in steps or attaching sticks and for pulling up and attaching the stand.
Step 3: Strap on a fanny pack with steps, pruning shears, saw, etc. (see above), and put the pouch in the front where it’s handy. Also put on your hunting backpack if you have one. If using climbing sticks, attach the first one to the tree with your feet on the ground, then attach the others to your harness or pack, where you can grab each one as you ascend.
Step 4: If your stand’s strap is ambidextrous, adjust it now so the cinching buckle will be on your side of the tree when hanging the stand. Wrap the strap around the platform, attach, and cinch so the buckle doesn’t clang against stand or steps.
Step 5: Tie one end of a pull-up rope at the hip of your harness, the other to the stand’s upright, near the seat. About a foot from the stand, tie a small loop. Attach another pull-up rope for your gun or bow.
Step 6: Install your steps or sticks and climb.
Step 7: When you reach the height at which you’ll place your feet to hang the stand, install two steps side-by-side (if you’re using steps). This gives you a level, sturdy purchase and lets you take your next step with either foot—a big help considering that you often don’t put your stand exactly where you plan to, which can otherwise force you to reconfigure your steps.
Step 8: Climb onto the two steps and install a lifeline. Now screw a step mostly in about a foot above where you want the seat of your stand. Pull the stand up, and when the loop reaches you, slip it over the step, and let go. There. Now you don’t have to hold the stand up while strapping it to the tree.
Step 9: Attach the stand, cinching it not-quite tight to the tree. Slide the loop off from and remove the step. Now, with the seat and platform up, lift as you cinch the strap tight. Lower the platform and pull down on the stand to seat it.
Step 10: Install one or two more steps as needed so you can step down onto the platform to get into the stand. Once there, adjust the life line so it’s above your head. Hang your backpack out of the way. Install a hook that will put your gun or bow within easy reach. Then pull up that gun or bow, and start hunting.
5 Tips for Easier Tree Stand Hanging
Sharpen dull tree steps with a file or grinding wheel (at your own risk, of course). It’ll cut your work in half.
Use a sharp step as an auger for any dull ones.
Use a thicker pull-up rope if your stand weighs more than 15 pounds.
Use a rangefinder to ensure that your tree is within range of the best trails and shooting lanes.
Enlist a friend to help carry stuff in, hand stuff up, and trim shooting lanes while you direct him from above. It’s safer, too.
How to Hunt Deer with a Climbing Tree Stand
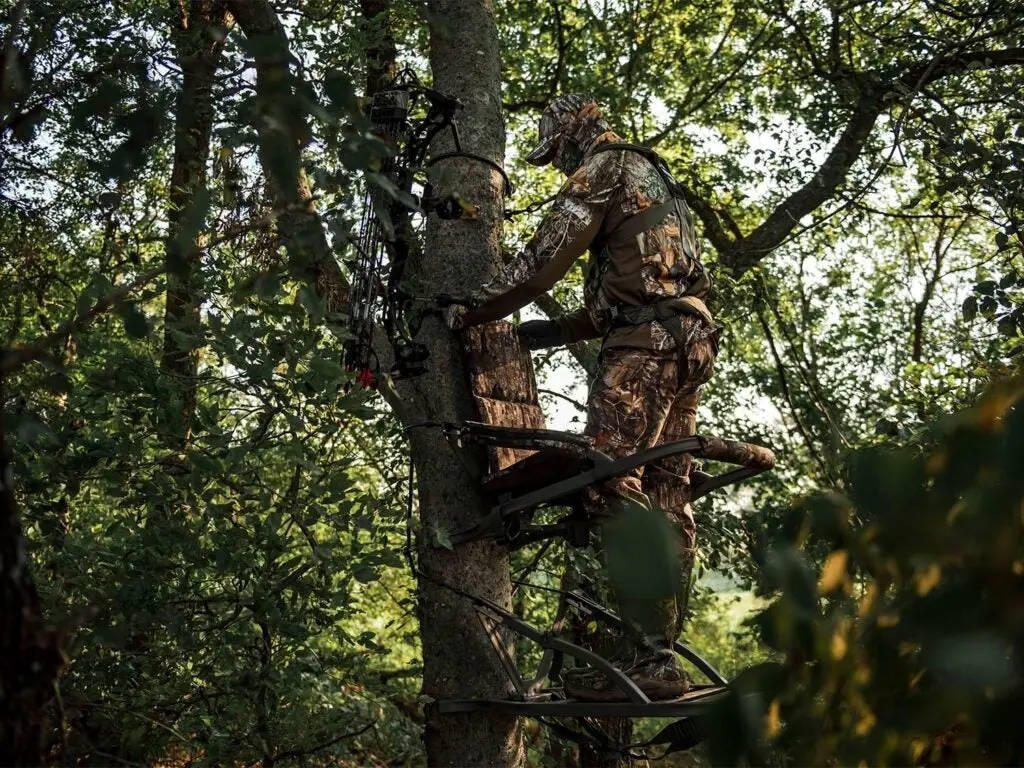
A climbing stand lets you shimmy up a tree without sticks or steps. Summit Stands
I do at least half of my deer hunting from a climbing stand. And why not? As long as there are straight-trunked trees free of large lower branches handy, a climber has huge advantages. You’re up and hunting in minutes, no steps, no sticks. When you leave, there’s no trace left to expose your hotspot. You can easily tweak your stand locations to keep bucks guessing. And nothing is better for exploring and trying new spots. That said, it does help to know a few tricks.
Go Light: Ditch the daypack. It’s a lot easier to carry a climber in on your back if there isn’t something else there, too. Pare down. Use a fanny. Strap extra clothes to the stand.
Seek Cover: Straight, branchless trunks lack cover. So look for one growing in a cluster or near a leafy sapling or surrounded by conifers.
Find a Fork: Otherwise, choose a tree that forks at 18 or 20 feet, which will give you a little more back cover.
Get Higher: If cover is still a bit lacking, go higher. I arrowed two deer from skinny, utterly naked trees last fall. Just get a little closer to the sky and keep your movements to a minimum.
Or Stay Low: In the early season, the best cover is often lower, in form or brush and vines growing thickly around the base of your stand tree. If you have a good steady wind, don’t hesitate to stop at 10 feet or even less.
Don’t Hang Out: If your climbing stand kicks out from under your feet, your harness will catch you. But then what? There are no steps or sticks to get back onto. Make sure you have a controlled-descent device, such as Tree Spider’s Live Wire.
How to Set Up a Ladder Stand Safely
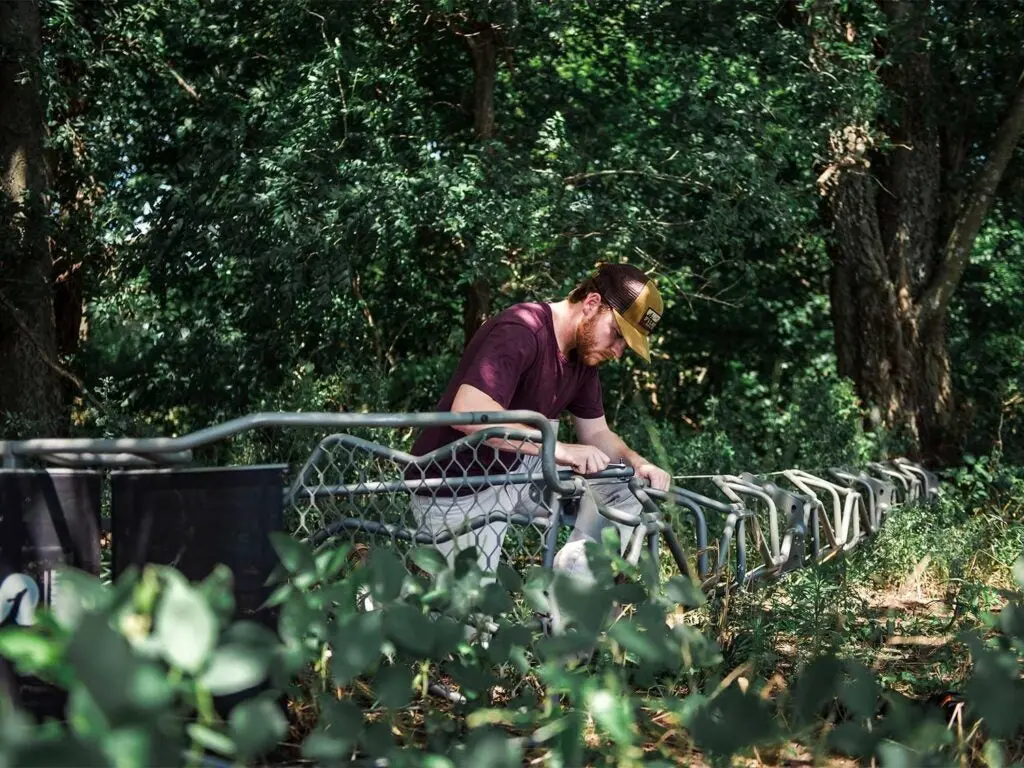
A hunter assembles the sections of a ladder stand before setting it up. Summit Stands
I’ve been nervous while working a climber, and shaky while hanging a lock-on, but the only times I’ve been white-knuckle afraid is when I’m setting up a ladder stand. Safe as heck to hunt from, ladder stands can be a nightmare to set up. While the initial steps of erecting a ladder are pretty simple, these top-heavy stands get increasingly difficult as you tip them toward the tree. Follow the steps below to get your ladder set firmly and safely.
Step 1: Assemble a crew.
Never try to install a ladder stand alone. Ever. Get at least one other person, preferably two, and preferably tall. Even the shortest ladder stands are unwieldy, and more hands mean lighter work and better balance.
Step 2: Start out right.
Like so many projects, the initial steps of setting a ladder can influence the final result. Once your stand is fully assembled and lying by the tree, measure the length of the platform. This measurement, plus another foot or so, is the approximate distance you want the legs to be from the tree trunk to ensure that the stand will lean into the tree.
Tip: If the ground is hard or unstable, drive a stake in the dirt at the base of the bottom step (on the tree side). This will not only serve as a fulcrum as the stand is tipped forward, it’ll prevent the legs from scooting out.
Step 3: Pull it up.
Typically, a ladder’s anchoring straps also serve as pull-up ropes for erecting the stand. While having one stout lad behind the tree and pulling on those straps as someone carefully leans the ladder toward the tree is good, one guy on each strap is even better. Follow the manufacturer’s instructions to the letter. It doesn’t matter if you’ve put up a dozen ladders made by Company Z; there are often quirks unique to each stand and you won’t know about them unless you read the directions.
Tip: If the trunk of the tree forks or if there’s a handy limb growing about the height of the stand platform, tie a long rope to the stand and run it over that fulcrum for extra leverage and stability.
Step 4: Anchor the ladder.
Most stands have a stabilizing bar that connects the stand to the tree about head high. Get this secured to the tree before you take a single step on the ladder. Also, this is the time to secure the straps (which typically cross on the tree trunk behind the stand) to the ladder at the points specified by the manufacturer.
Step 5: Make the climb.
To finish the setup, have your buddies hold the bottom section of the ladder secure while you make the climb to the platform. Keep your weight on the center of the ladder as you climb, and on the center of the platform as you secure the platform strap. While you’re at it, install a safety line that follows the ladder rungs.
Tip: I don’t care how well you anchor that stabilizing bar or secure the straps, the stand platform is going to wobble as you climb. If you want to eliminate that kind-of-scary step of crawling on to a shaky platform, throw on your safety harness and a lineman’s belt and install a set of climbing sticks on the backside of the tree. Ascend the sticks to secure the stand’s platform strap (often a ratchet) and install the safety line. Now you can climb up that ladder—without worrying about the platform tipping and pitching you out—and start hunting.
How to Hunt Deer from a Tree Saddle
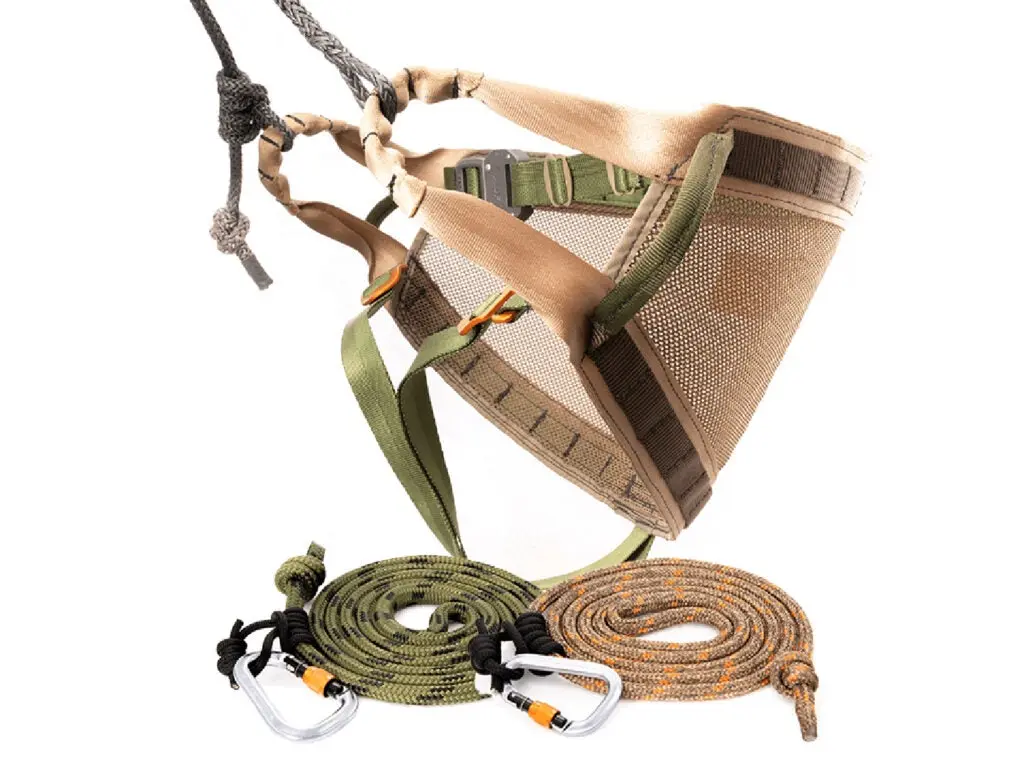
The Tethrd Phantom Starter Kit tree saddle goes for a little over $350. Tethrd Nation
The tree saddle has been called the hottest new thing in bowhunting. In fact, it’s not new at all. But if wait times on order fulfillments are any indication, a whole bunch of hunters have recently decided to ditch traditional tree stands in favor of this ultra-light device, which helps you hunt from an elevated position in minimalistic fashion.
The very first saddles that I know of hit the market a couple of decades ago. I started using one in the early 2000s after listening to Michigan hunter John Eberhart sing their praises. But it’s only in the past couple of years, thanks in part to vast improvements in their design and comfort, that the devices have become a full-blown thing.
If you’re looking to get into the saddle game, understand this: There is a learning curve involved and you’ll need some time to adapt.
Let’s start with the terminology. The saddle is the part that cradles around your butt and serves as support. The bridge is the piece of rope that attaches to the saddle at each hip and spans the two sides. To the bridge, you affix the tether, which is what wraps around the tree to keep you safe and secure. You can also add in a small platform for your feet or use a series of tree steps.
A saddle is, at its core, very simple. It allows you to safely hang from a tree and maneuver your body to take shots from almost any angle. There is no easy way to describe the various shooting positions or how you get into them; it’s one of those things you simply have to learn by feel and practice.
The best length for the tether and the bridge is one of personal preference and is exactly why you’ll need time to practice and get comfortable with the system, as changes can significantly impact how you move for shots.
An excellent option for getting started is the Phantom Starter Kit from Tethrd ($365). It comes with everything you need—saddle, bridge, tether, and lineman’s rope.
Of course, you’ll also need a way to get up the tree. You can choose any type of climbing option you’re comfortable with, but if you’re looking to get into a saddle to save weight, like most people, then consider Hawk’s new Helium sticks. They’re plenty light and a great buy at about $110 for a three-pack.
Hunting With a Tree Stand—Best Spots All Season Long
Now to the really crucial part of tree stand hunting, the part that will determine your success more than anything else: Where to put your stands. We’ll eventually narrow it down to the specific tree, but let’s start with the big picture. Generally speaking, the vast majority of your stands should be set in one of three places: (1) near a good food source (an ag field, food plot, mast, cut-over) to intercept deer coming to feed in the evening; (2) near a good bedding area (a wooded ridge, bench, or any thick cover) to intercept deer coming back to bed in the morning, or (3) along a travel corridor (long ridges, creek bottoms, fence lines) between the two.
Keep in mind, however, that where you sit on any given day should change though the season, because deer behavior changes. Smart hunters typically sit in the least obtrusive places (feeding areas) early in the season, get increasingly aggressive (travel corridors and bedding areas) as the rut nears and peaks, and then back off again for the late season. Follow the timeline below, and your stands should be in the heat of the action from the opener until the season’s end.
Early Season: It’s all about evening hunts over late-summer/early-fall food sources now. Hang sets on the edge of crop fields or near soft mast or the first acorns in the big woods.
October Lull: Remember, the deer are active; they’re just not as visible. So hang your stand over a hidden fall food source, such as acorns, fruit, or the edge of a young clear-cut.
Pre-Rut: Bucks are starting to put some turf under their toes, so set up along rub lines and active scrapes. Buck bedding areas are killer in the last days of this phase.
Rut: Bucks are really moving now, looking for does; so the two best spots are pinch points along travel corridors and doe bedding areas.
Post-Rut: Its back to food now. Find the very best grub—a clear cut, white cedar swamp, standing corn, or a food plot—and camp out.
Spring: No, you can’t hunt but you can get a huge jump on next fall’s action by hanging—or at least prepping—sets over perennially active terrain funnels, which you find by scouting for last fall’s rub lines.
The 11 Best Places to Put a Tree stand for Deer
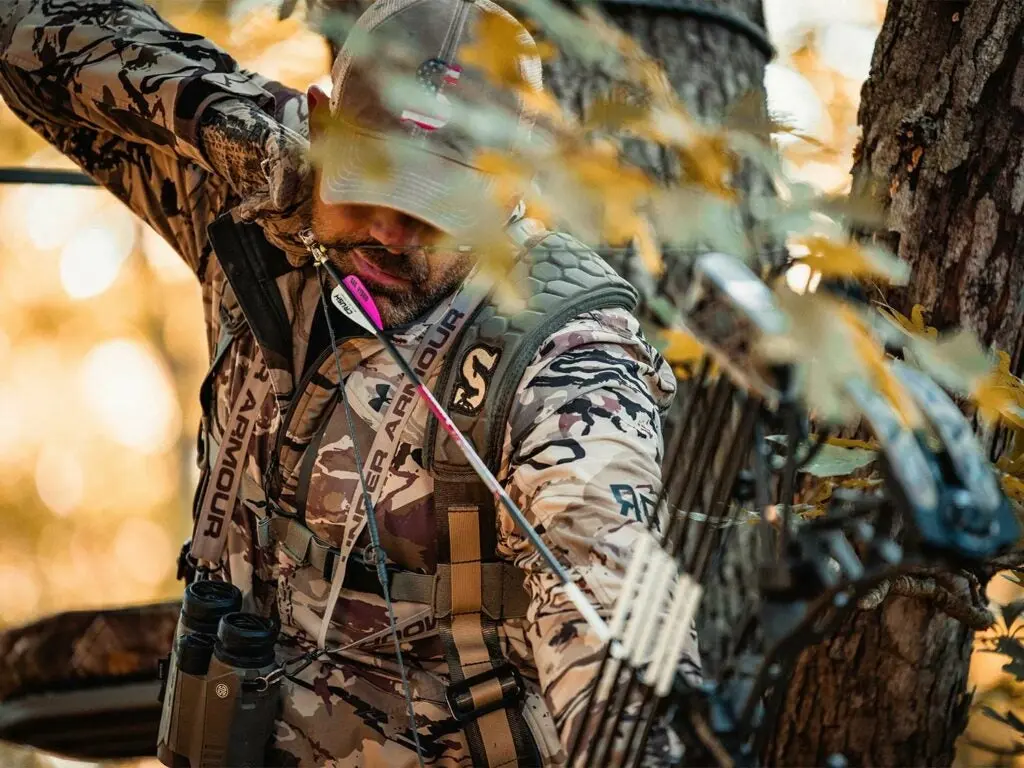
Few things determine whether or not you get a shot at a buck more than where you put your stand. Summit Stands
Like so many things in deer hunting, knowing exactly where to put your tree stand can be almost ridiculously simple when a little luck is on your side. If you glass an early-season buck stepping into a field through a gap in a fence several days in a row, hang it near the gap in the fence. But it can also be maddeningly difficult, especially if you’re a bowhunter and you need to get very close without getting winded. The list below starts with the more obvious places (for beginners) and transitions into subtler hotspots that even experienced hunters can overlook.
1. Where You See Deer
I told you it would start simple. But really, this isn’t as obvious as it sounds. If you randomly spot deer moving through an area, especially during the rut, it may not mean much of anything. But in the early season and the late season, when deer are focused on food, pay close attention. If your binocular or your trail camera reveals deer repeatedly entering a food source from a particular trail or feeding along a certain edge, hang a stand nearby at midday and hunt that evening to capitalize on the pattern before it changes. Same goes if you repeatedly see deer moving along a certain travel corridor.
2. Where You Find Deer Sign
By the same token, hanging a killer stand is often as simple as finding a heavily used deer trail or a fresh rub line or a series of hot scrapes and setting up downwind within gun or bow range. If that’s all you ever did, you’d tag your share of deer, for sure. On the other hand, you’ll take your tree stand hunting to another level when you realize that while deer sign nearby makes almost any stand site better, you don’t always want to set up right on the spoor itself. More often than you’d think, the best place to kill a buck is a ways off the sign, where the terrain or cover steers deer close while helping you stay undetected.
3. Funnels
These are terrain features or configurations of cover that direct the flow of deer traffic from a wide area down through a narrow corridor. Picture an hour-glass-shaped woodlot, and I’ll bet you can guess where you want to put your treestand. There are macro funnels, like a creek bottom that stitches together big blocks of timber over three different properties or a saddle that connects one side of a mountain to another. These are best found on topo maps and satellite imagery, and they can be killer spots to hang a stand during the rut when deer are traveling widely. And there are smaller funnels, like a finger of woods leading into a hot feeding area. You’ll find these by scouting on foot and looking for deer sign. Either way, you should always be looking for funnels, near feeding and bedding areas or between the two, that naturally put deer right under your stand.
4. Pinch Points
“Funnels” and “Pinch Points” are often used interchangeably, and that’s fine, but I think of the latter as more precise—places that pinch deer through a very specific, tight opening. A gap in a fence is a perfect example, and so is the head of a wash or a shallow crossing in an otherwise deep creek or river. These are some of the very best places put a stand, especially for bowhunters.
5. Staging Areas
We’ve talked about hanging stands on the edges of food sources to intercept deer coming to feed in the evenings. But as the season progresses, deer—especially mature bucks—become increasingly wary and will hang back in the woods a bit, waiting for dark before stepping into the open to feed. While they wait and browse, they’ll often make and work rubs and scrapes. So, when bucks stop coming to open feeding areas before dark, do some quick scouting just inside the woods to find a staging area. When you do, hang a stand overlooking the best sign, or along a funnel or pinch point near the sign.
6. Corners
Feeding bucks often enter fields from a corner, and cruising bucks love to swing around corners just inside the woods. Scout these areas to pinpoint trails and buck sign. Figure out where the feeding and the swinging trails cross, and hang your stand downwind of that intersection. The best corners have a funnel or pinch point a short ways off the field, too.
7. Ridges
Ridges are natural travel corridors and bedding sites, perfect for hunting from a tree stand. Rutting bucks will run their spines, sniffing for does on rising morning thermals and looking for them on the slopes and benches below. Secretive bucks will side-hill just down from the tops. And in hilly country, a ridge end is one of the most reliable big-buck bedding areas there is. The spine of a ridge makes a killer all-day stand location; you can shoot both sides and a steady cross-breeze makes you all but unsmellable to deer. A ridge end makes a great morning set, especially when the wind is blowing off the end. Both of these high spots are perfect for when you want the sounds of your rattling and calling to carry.
8. Hubs
There are certain places in the deer woods where everything comes together, where multiple ridges, spurs, ditches, wood strips, fencelines or other travel corridors meet and create a hub of deer traffic. Whether bucks are moving routinely from bed to feed or roving unpredictably for does during the rut, they’re bound to pass this spot, making it hot through the season. Every deer hunter knows to look for travel corridors, but the best ones find hubs from which buck routes emanate like spokes on a wheel.
9. Scent Blockers
You can shower up, spray down, and shell out for carbon clothing if you like. But the best way to keep your funk from a buck’s nose is to position your stand so there’s a sharp decline straight downwind. This way, the prevailing breeze carries your scent above any deer that approach from the wrong direction or circle your stand in response to calls or rattling. (Just don’t expect it to work on dead-calm days when thermals are falling.) The next best thing is to set up where an open field, a steep bank, deep water, or other obstruction discourages bucks from getting downwind in the first place.
10. Small Openings
Hunted bucks need security cover. But being social, they also need openings to see, be seen, and advertise themselves. Whenever you find a small clearing—say an old foundation, dried-up beaver pond, log landing—hidden within a snarl of impossible cover, put your stand on the downwind edge and keep it to yourself.
11. Good Hiding Spots
The best food source, the narrowest pinch point, and the hottest buck sign won’t do you a bit of good if the deer you’re after can see you walking to or getting into your stand. And that spot won’t be hot long if they can see you getting out. Before you finalize any stand location, you have to ask yourself, Can I get in and out without getting busted? If you can’t, relocate slightly to where you’ll still be in the action, but you have creek, ditch, hill, or thicket nearby that lets you get in and out undetected. Remember, you can always start here and then move in aggressively later if you have to.
How to Pick the Best Tree for Hunting From a Tree Stand
Okay, you’ve got the general hotspots down, and you know all the subtle features that make one stand location better than another. Now, you need to pick the right tree. Here are five things to consider.
Crooked trees usually make for a crooked stand, and they’re hard to climb with sticks or steps. Pick a reasonably straight tree with good cover and preferably multiple forks, limbs, or trunks at stand height.
If possible, pick a tree that is perpendicularly downwind and well off the animals’ direction of travel to avoid their line of sight and so passing deer don’t wind you.
For bowhunting, a tree that is 12 to 25 yards off the hottest sign is just about right, as farther makes for a long shot and shorter makes for a steep angle.
For gun hunting, go with a tree that is as far from the hottest sign as you can get and still have a clear, high-percentage shot, preferably with a long, wide view to both woods and an opening.
Ideally, you want a tree that is wide enough to hide your silhouette but narrow enough that you can get your arms around it for easier climbing and stand hanging.
How High to Go when Hunting From a Tree Stand

How high or low to hang your stand boils down to cover, terrain, and wind. Summit Stands
I remember the first time F&S whitetails editor Scott Bestul put me in one of his stands. The biggest buck on the farm could have walked in and stopped at 5 yards and I wouldn’t have been able to shoot, let alone draw my bow. Because I was frozen with fear. Two years later, my buddies were complaining to me that my stands were too high.
Being 20 or more feet up in a tree is something you get used to. That said, the average stand height is closer to 15 feet than it is to 20, and in many situations, you don’t have to go that high.
It all depends on cover, terrain, and the wind. In areas where there’s little cover and/or fickle breezes, it’s best to go higher above the deer’s line of sight and where shifting breezes have a better chance to ride above nearby noses. Also, if you put your stand on a downhill slope, you might have to go high in order to stay above deer running the ridge top.
On the other hand, if you have good cover and a steady wind, don’t hesitate to put your stand much lower. Oftentimes, that is where the best cover is. On one where farm I hunt, the tops of the honeysuckle and grape tangles is only about 8 feet high. I’ve taken a bunch of deer there by hanging my stand where I can just shoot my bow above it.
Don’t fall into the trap of thinking that tree stands need to be way up there to be effective. Start by asking, How low can I hang it and still be in the game? Then go from there based on what you’re comfortable with.
How to Trim Shooting Lanes for Hunting with a Tree Stand
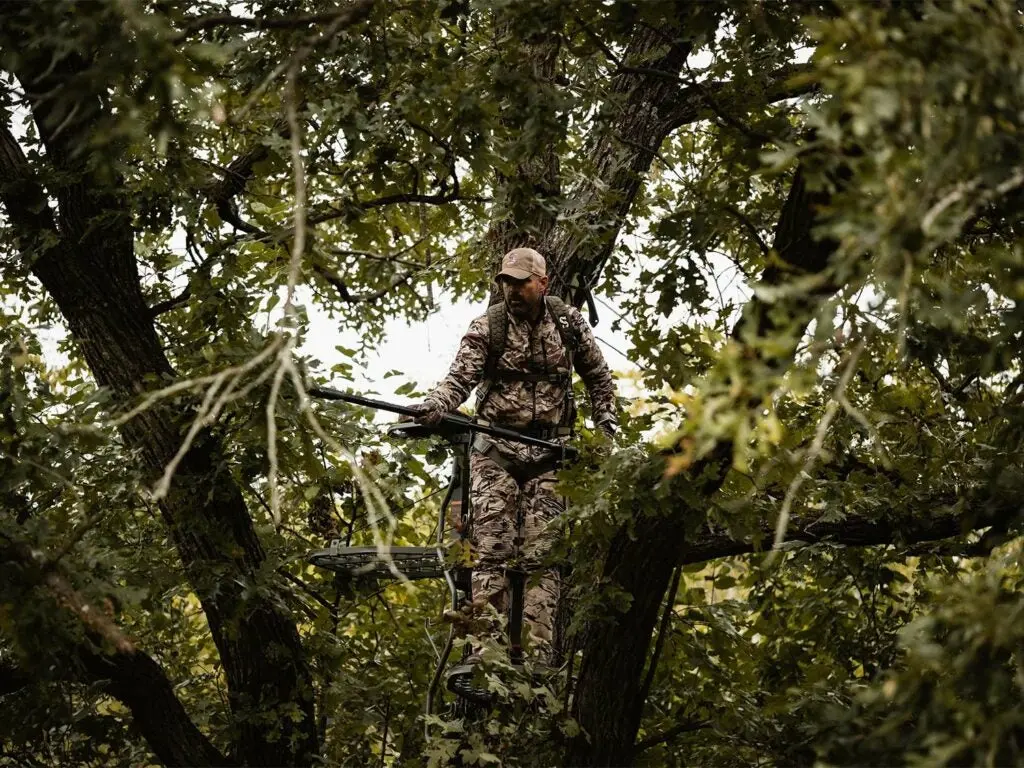
A hunter uses a pole saw to trim shooting lanes. Summit Stands
You’ve chosen your spot. You’ve picked your tree. And your stand is hung. The last thing you need to do is trim some shooting lanes. Now, if you want to start a deer-camp debate, just ask your buddies how aggressively they trim their lanes for hunting from a tree stand. Half will insist that sparing the saw spoils the shot. The rest will argue that too much hacking spooks deer and ruins the spot.
Who’s correct? Both are—but only about half the time. An either-or-approach doesn’t allow for the fact that proper trimming is highly situational; it should depend on the specifics of each setup.
About half of the stands I hang are located near a terrain funnel or pinch point that isn’t apt to change, like the head of a wash, a bench or saddle in hill country, or a brushy fence line or creek bottom connecting crop fields. These spots will dictate deer movement year after year, so I brush them out thoroughly. With the landowner’s permission, use a small chainsaw to remove scrub trees and major limbs that might block a shot. The obvious alterations or residual scent might temporarily spook deer, but they’ll be back, and you’ll have plenty of chances to hunt them.
Ideally, you should do this sort of brushing in the off-season. But even after the opener, you can hunt these sets within a few days because they’re usually situated some distance from buck bedding or core areas. If you’re worried about leaving too much scent, trim just prior to a rain.
On the other hand, when a certain area is suddenly hot with buck activity, you should strive for minimal trimming. You have no idea how long the action will last, so you can’t afford to alert the deer. Search for a fairly open spot to hang the stand, where the limbs that need cutting can be tackled from the stand with pruning shears and a folding saw.
For thicker cover, enlist the help of a partner. One of you get into the stand and direct the other, who can use a pole saw to remove the minimum of twigs and branches. Work quickly and be careful not to leave scent near any deer trails.
There, now you’re ready sit down and wait for a good buck to show up under your tree stand.


